
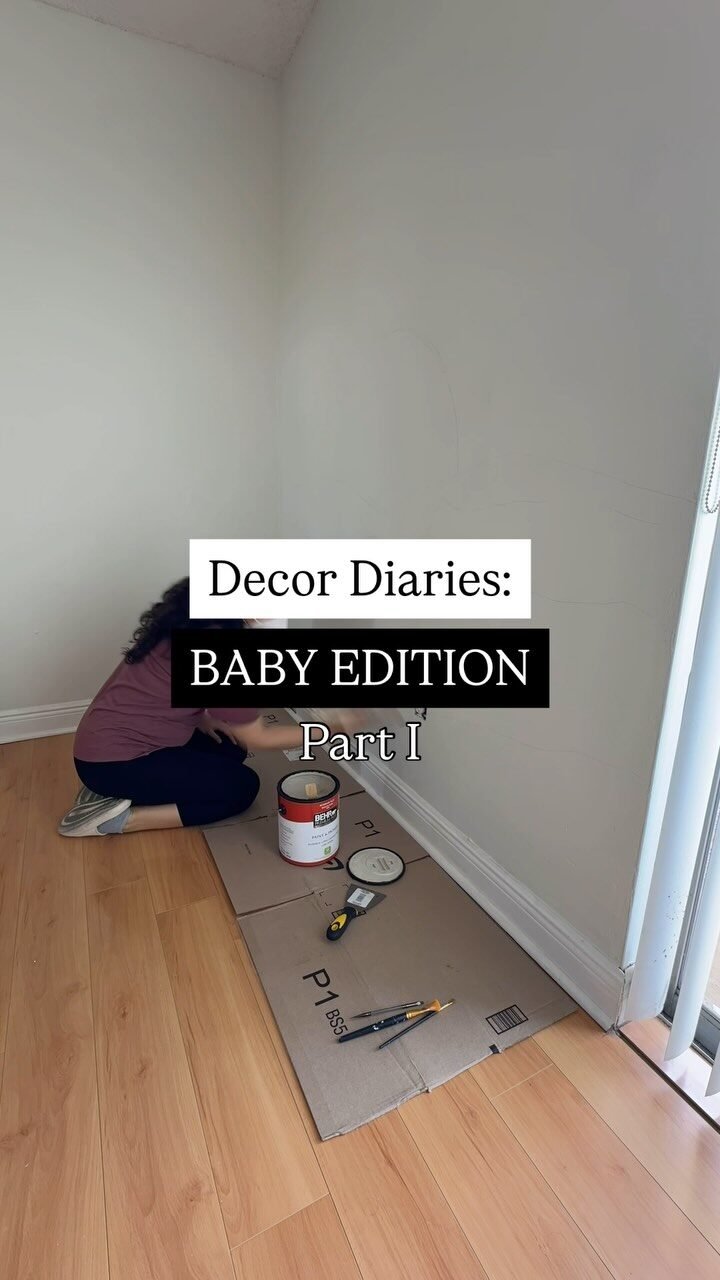
Want to give your home decor a serious style upgrade? Learning how to make textured paint for walls is one of the easiest (and most creative) ways to add depth, dimension, and personality to any space. But here’s the best part: you don’t have to commit to painting directly on your walls. With a few simple texture painting techniques, you can also create stunning DIY textured wall art on canvas – perfect for renters or anyone who loves the idea of portable, removable decor.
In this guide, we’ll cover everything from mixing your own textured paint to applying it on both walls and canvas. Whether you’re aiming for a smooth, modern look, a rustic crackle paste finish, or bold abstract textures, you’ll find beginner-friendly tips, tools, and step-by-step instructions to make your project a success.
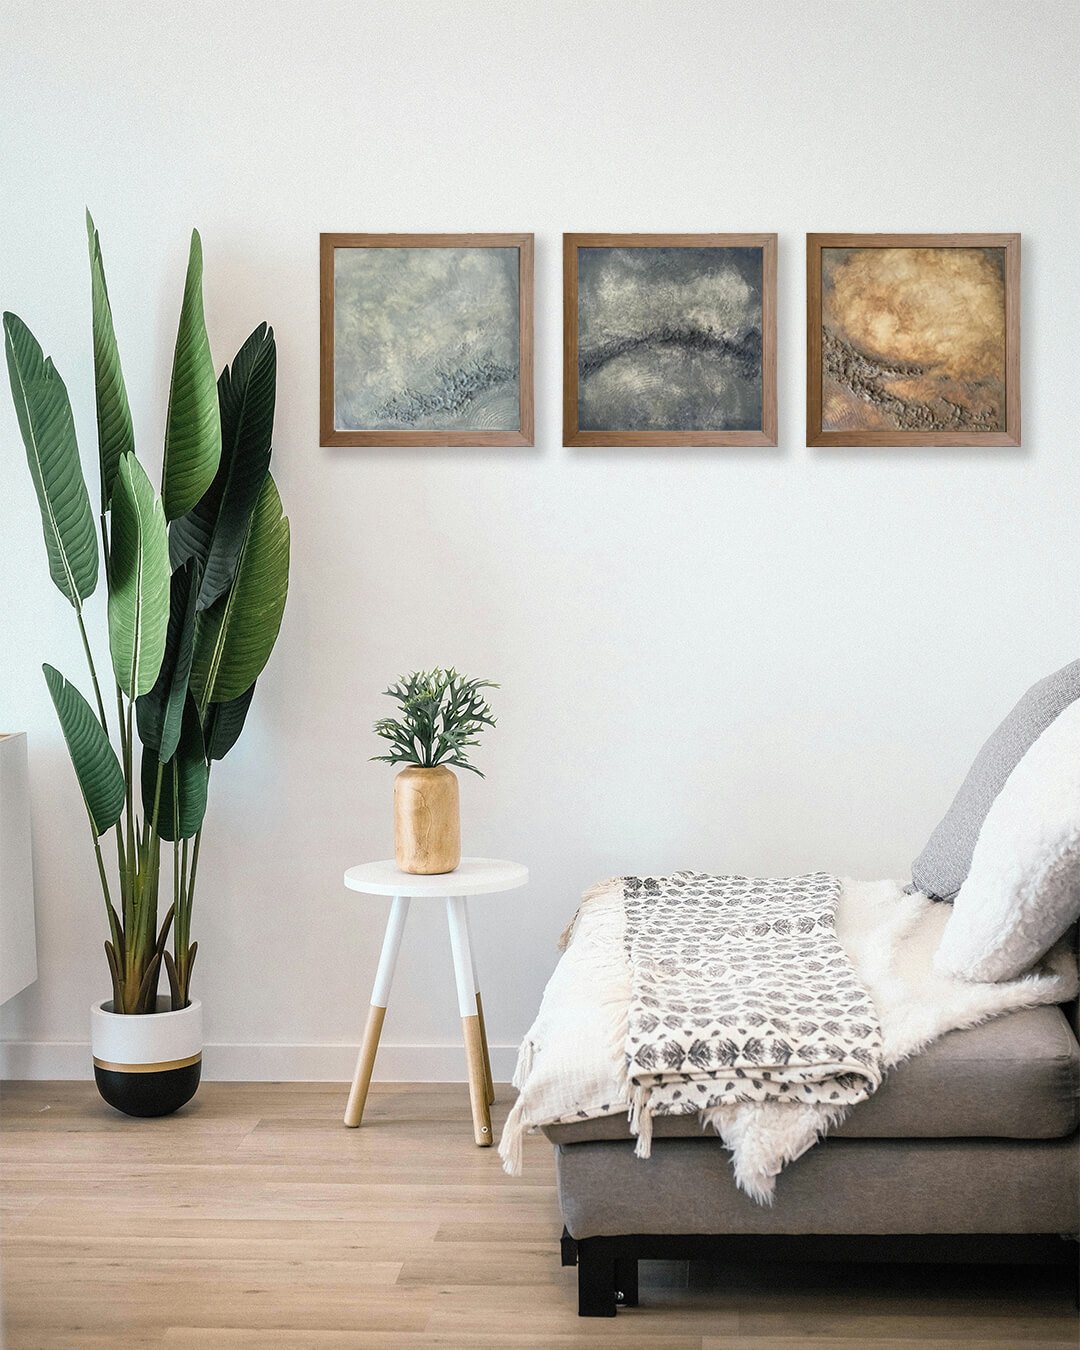
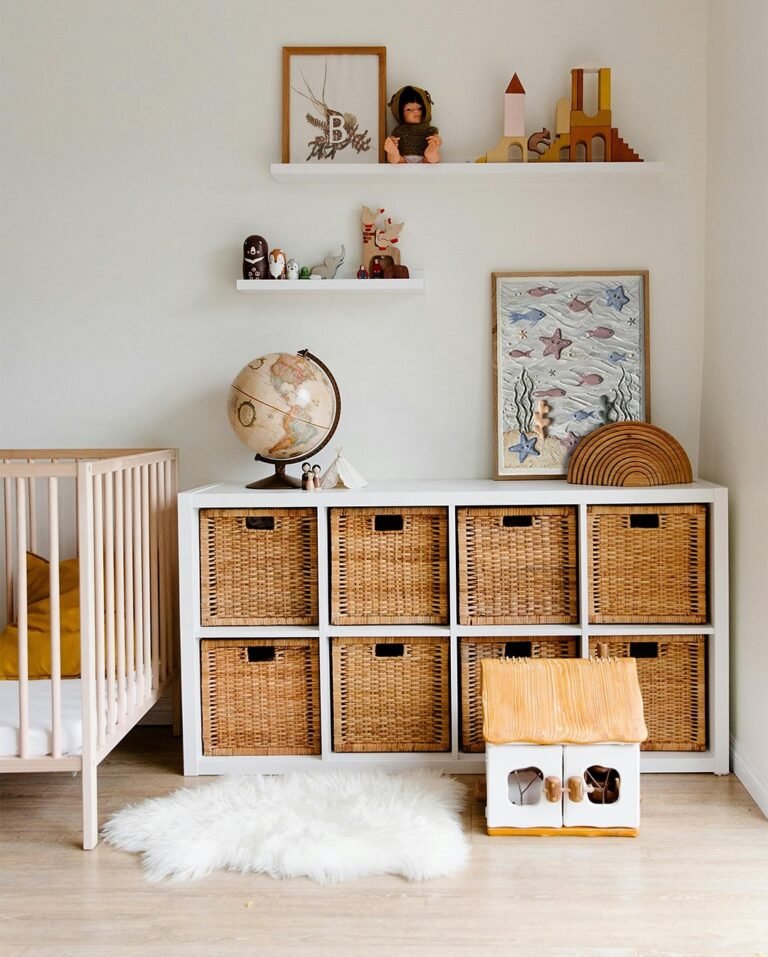
If you love the look of textured wall art but don’t want to DIY every piece, explore our collection at My Home Art Decor.
To create textured paint for your walls, you can mix various additives with standard paint. Here are some common materials you can use:
1. Sand: Adding fine sand to paint creates a gritty texture. Start with a ratio of 1 part sand to 4 parts paint and adjust according to your desired texture.

2. Joint Compound: Mixing joint compound with paint gives a thick, plaster-like texture. Combine equal parts joint compound and paint for a heavier finish.

3. Texture Medium: Specialized texture mediums are available at hardware stores. Follow the manufacturer’s instructions for mixing ratios. Explore more about texture paint techniques.

4. Beads or Pearls: Adding small beads or pearl-like materials can create a unique textured finish. Experiment with different sizes for varied effects.

Remember to test your mixture on a small area before applying it to the entire wall to ensure you achieve the look you want. If you’re new to texture painting, check out our home decor inspiration and ideas for creative ways to style your textured pieces in any room.
While textured paint can be used on both walls and canvas, the materials, application, and final appearance can differ quite a bit. Here’s what you need to know before starting your project:
1. Surface Preparation
– Walls: Usually require cleaning, patching, and a primer coat before applying textured paint. This ensures good adhesion and prevents cracking.
– Canvas: Typically comes pre-primed with gesso, but for texture projects, you might add extra gesso or apply a homemade texture paste directly.
2. Paint Consistency
– Walls: Use a thicker mix that can cover large areas evenly. This often involves combining wall paint with joint compound or commercial texture additives.
– Canvas: The mix is usually lighter, made with acrylic paint and texture mediums to prevent the canvas from warping.
3. Application Tools
– Walls: Large trowels, rollers, or combs for covering big surfaces quickly.
– Canvas: Smaller palette knives, brushes, or sponges for more control and fine detail.
4. Design Possibilities
– Walls: Ideal for subtle patterns, rustic finishes, or large-scale geometric effects.
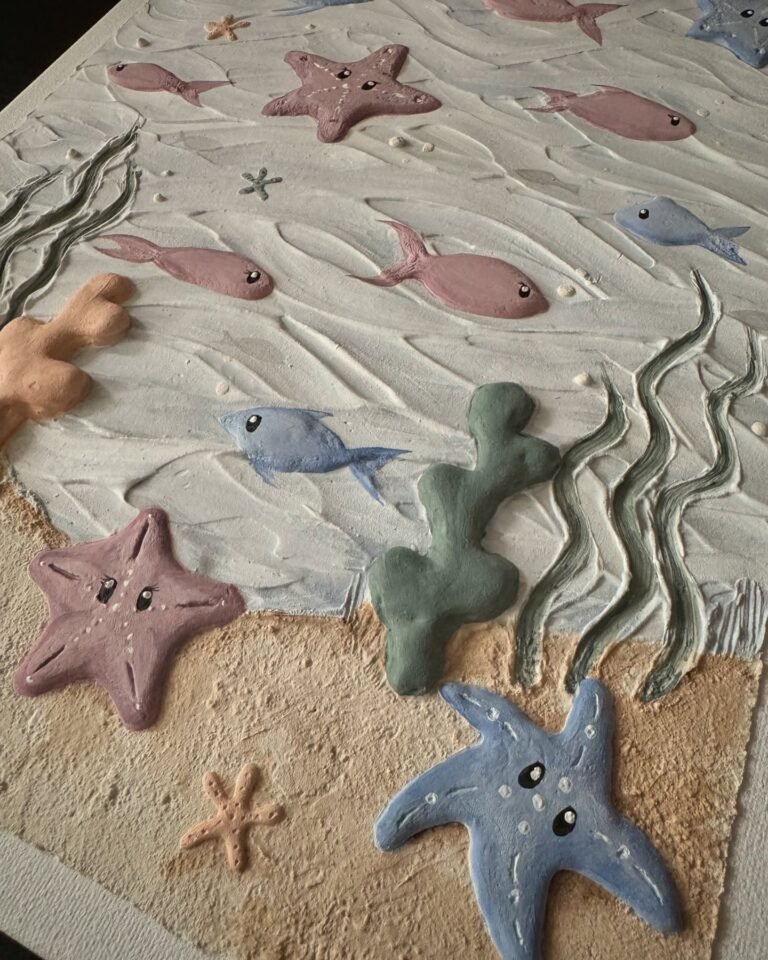
– Canvas: Perfect for experimental designs, bold impasto, and techniques like crackle paste for dramatic detail.
5. Durability & Maintenance
– Walls: Long-lasting but harder to change once applied – you’ll need to sand or skim coat to remove texture.
– Canvas: Portable, lightweight, and easy to store or replace. Great for renters or seasonal decor changes.
Also, you could be interested in Texture Painting on Canvas for Beginners!
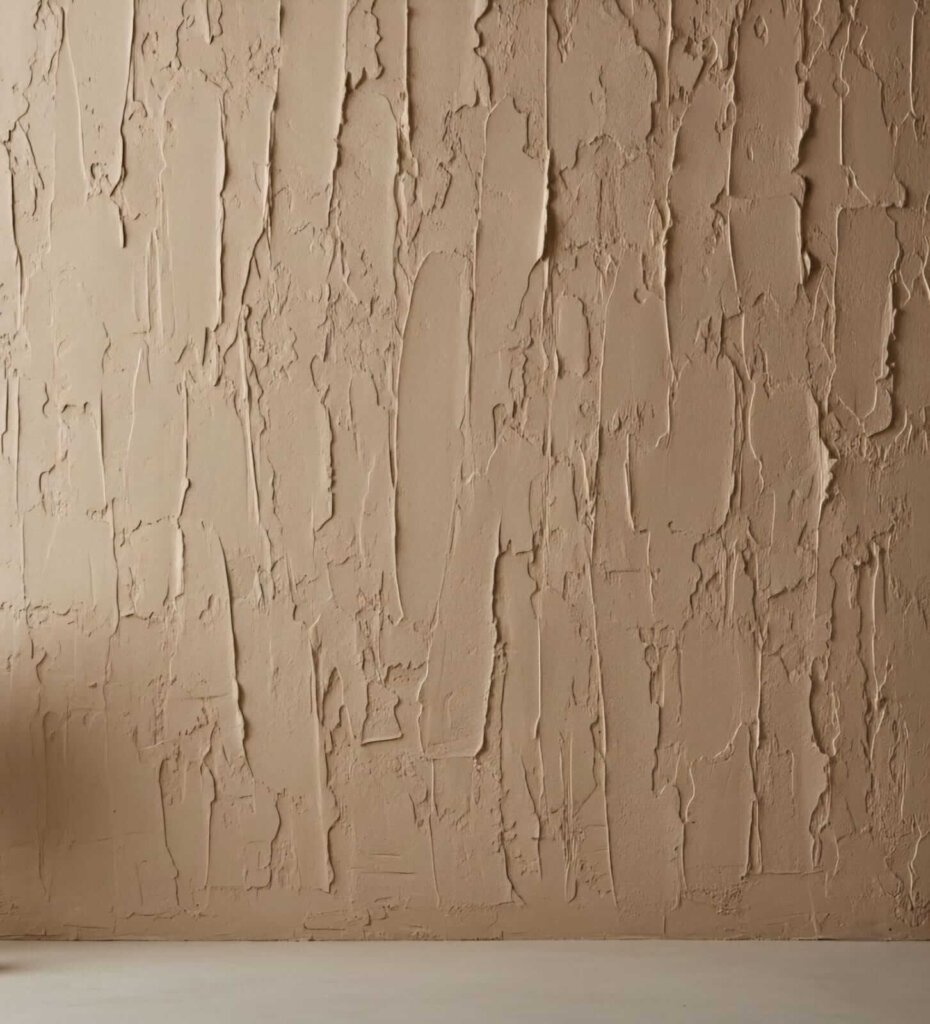
Textured paint for walls is becoming a popular choice among interior designers and DIY enthusiasts alike. This technique allows you to create a unique textured surface that adds dimension and enhances the overall aesthetic of your space.
Many people are opting to make their own textured paint at home, which not only saves money but also provides a hands-on experience that’s perfect for beginners. To learn how to make textured paint, you can use various materials like joint compound, spackle, or acrylic paint combined with a basecoat in the color of your choice.
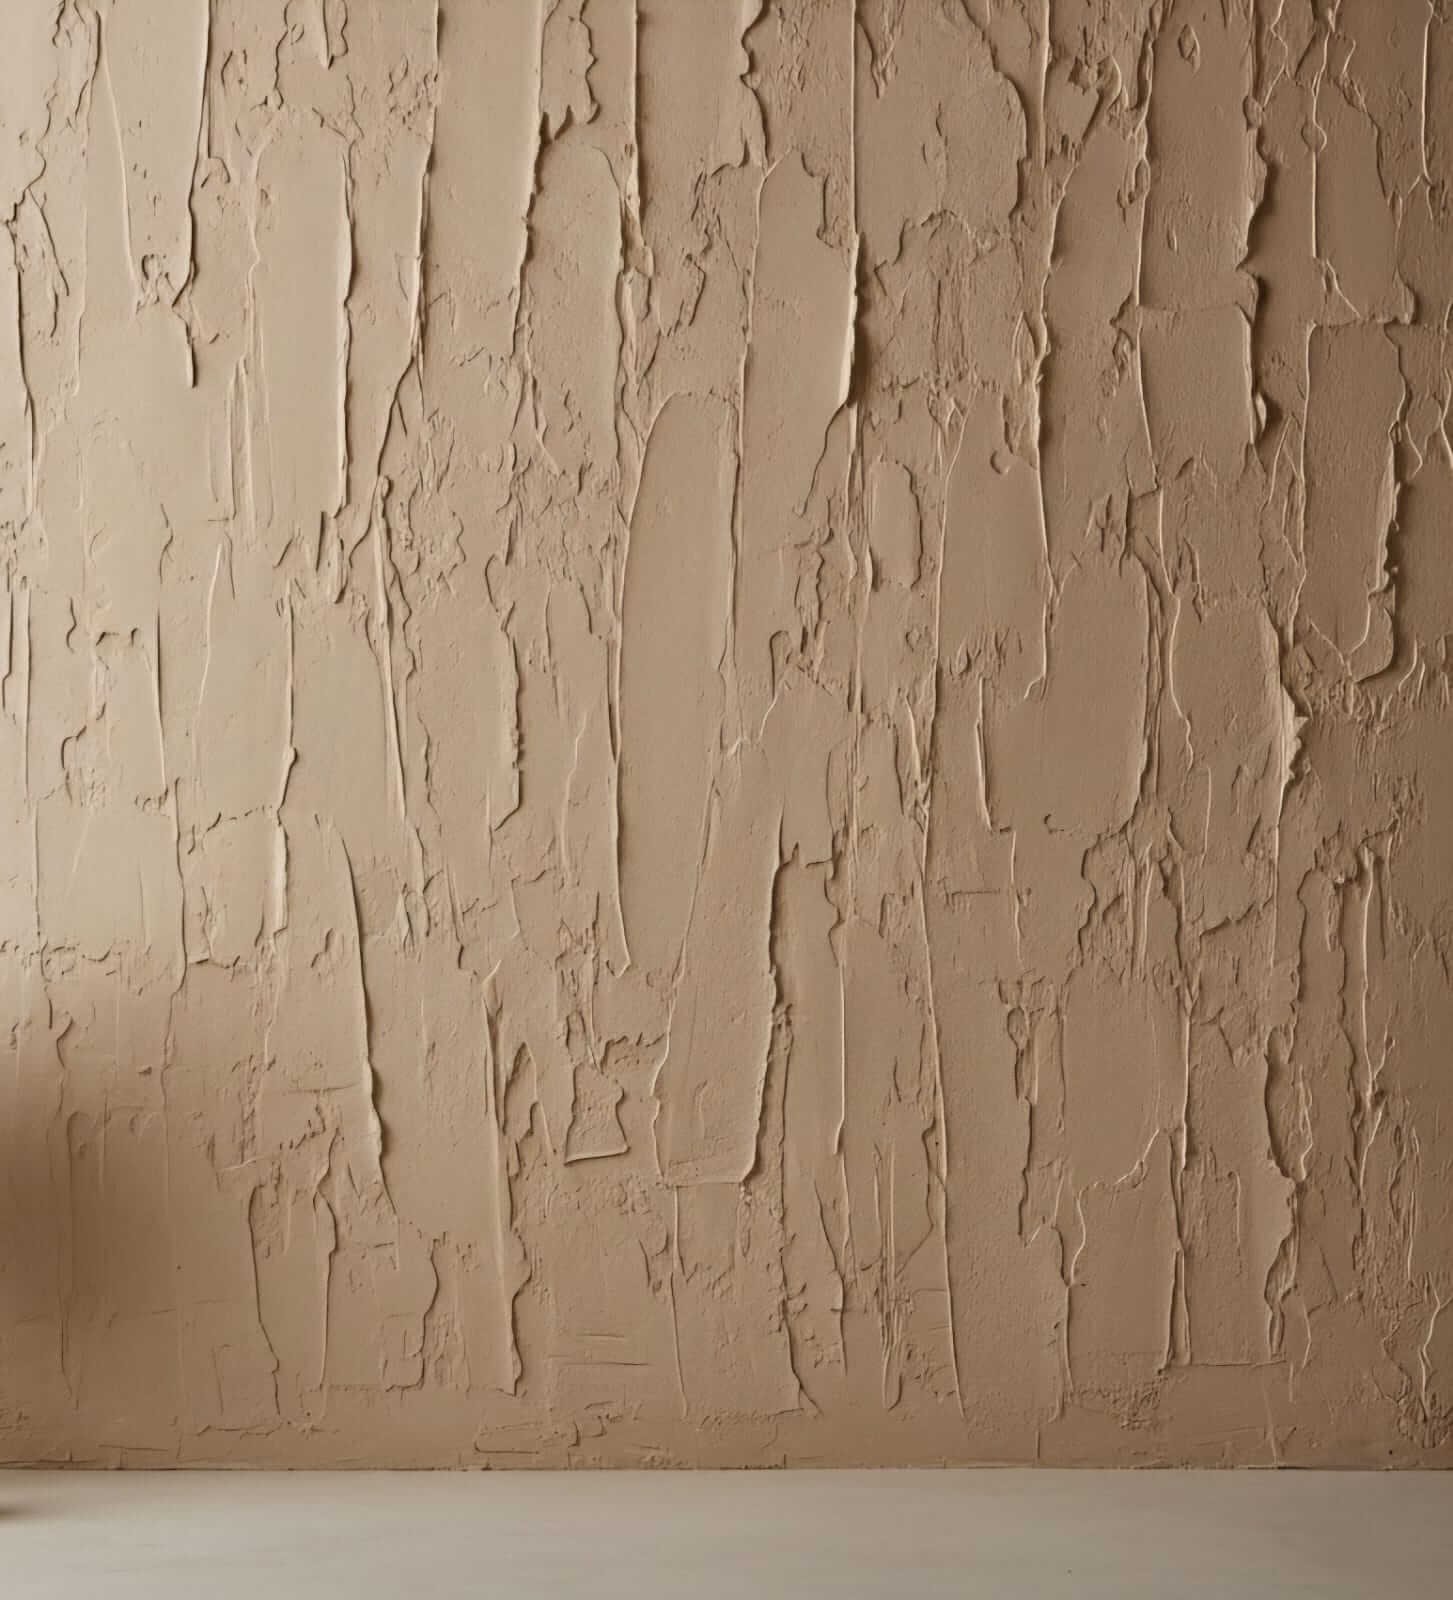
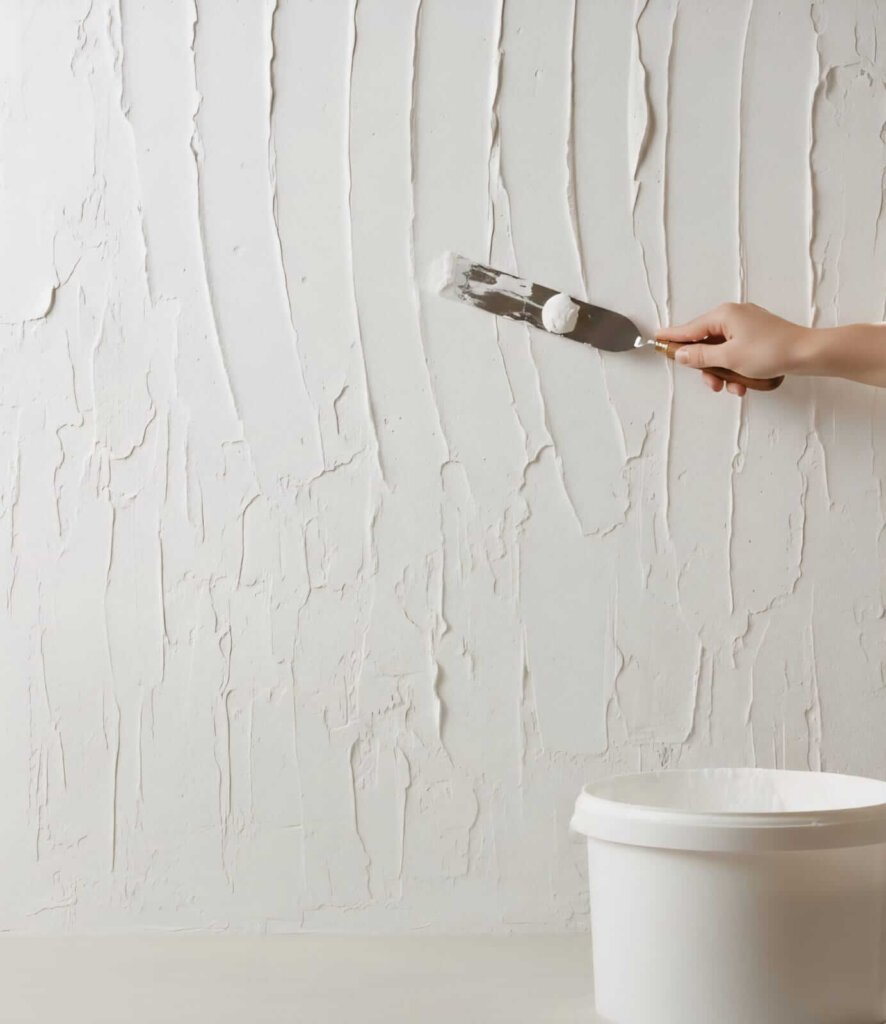
There are several techniques to create texture on your walls, such as using a putty knife to apply the compound or employing a roller for a more uniform finish. You can also experiment with using a sponge to achieve a textured effect that mimics Venetian plaster or a marble finish.
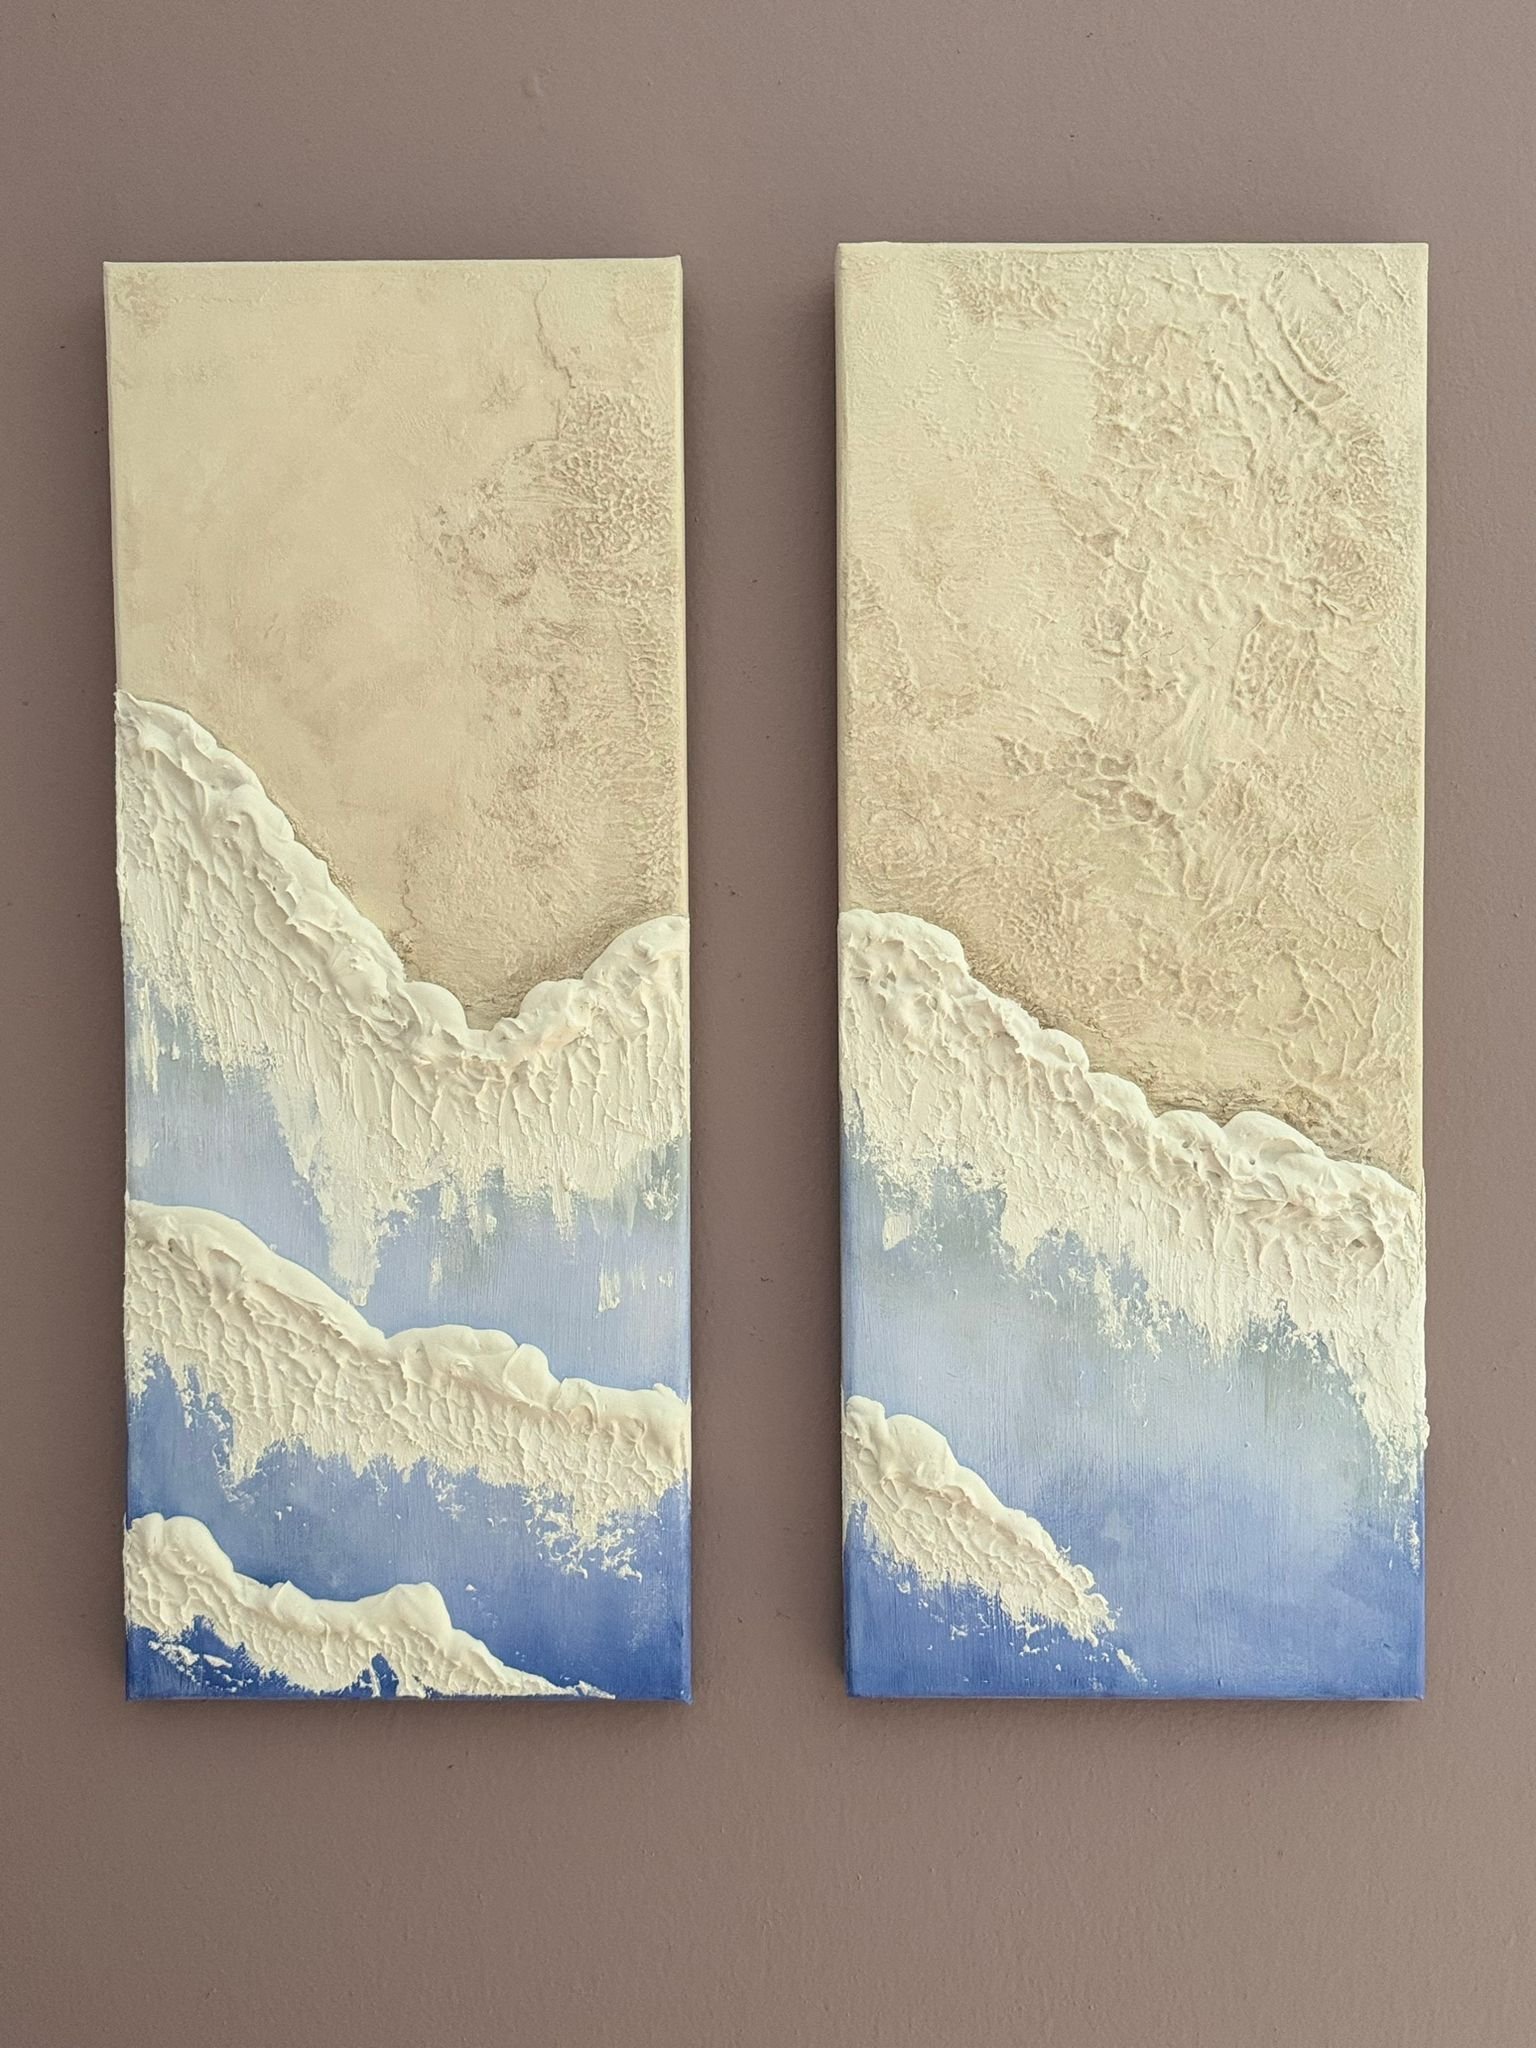
Creating a textured wall can transform a flat surface into an artistic masterpiece. You can even make textured canvas art or DIY large wall art by following a step-by-step process that involves layering different types of paint and textures. This not only adds depth and dimension but also allows you to express your creativity.
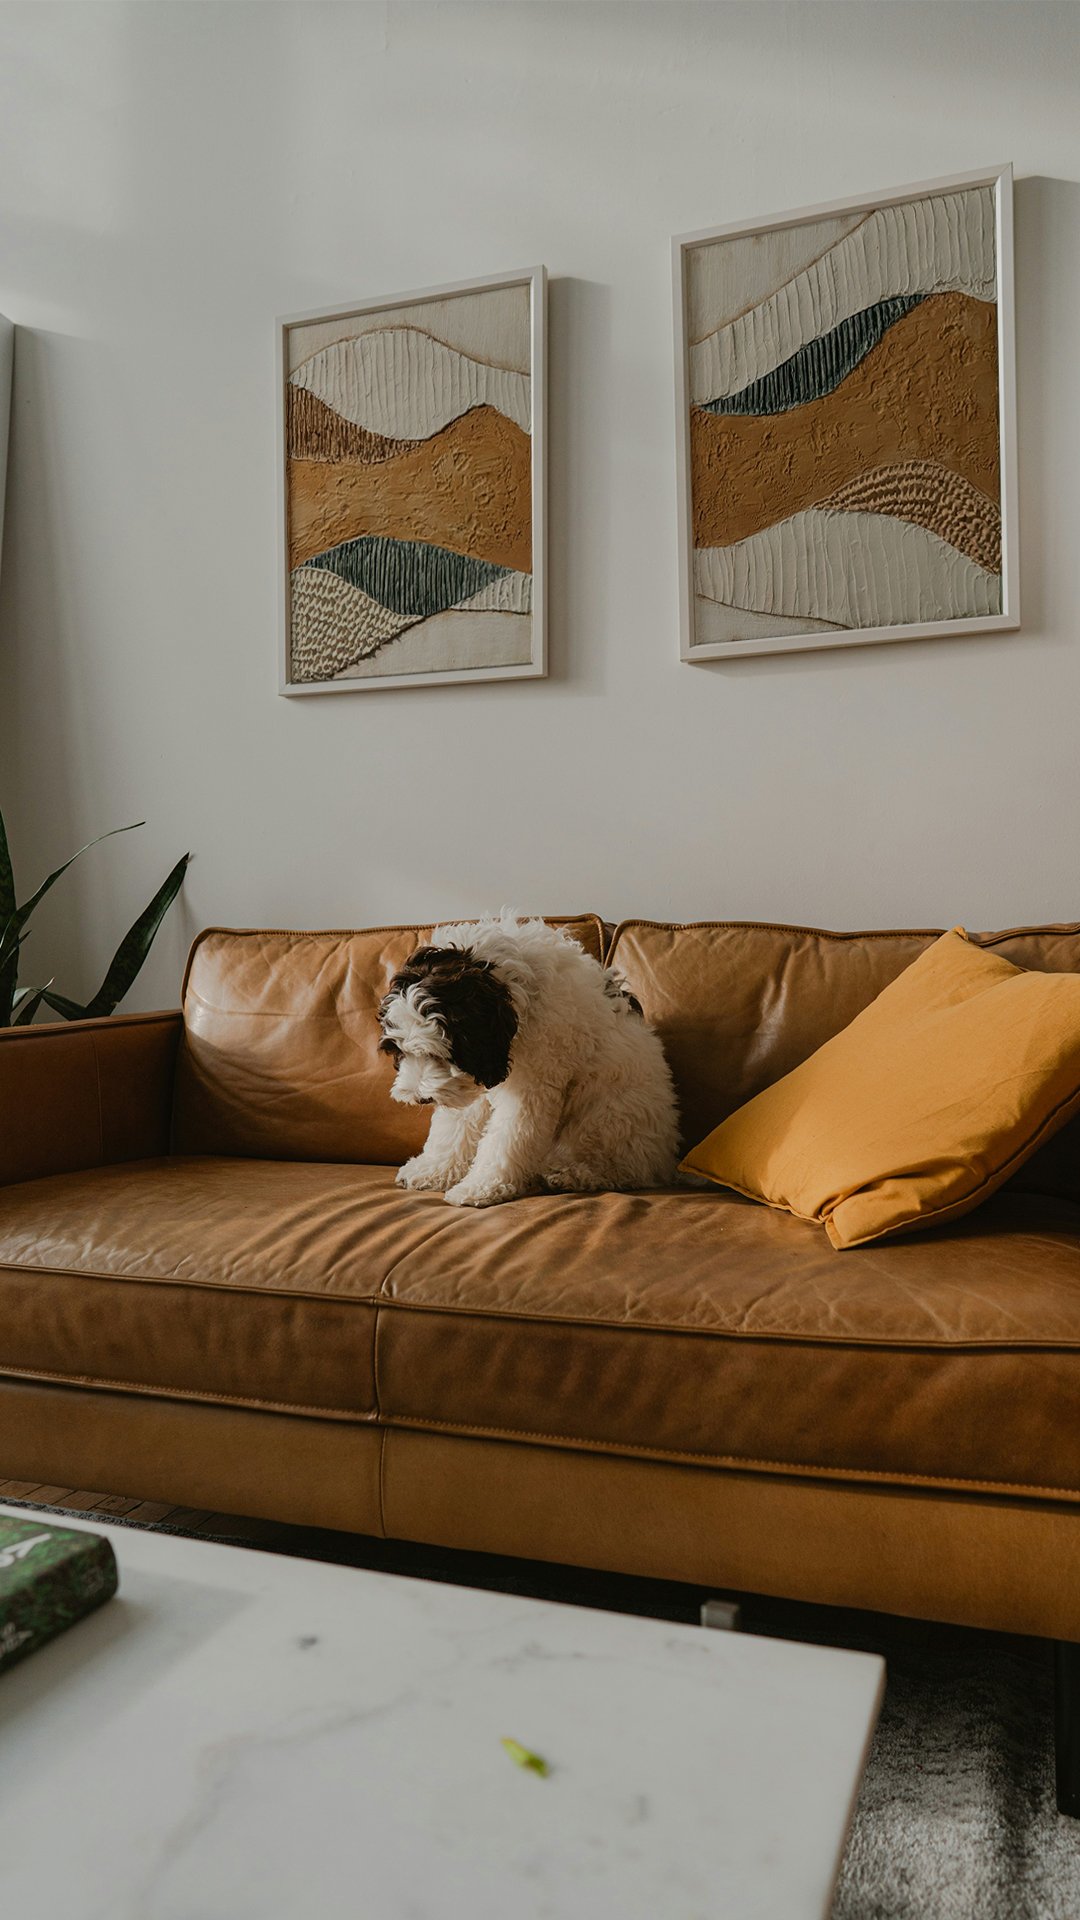
In addition to walls, this technique can be applied to ceilings, vases, and other surfaces to create cohesive textured art pieces. The growing trend of DIY textured paint reflects a desire for personalized and unique design elements in interior spaces. Overall, textured paint is a versatile and creative way to enhance your home’s interior – making it a top choice in modern design. If you’re looking for inspiration on how to style textured artwork, check out our modern wall art ideas for creative, room-by-room tips.
You can also skip straight to ready‑made plaster art on canvas that gives you the same dimensional look without the work.
Follow this step-by-step guide to make a textured wall using paint in three easy steps: Paint, Lift, Sponge!
– Paint of your choice
– Joint compound or spackle
– Putty knife
– Sponge
– Paint brush or roller
– Sealant (optional)
Start with a clean, flat surface. If you’re working on drywall, fill any imperfections with joint compound or spackle. Once dry, sand it smooth to create an even base for your textured paint.
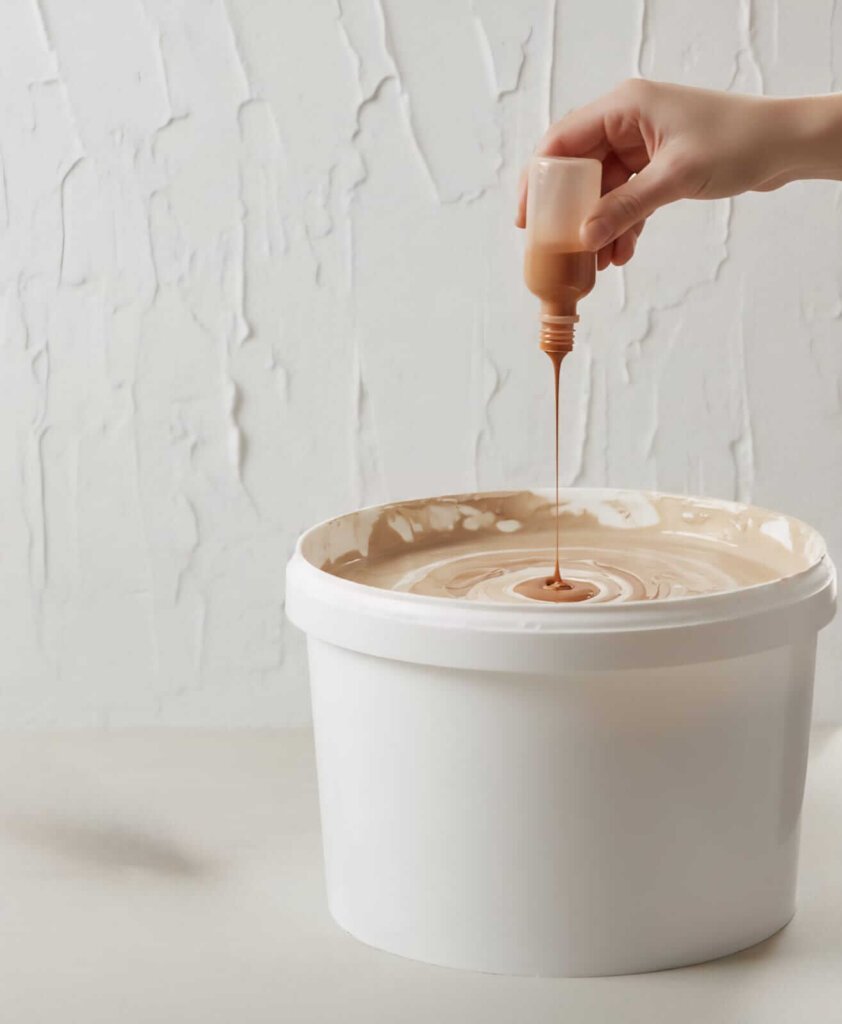
In a container, mix your chosen paint color with a small amount of joint compound or spackle to create a textured finish. For a DIY approach, you can adjust the ratio until you achieve the desired effect.
Using a roller, apply a coat of your textured paint onto the wall. While the paint is still wet, use a sponge to lift and create patterns or textures as desired. Experiment with techniques like swirling or mottling to add depth and dimension to your walls.

If you’re looking for inspiration on how to style textured artwork check out our modern textured wall art ideas for room‑by‑room styling.
Texture painting is an excellent way to enhance the aesthetic appeal of your walls and ceilings. By learning how to make textured paint for walls, you can create a unique and personalized look that adds visual depth to any room.
– Aesthetic Appeal
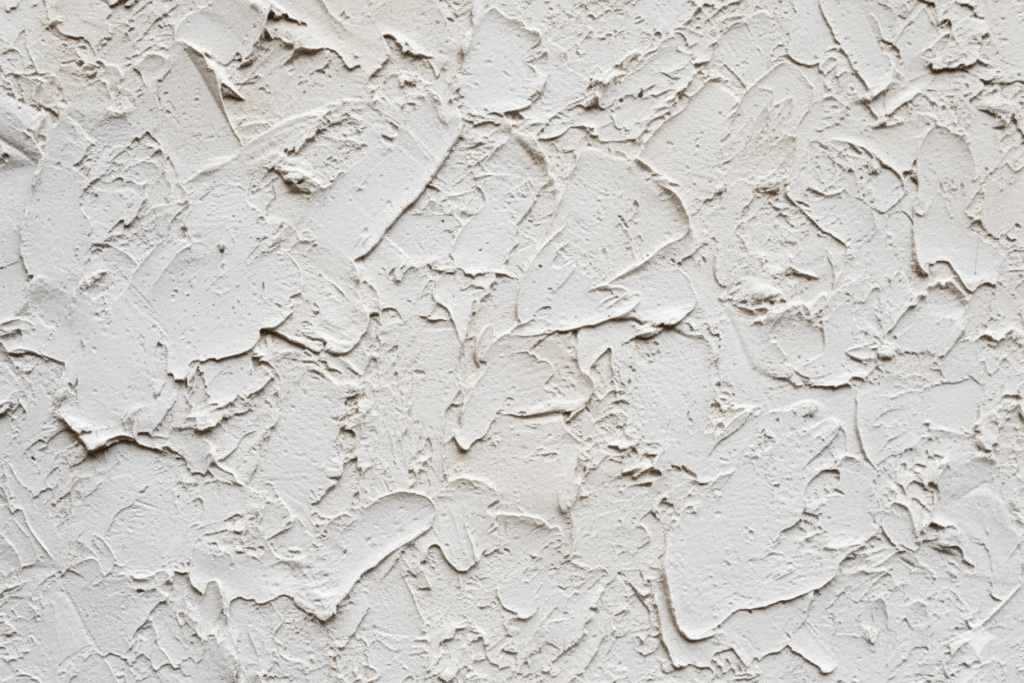
Textured walls can transform a plain surface into a piece of art, adding visual interest and character. Using a technique like spackling or applying paint with a roller or sponge allows you to create your own textured paint for a stunning finish.
– Camouflaging Imperfections
Texture can help hide surface flaws on drywall or plaster. With DIY textured paint, you can easily cover imperfections and create a smooth, even look.
– Variety of Techniques
There are countless ways to create texture – from spray paint to thick acrylic layers. Try techniques like swirling, mottling, or Venetian finishes to make your wall truly unique. For inspiration, browse textured neutral wall art that uses similar subtle texture and soft tones.
– Hands-On Experience
Texture painting is perfect for beginners who want hands-on experience in home improvement while expressing creativity.
– Customization
Customize your textured wall with your favorite paint colors to match your decor and personal style.
– Cost-Effective
Making your own textured paint is a budget-friendly way to upgrade your interior without expensive wallpaper or professional help.
– Versatility
Textured paint can be used on walls, ceilings, and even canvas art – making it an excellent choice for any DIY project.
Creating a textured wall can be a rewarding DIY project, but there are common mistakes to watch out for:
– Overloading with Texture
Applying too much paste or thick paint can cause cracking or peeling over time. Start light and build up gradually.
– Skipping Primer or Gesso
Not prepping your surface properly can lead to poor adhesion and uneven drying. Always use primer for walls and gesso for canvas.
– Using the Wrong Paste for the Surface
Wall texture pastes are heavier and not suitable for flexible canvases. Use lighter, acrylic-based pastes for canvas projects.
– Rushing Drying Time
Texture layers take longer to dry than flat paint. Applying new layers too soon can smudge or ruin the effect.
– Ignoring Sealant
Failing to seal your finished piece leaves it vulnerable to dust, damage, and fading. Use a suitable varnish to protect your work.
By avoiding these pitfalls, you can create a stunning textured wall or canvas art that adds depth and style to your space. Don’t be afraid to experiment with different materials like spackle or joint compound to find your ideal finish.
Textured painting is a fantastic way to add personality and dimension to your home – whether you’re transforming entire walls or creating portable canvas art. By learning how to make textured paint for walls and mastering DIY textured wall art techniques, you open the door to endless creative possibilities.
Ready to get started? Explore more tips, inspiration, and ideas on our home decor inspiration page, and share your textured art journey with us!


Sign up to grab 10% off your first order and be the first to hear about new drops and exclusive deals!