Using a texture sprayer or a simple roller, I can apply the drywall mud texture easily, ensuring a consistent texture throughout. For those looking for decorative finishes, techniques like skip trowel or swirl can add character, while tools such as a large brush or stomp brush help create random patterns that hide imperfections effectively. The key is in the application; one must master the strokes and the pressure to achieve that timeless look.
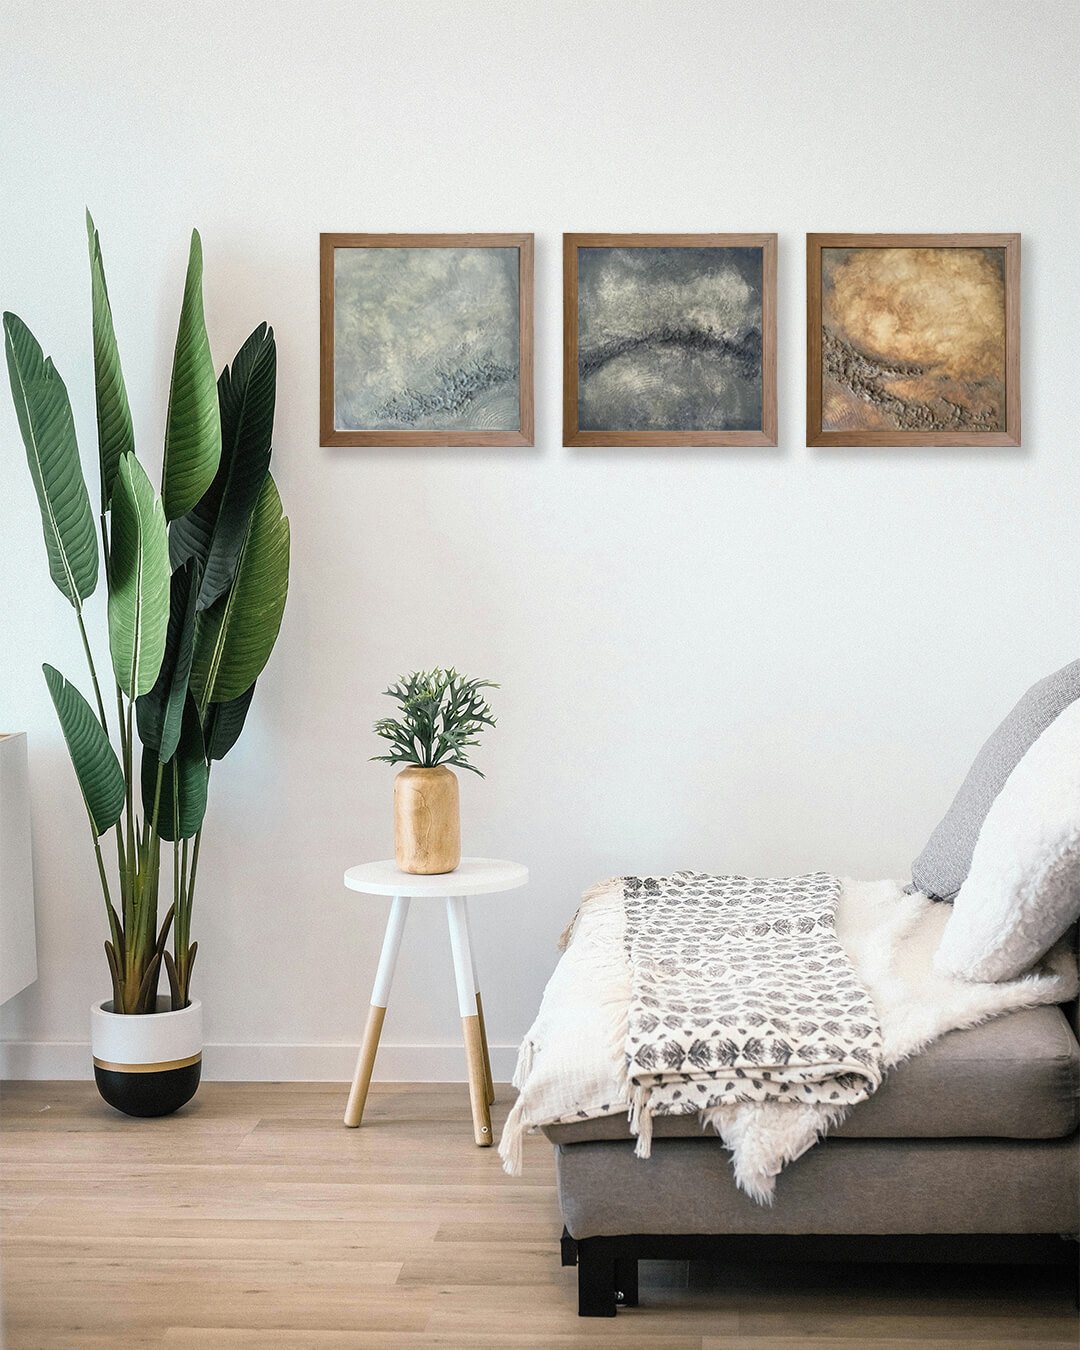
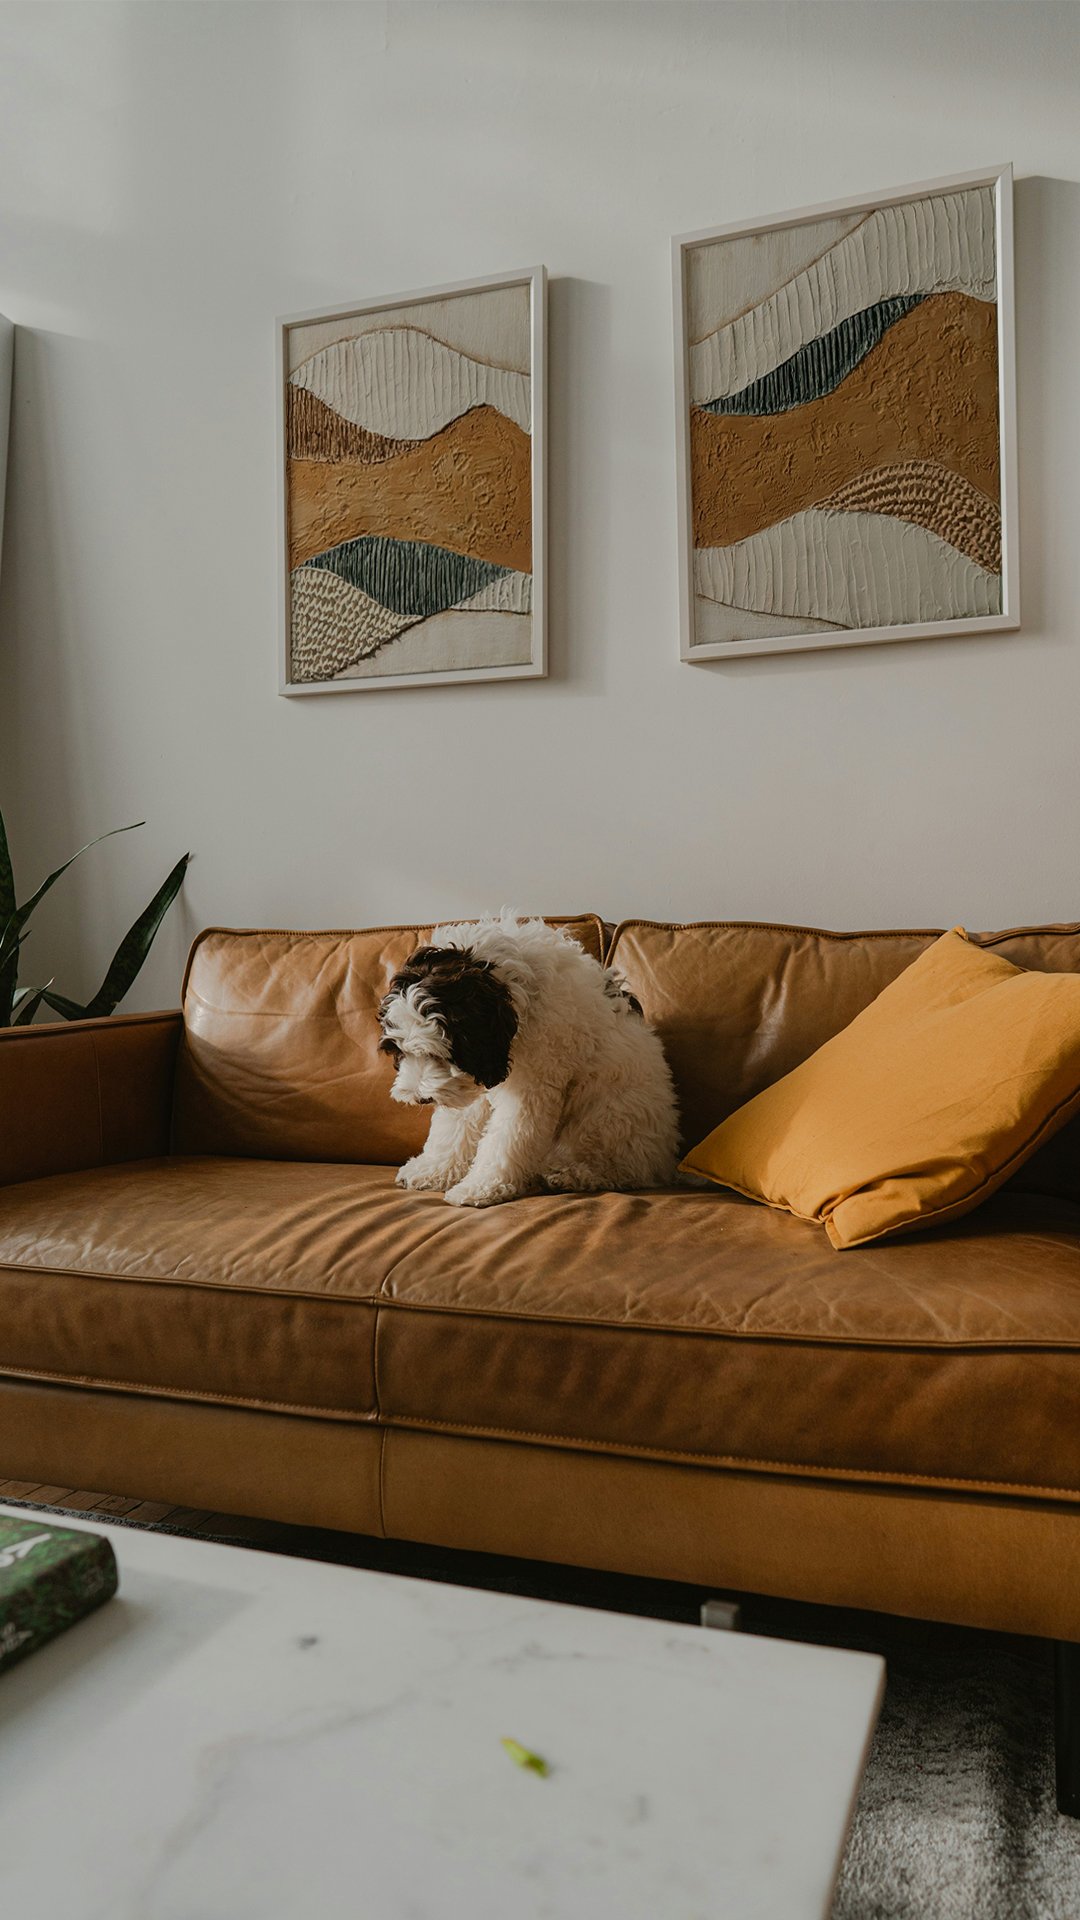
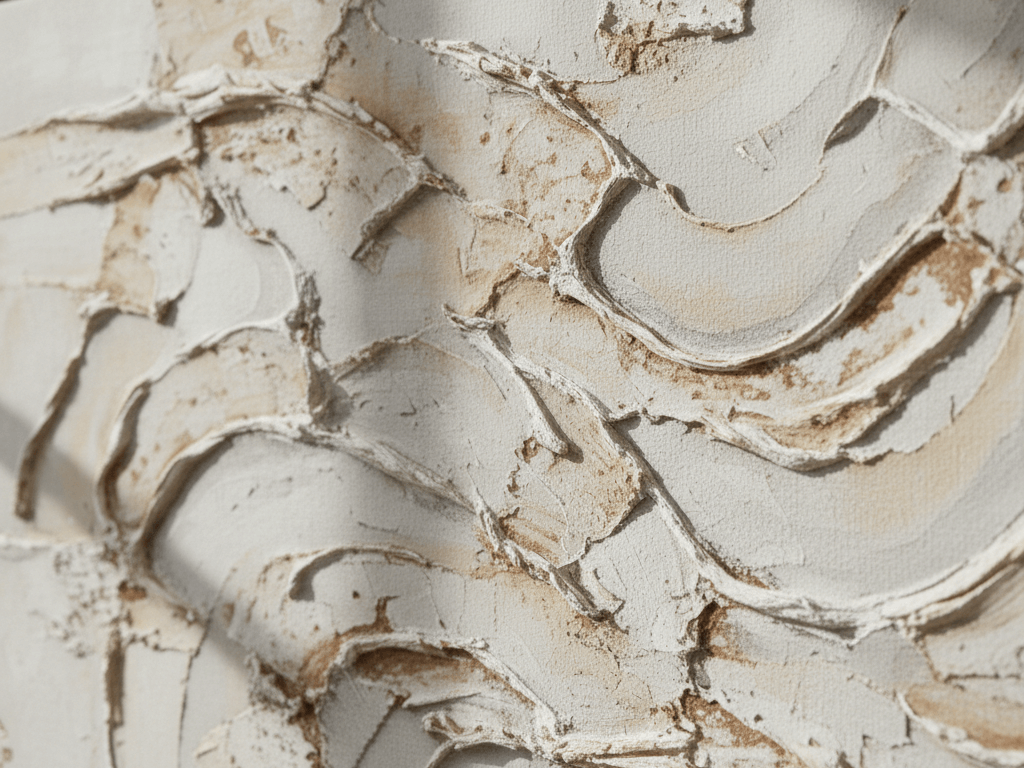
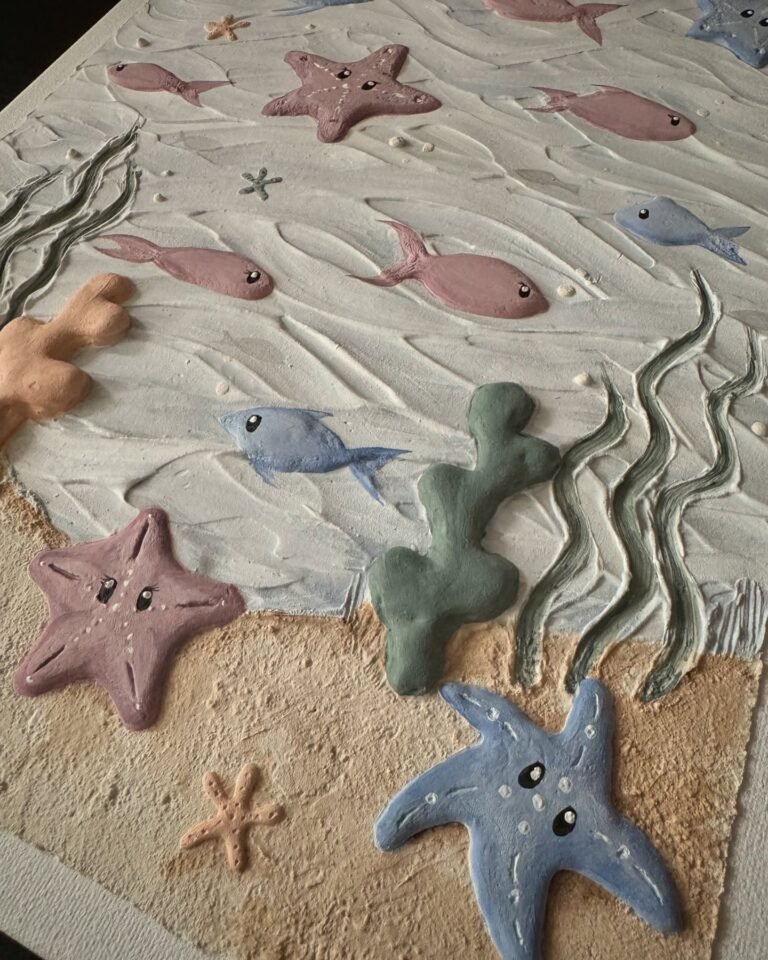
If you love this plaster‑like look, you’ll also find ready‑made plaster art canvas and textured wall pieces in our shop.
Drywall mud, also known as joint compound, is a gypsum-based paste that contractors use to finish drywall seams. But for art? It’s magic.
There are a few common types:
Skip spackle. It dries in five minutes and you’ll hate your life.
If you’ve been scrolling Instagram or Pinterest lately, you’ve seen it: those big, chunky, creamy, “plaster-look” pieces that cost $500–$2,000 at boutiques. Guess what? We’re about to make the exact same vibe for literally the price of a couple lattes and a trip to the hardware store. All you need is drywall mud (yes, the stuff in the giant bucket next to the spackle), a canvas, and zero art degree. I’m obsessed, my friends are obsessed, and once you try it you’ll be texting everyone “YOU HAVE TO DO THIS.”
Let’s make some ridiculously gorgeous textured wall art together.
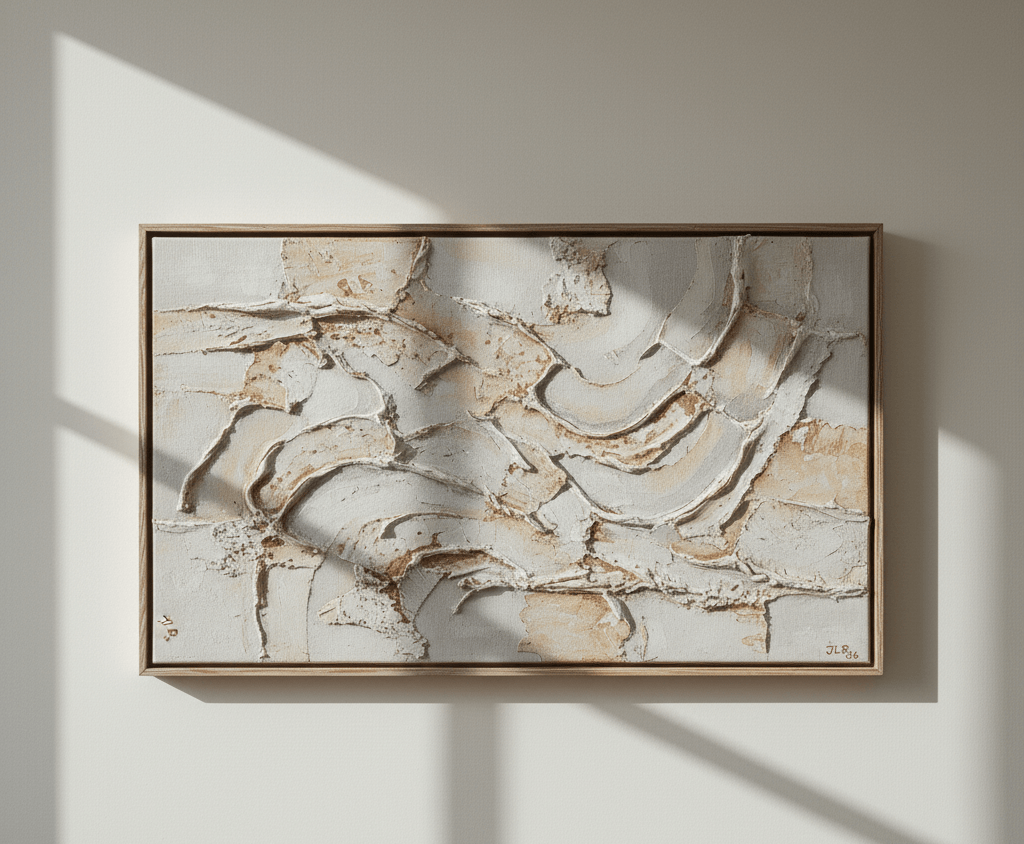
Drywall mud – officially called joint compound – is basically the unsung hero of the DIY world. Contractors use it to make walls look perfect, but when you slap it on a canvas and start playing, it turns into this dreamy, sculptural, expensive-looking texture. It’s cheap (a 4.5-gallon bucket of the good stuff is $14–$18 at Lowe’s or Home Depot), lightweight when you pick the right kind, and forgiving as heck.
For anyone new to plaster art or drywall, I recommend practicing on a smaller scale before tackling larger projects. Renting a drywall texture sprayer can save time and effort, especially when applying ceiling texture or working on walls. Remember, the first layer is crucial-once that is dry, you can reapply or adjust the texture to achieve the desired effect. With the right tool and technique, anyone can create stunning visual finishes that elevate their space. Let’s dive into the world of drywall mud and explore the endless possibilities it offers!
Click here to read about DIY Large Wall Art: Easy Canvas Artwork & Large Scale Ideas.
Total cost for a 24×36 piece? Usually $25–$40. I’m not kidding.
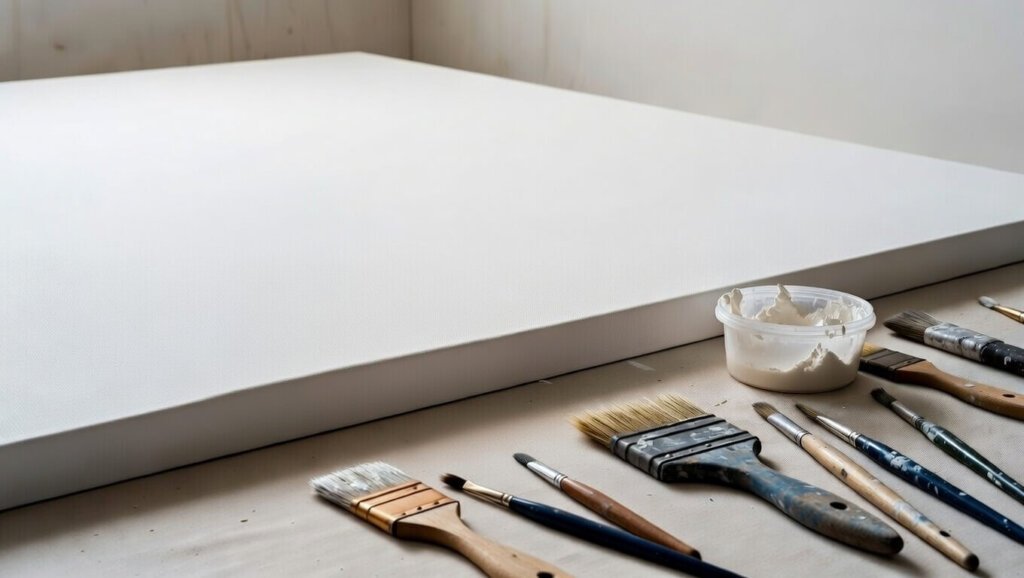
Lay down a cheap plastic drop cloth or an old sheet – this gets messy in the best way. Work flat on the floor or a big table; gravity is not your friend when the mud is wet. Crack a window because even though it’s low-VOC, you don’t want to huff it all day.
Prime Your Canvas
Brush or roll on one coat of gesso or cheap flat white house paint. This stops the canvas from sucking all the water out of the mud and warping like a Pringle. Let it dry while you scroll TikTok for 30 minutes.
Read: Texture Painting on Canvas for Beginners
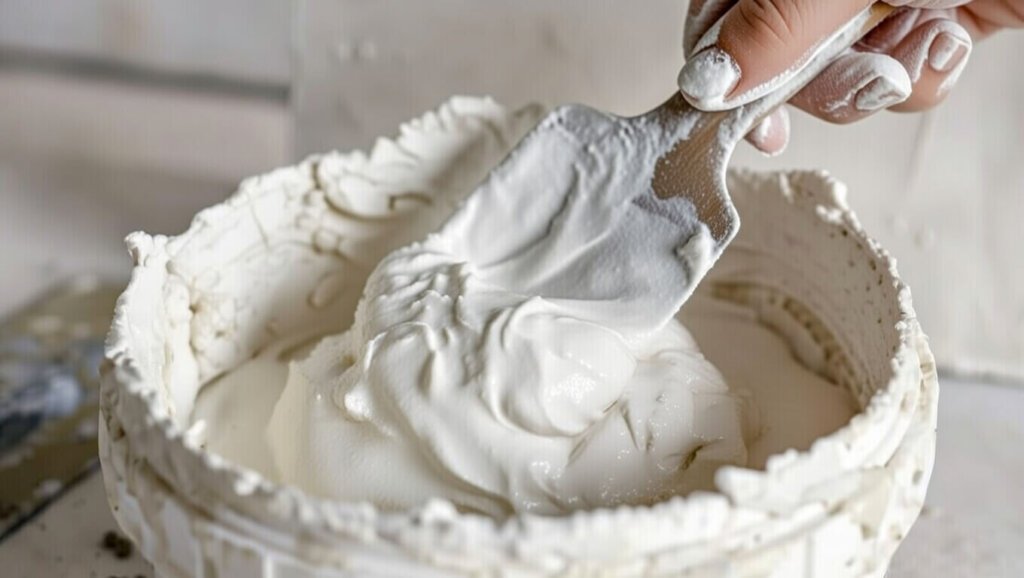
Mix the Mud
Scoop some lightweight joint compound into an old Cool Whip container or a paint mixing cup. Add water a tablespoon at a time (or latex paint if you want color built in) and stir with your putty knife until it feels like thick Greek yogurt or melted ice cream. Too thick = cracks. Too thin = sad drips that run off the edge. You’ll get the feel after the first five minutes.
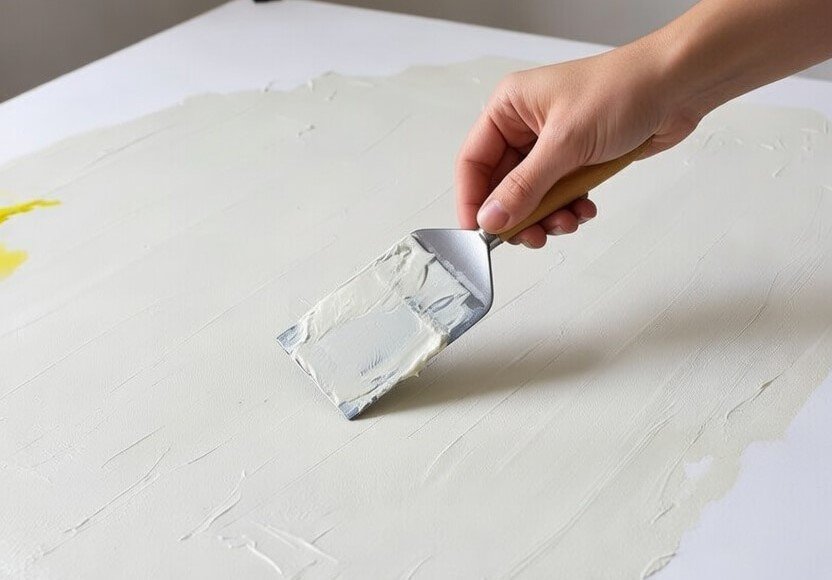
Base Layer (Don’t Skip This Either)
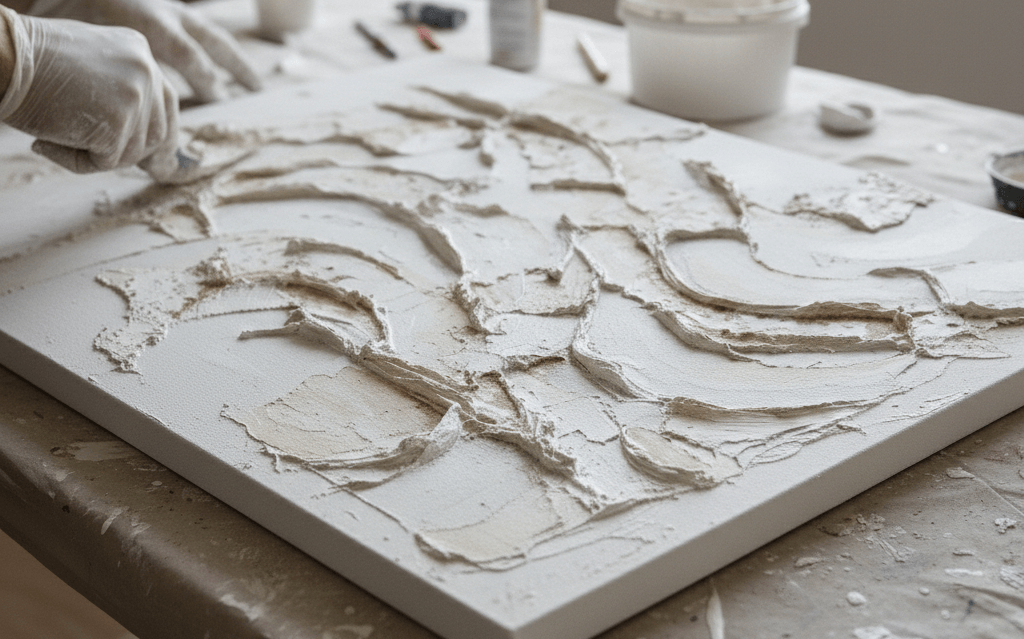
Slather on a nice even coat with your big putty knife. Think frosting a giant cake. This layer glues everything together and gives you something to carve into. Keep it 1/8-inch thick or less – we’re not building a house here.
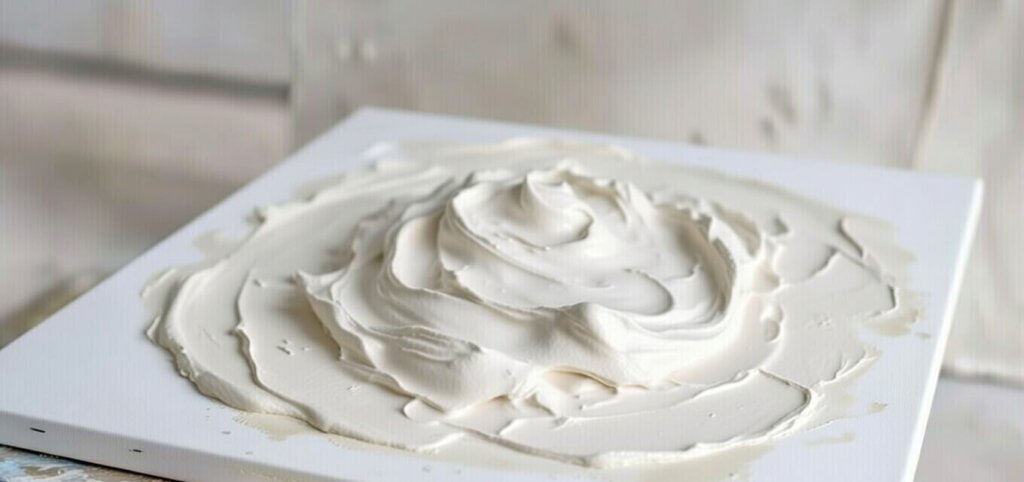
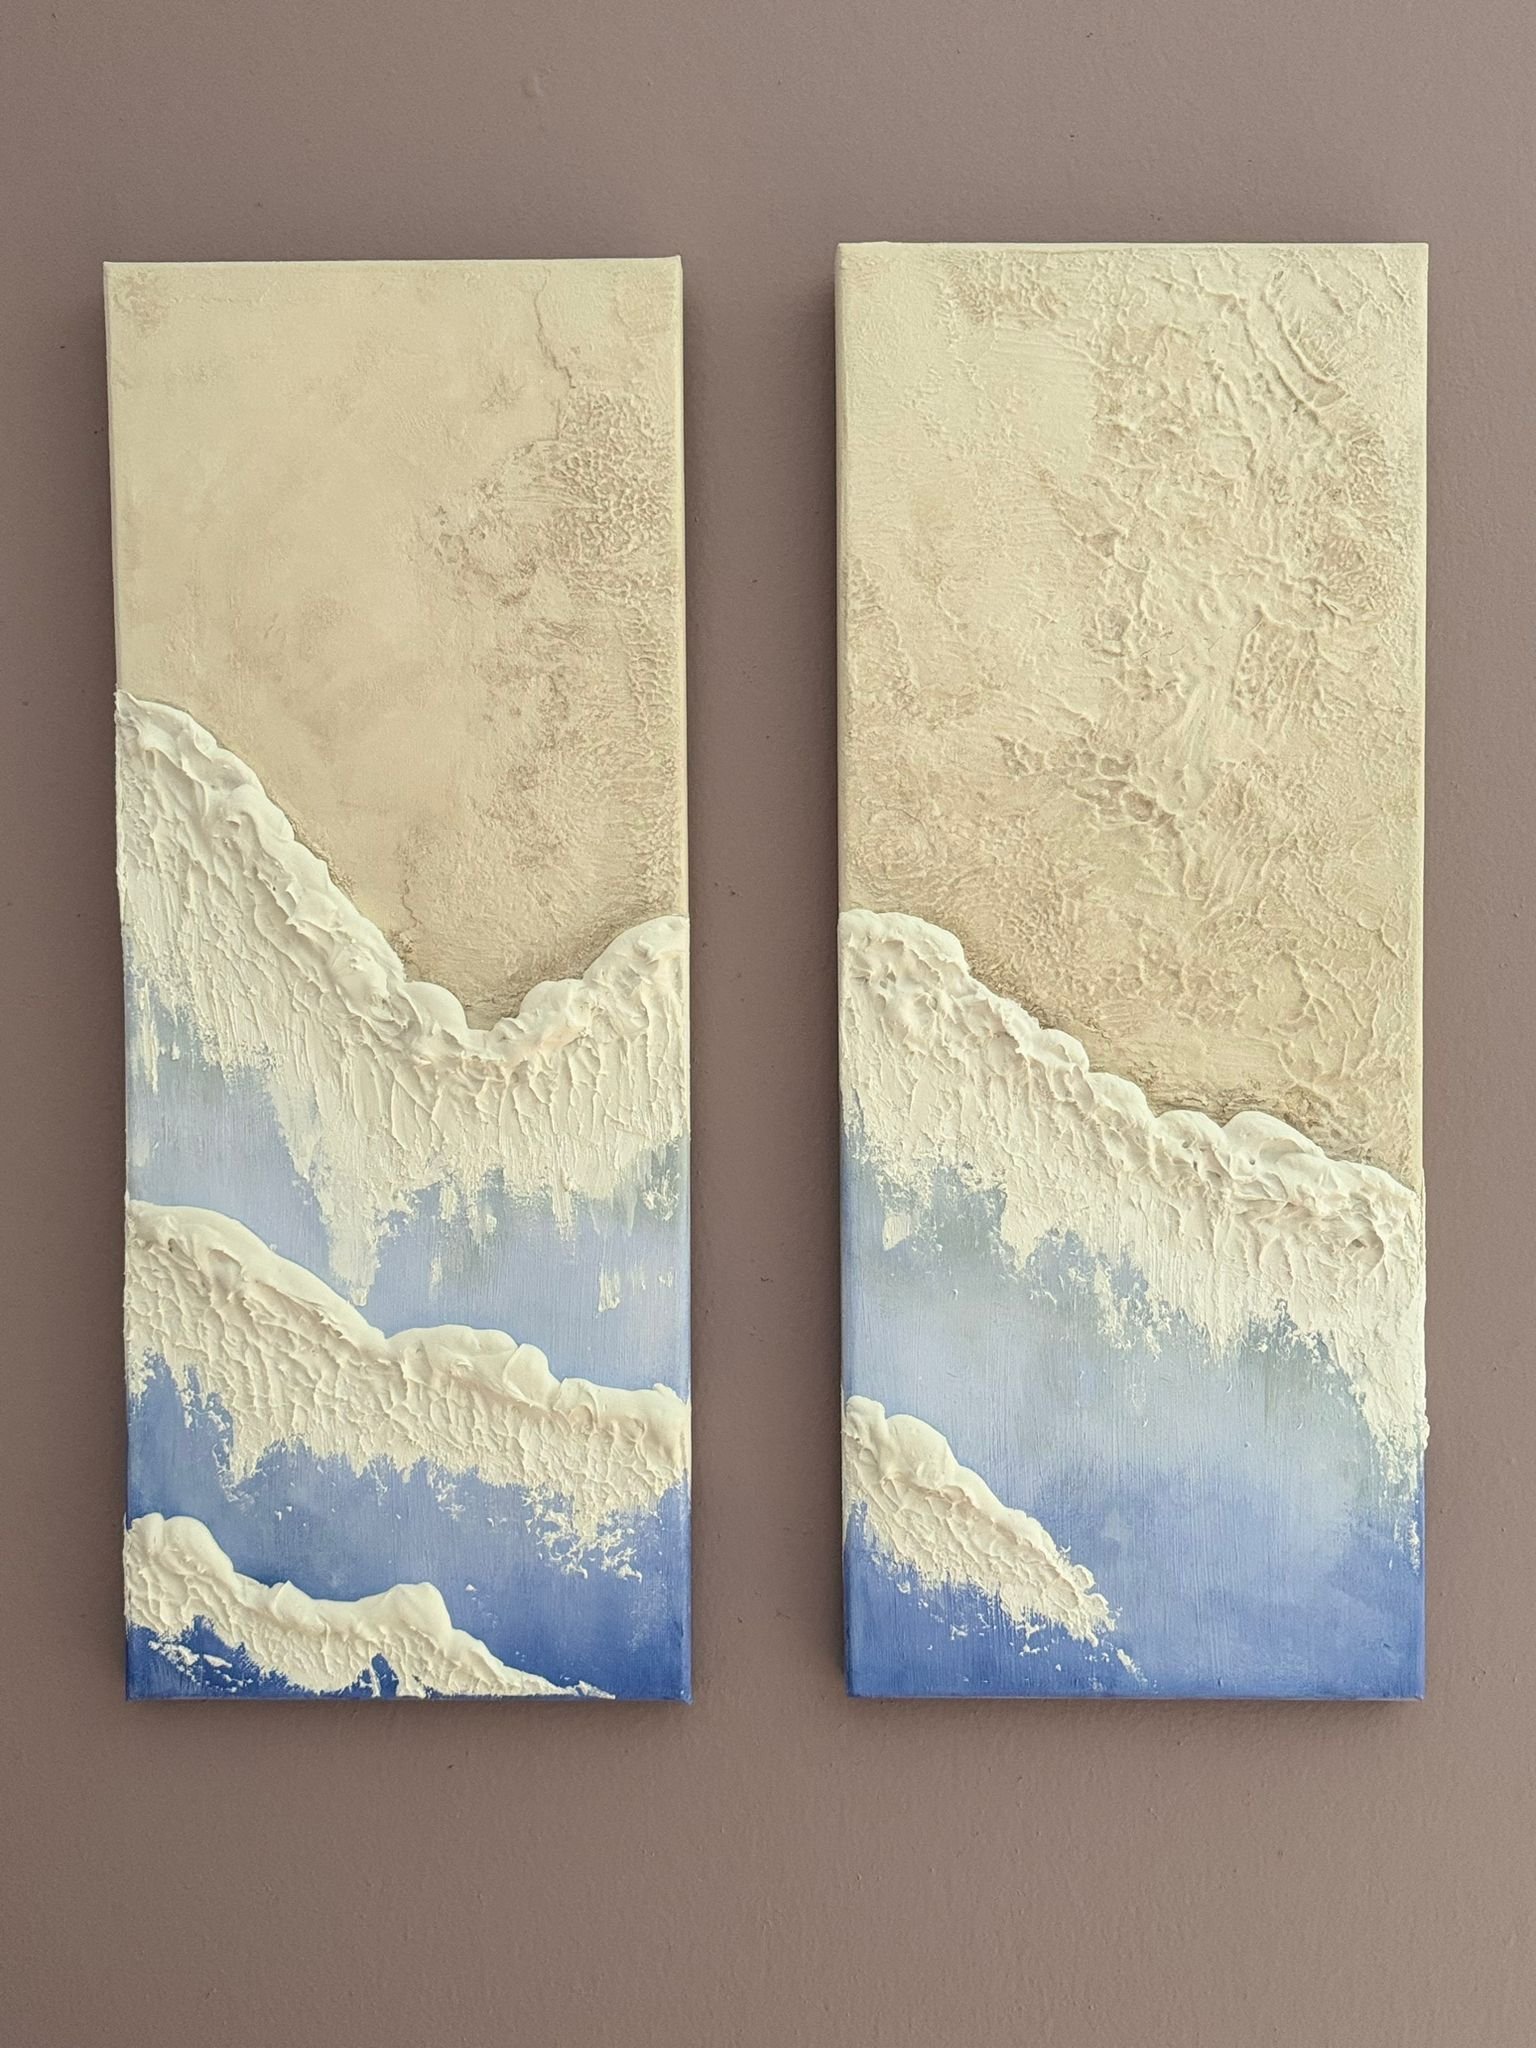
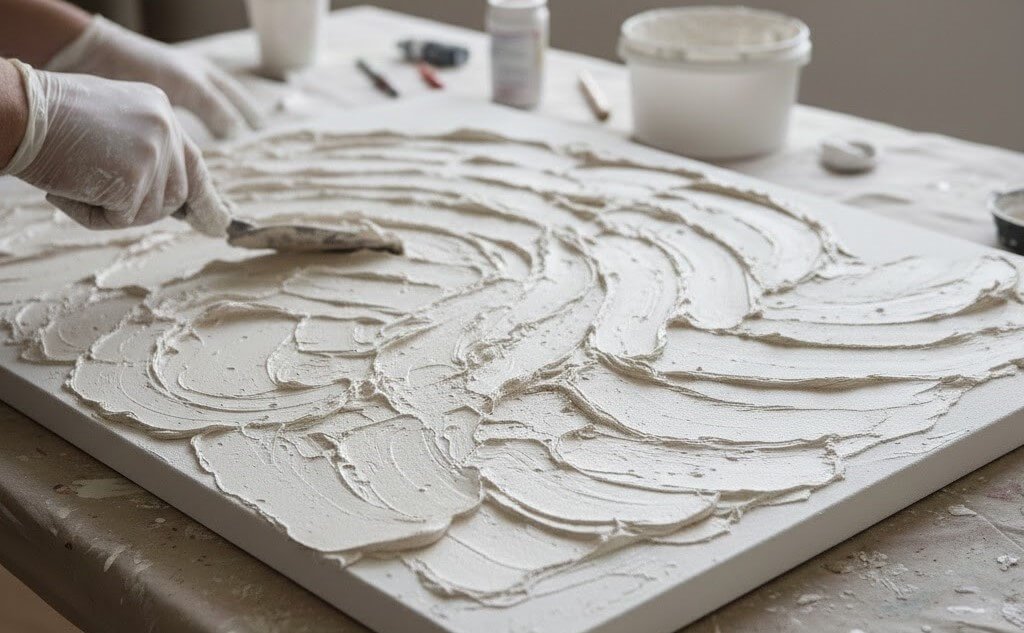
The Fun Part: Texture Time! While the base is still damp (but not sopping), start playing:
Drop little globs in spots and swirl them out for extra dimension. Keep adding more mud wherever you want more height. There’s no wrong way – I promise the “oops” moments end up being the coolest parts.
Second (or Third) Layer If You’re Extra
Once the first texture has set up for 30–60 minutes (feels firm but still cool to the touch), you can add another thin layer in spots for even more depth. This is how you get those crazy tall, cloud-like pieces you see online.
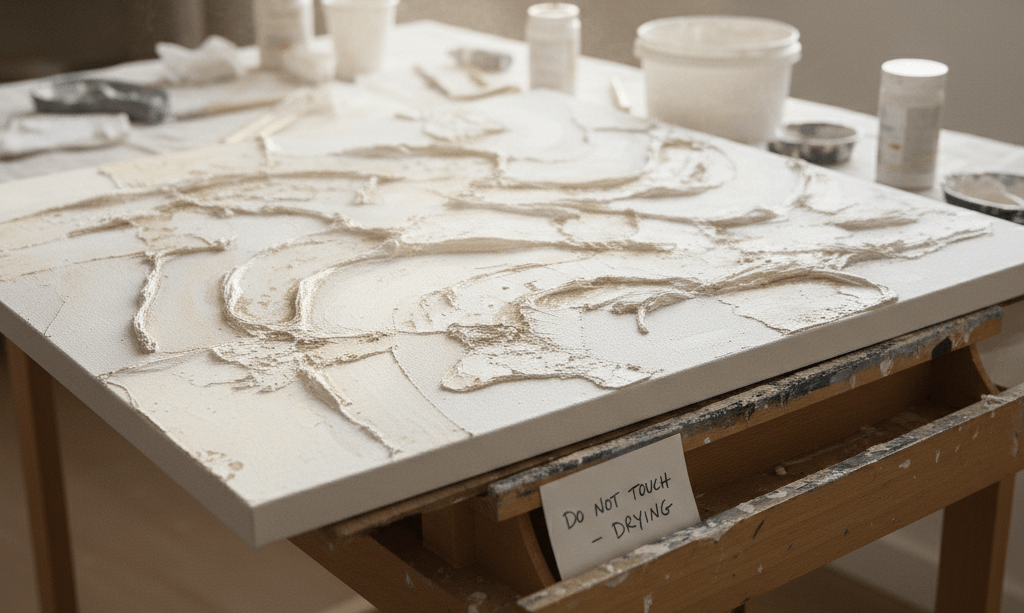
Drying – The Hardest Part (Be patient my friend)
Let it sit 24–48 hours. Thick stuff in humid states (looking at you, Texas and Georgia) can take longer. Point a fan at it, run the AC, or put a dehumidifier nearby. Touch it and you’ll leave permanent fingerprints – ask me how I know.
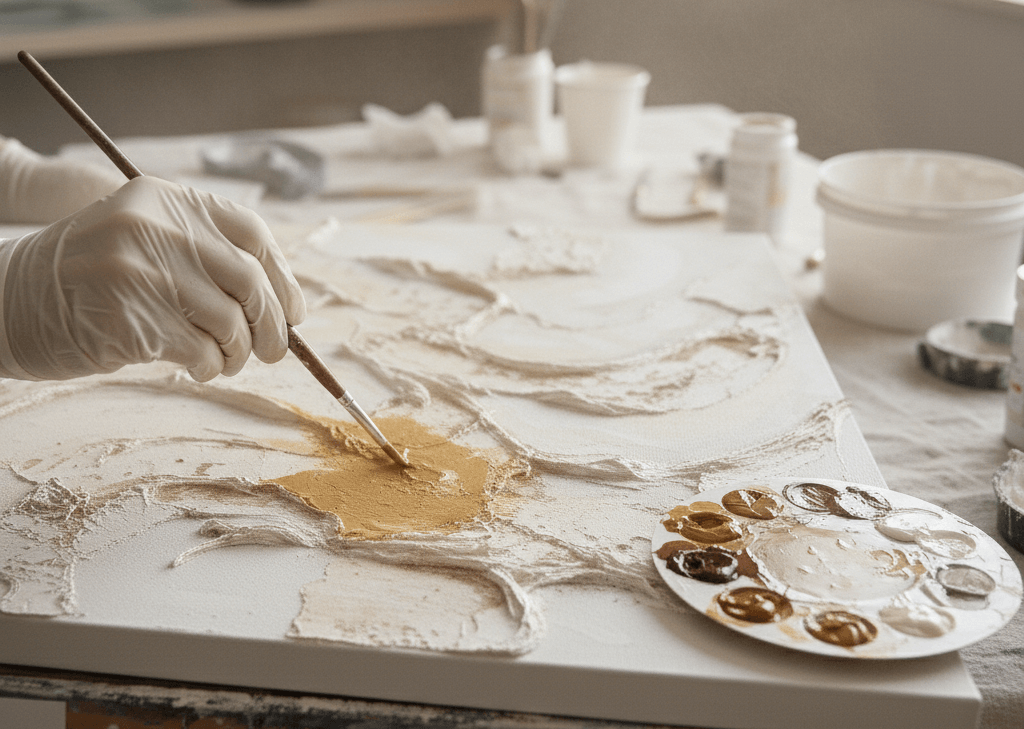
Paint or Leave Raw Once it’s bone-dry, you can:
Seal It So It Doesn’t Dust Forever
Brush or spray two coats of matte clear sealer. This is non-negotiable unless you want white powder on your couch every time someone slams a door.
Once the texture is dry, it’s time for finish. This is where your piece transitions from raw sculptural art to a wall-worthy object.

Sign up to grab 10% off your first order and be the first to hear about new drops and exclusive deals!