As I embarked on my DIY project to create textured wall art, I was excited to transform my unframed canvas into a stunning piece of art. Using a miter saw, I cut a piece of wood for the frame and assembled the frame pieces together.
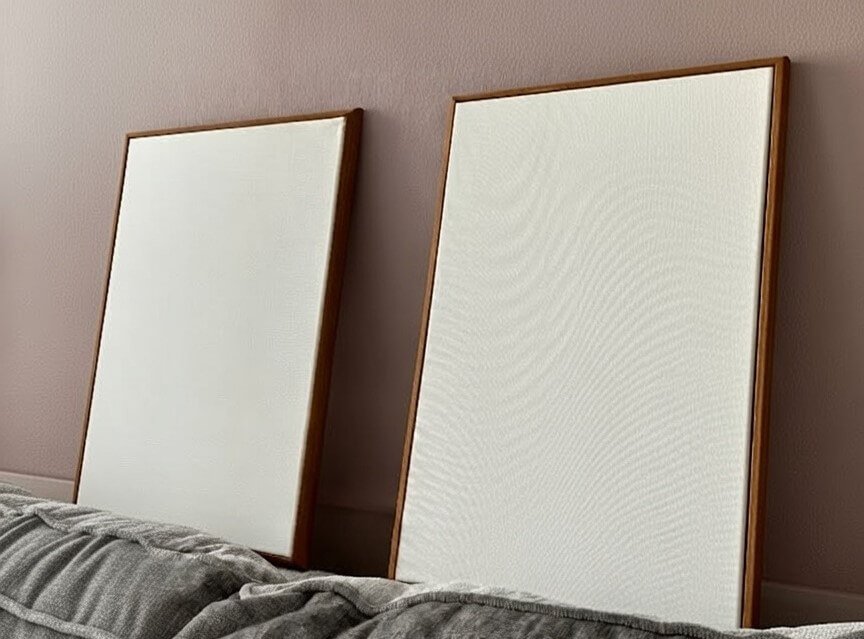
If you’ve ever unwrapped a beautiful stretched canvas and felt it looked unfinished on your wall, you’re going to love this: I’ll show you how to make a frame for canvas art, so your piece feels fully designed-in and intentional. I’m an interior-design-lover with an architectural background, and I believe every wall textured art piece should feel like it belongs – so I’ll walk you through the process of making a canvas frame yourself, in a friendly, no-stress way.
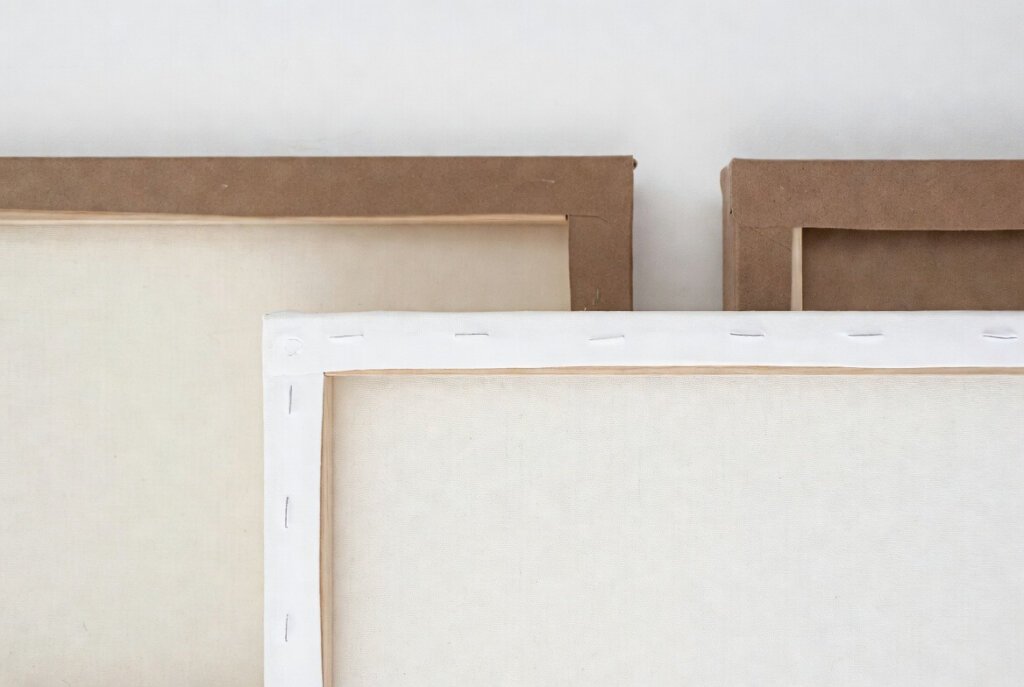
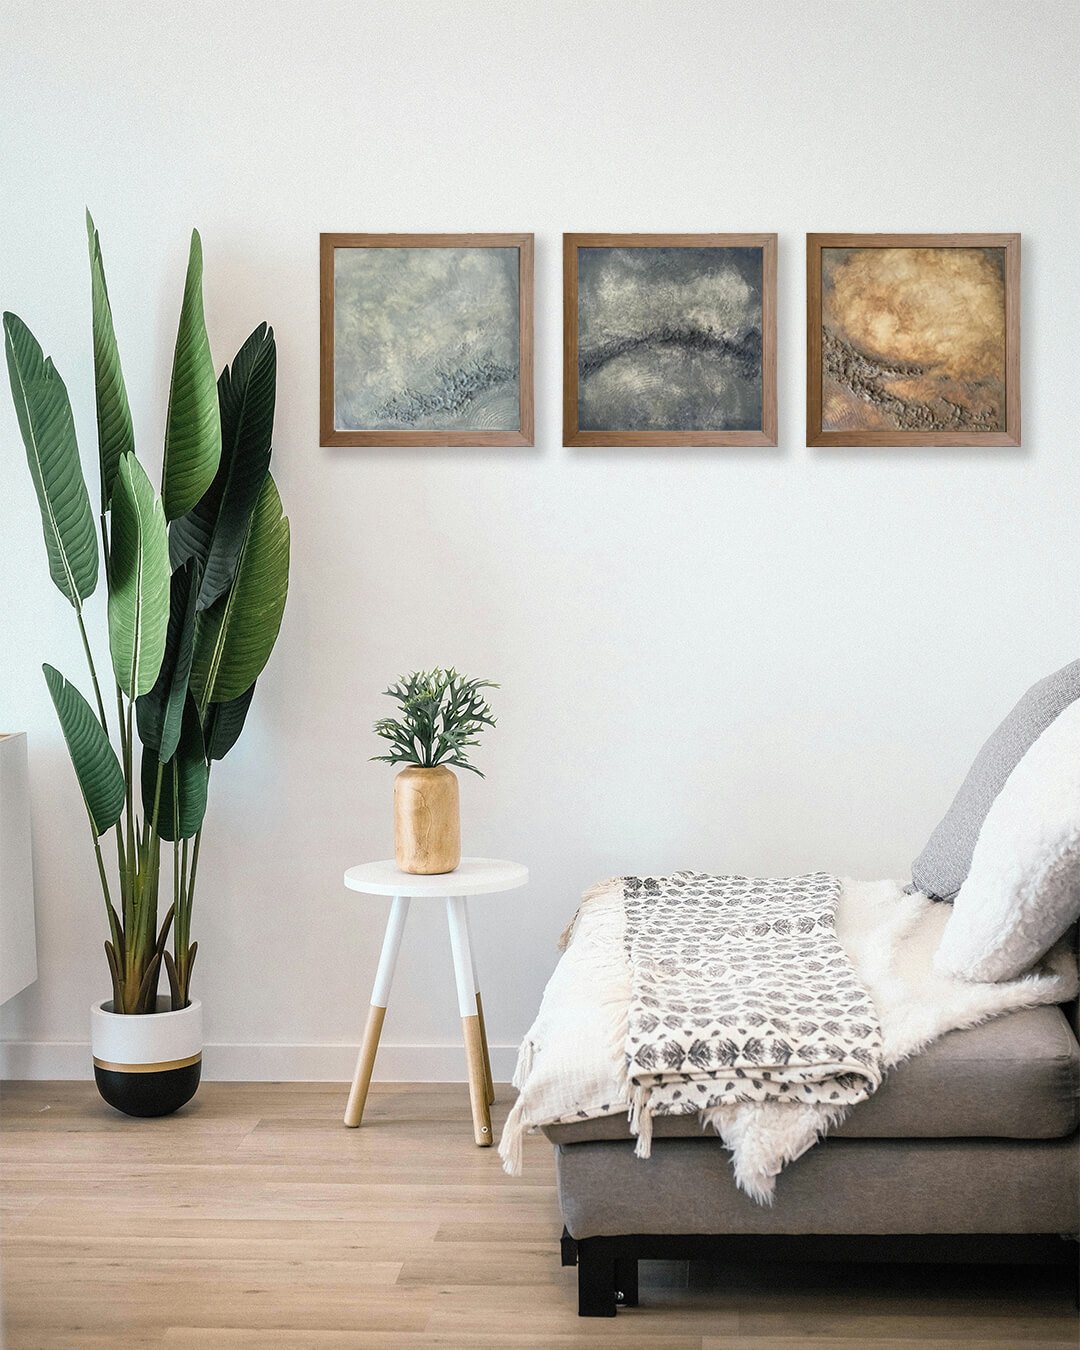
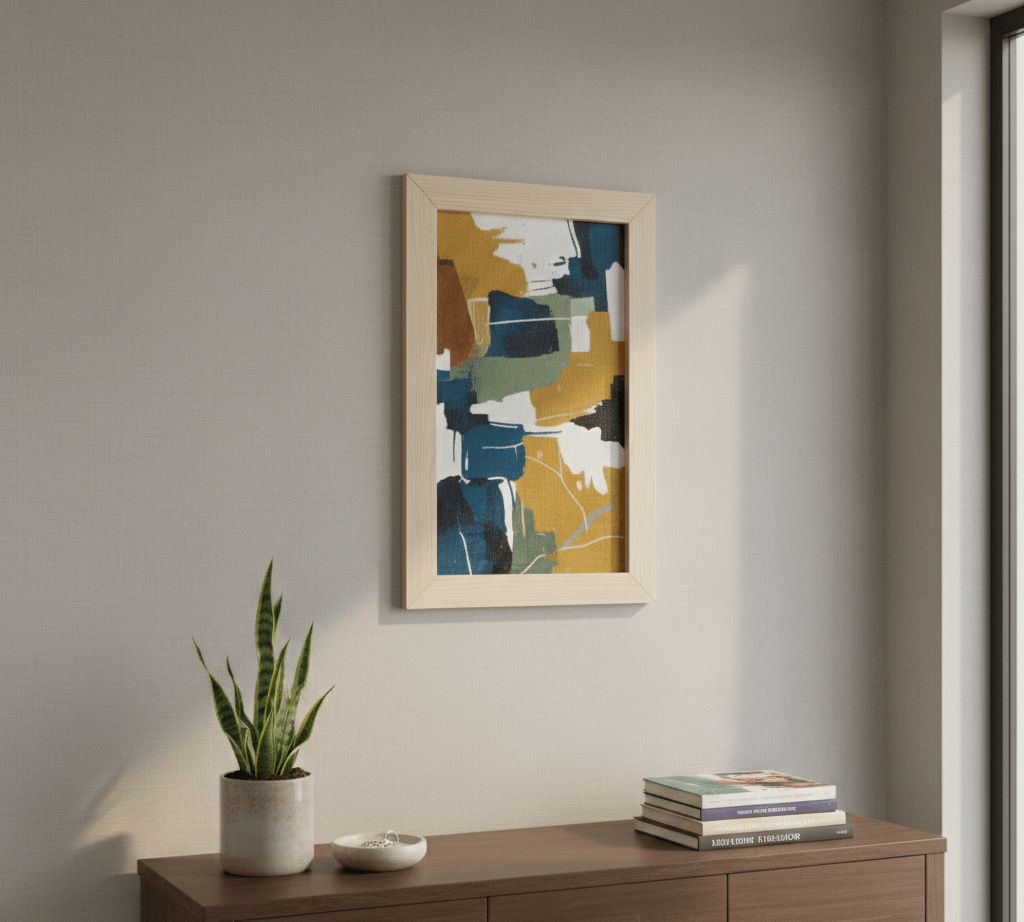
When I say making a canvas frame, I mean building a border or surround around your stretched canvas so the artwork looks finished and integrated in your space. Many canvases come without frames (gallery-wrapped or not), and while that might be fine in some settings, adding a frame gives you extra structure, visual weight, and harmony in the room.
Yes and no. You can leave a gallery-wrapped canvas unframed, but there are some benefits to framing:
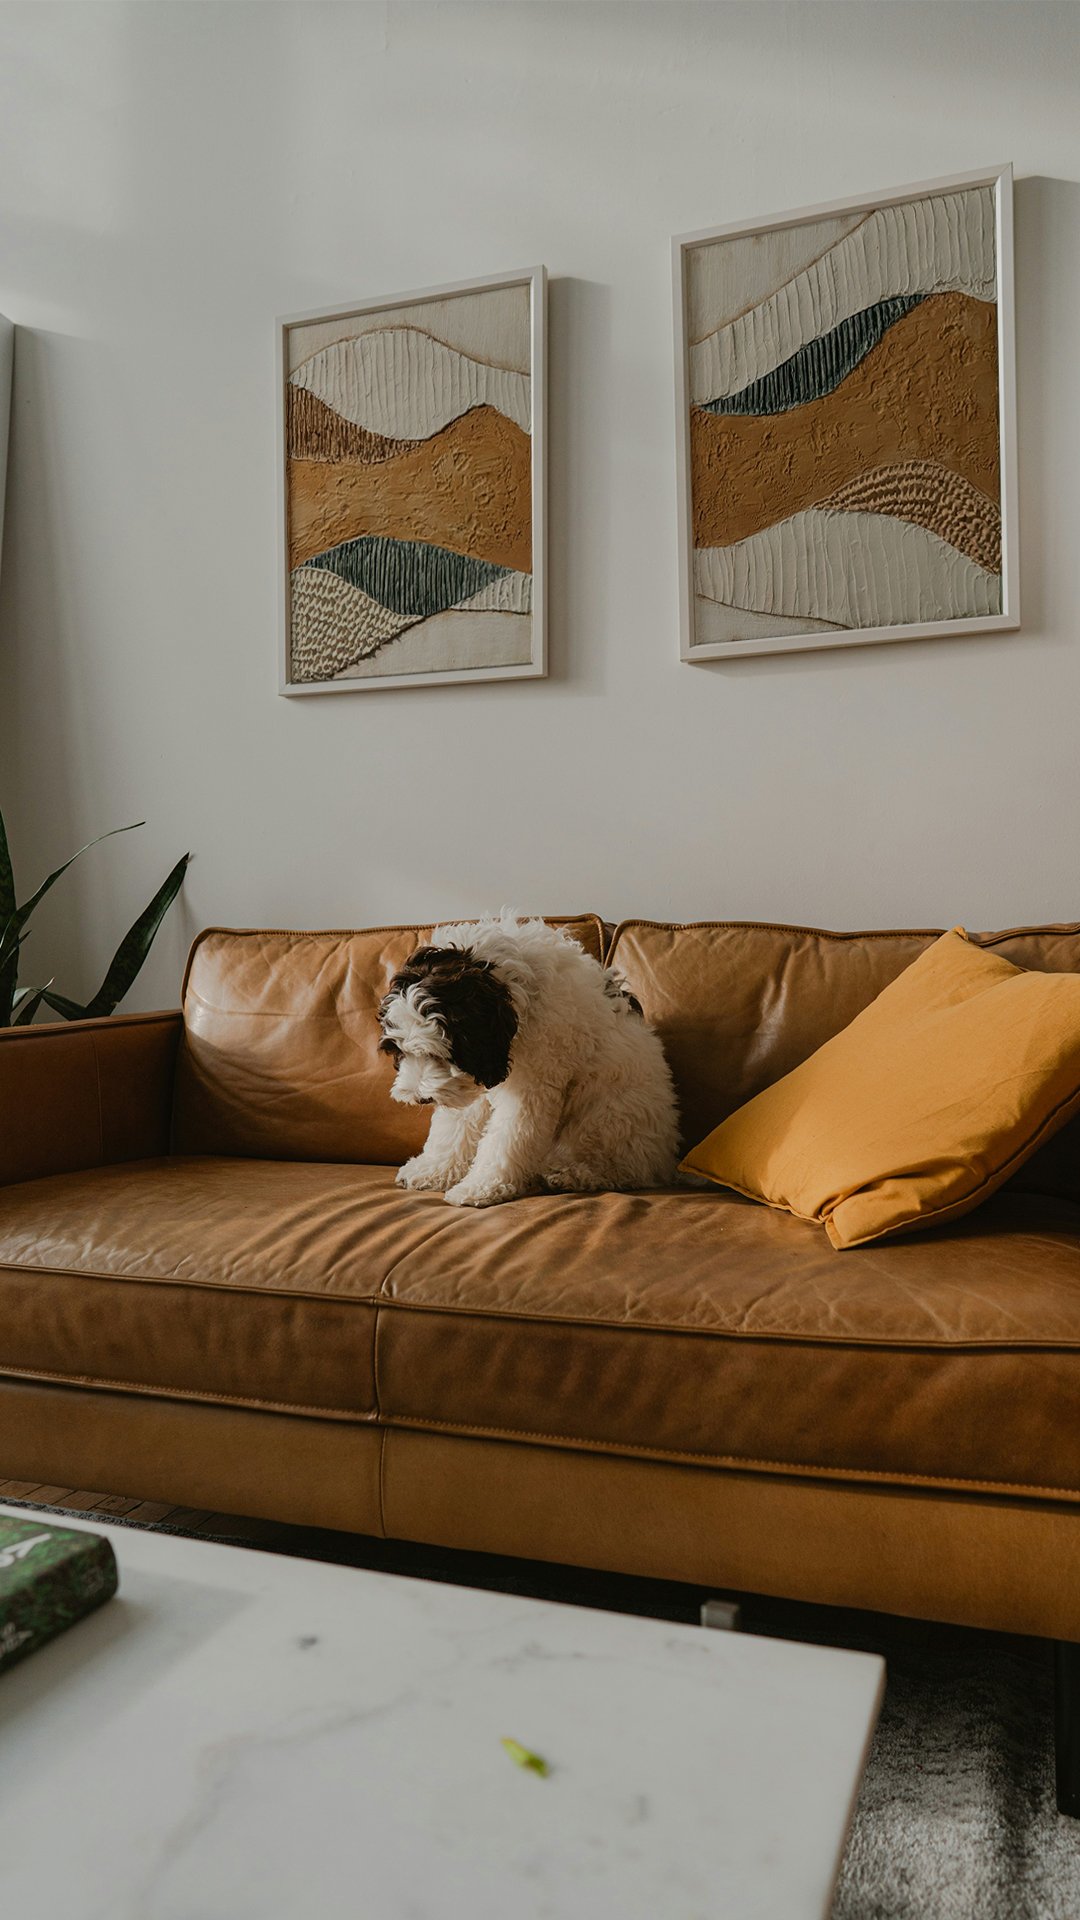
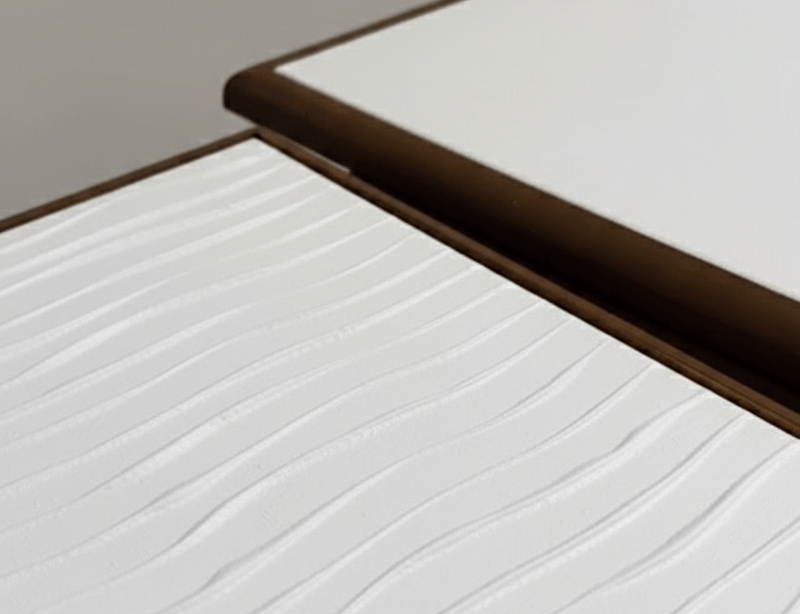
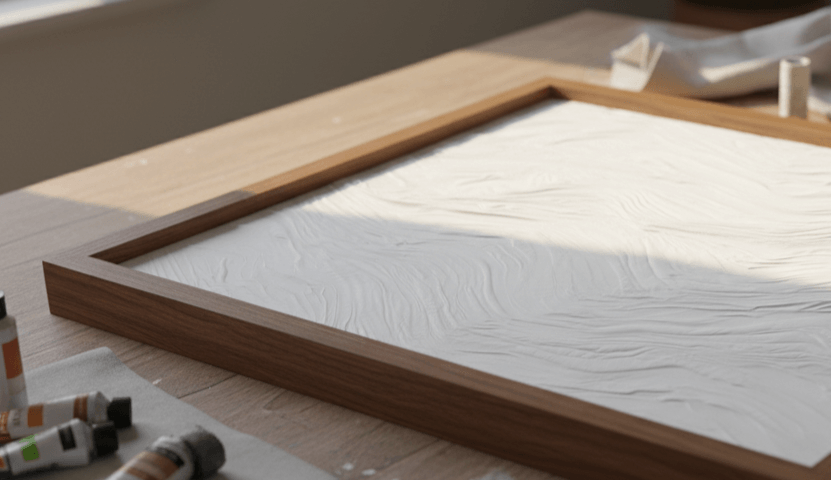
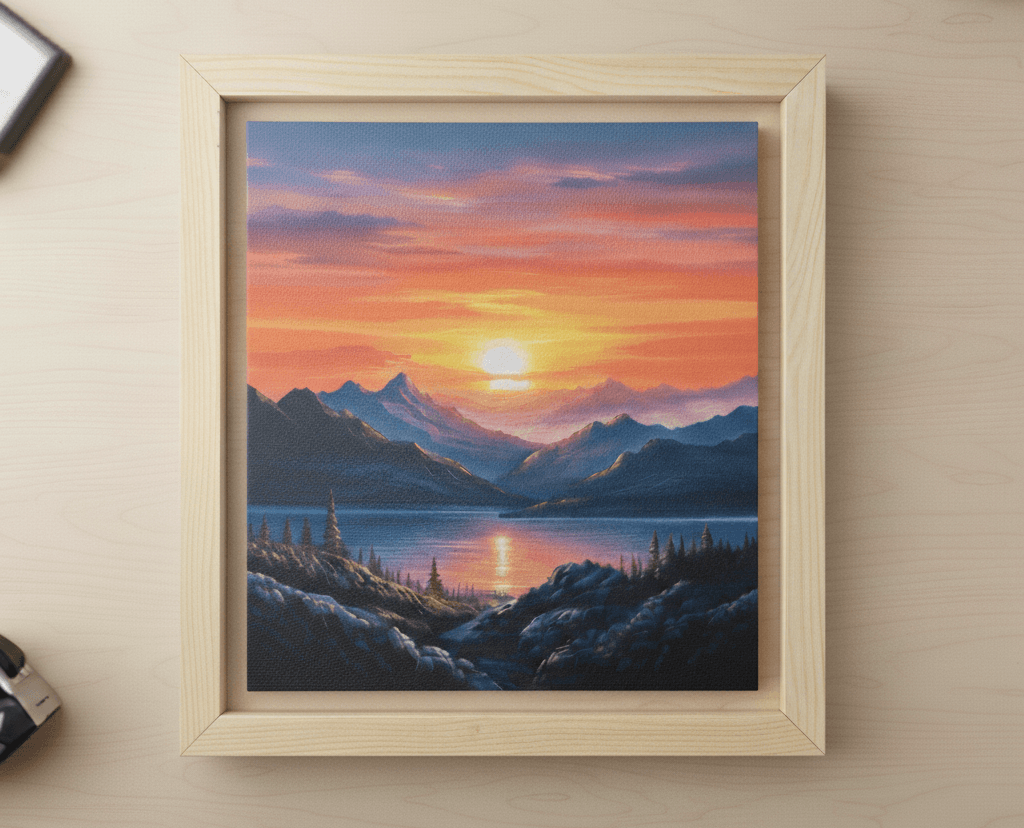
The frame’s inside edge sits tight to the canvas edge, with little to no gap. It gives a clean, minimal look.
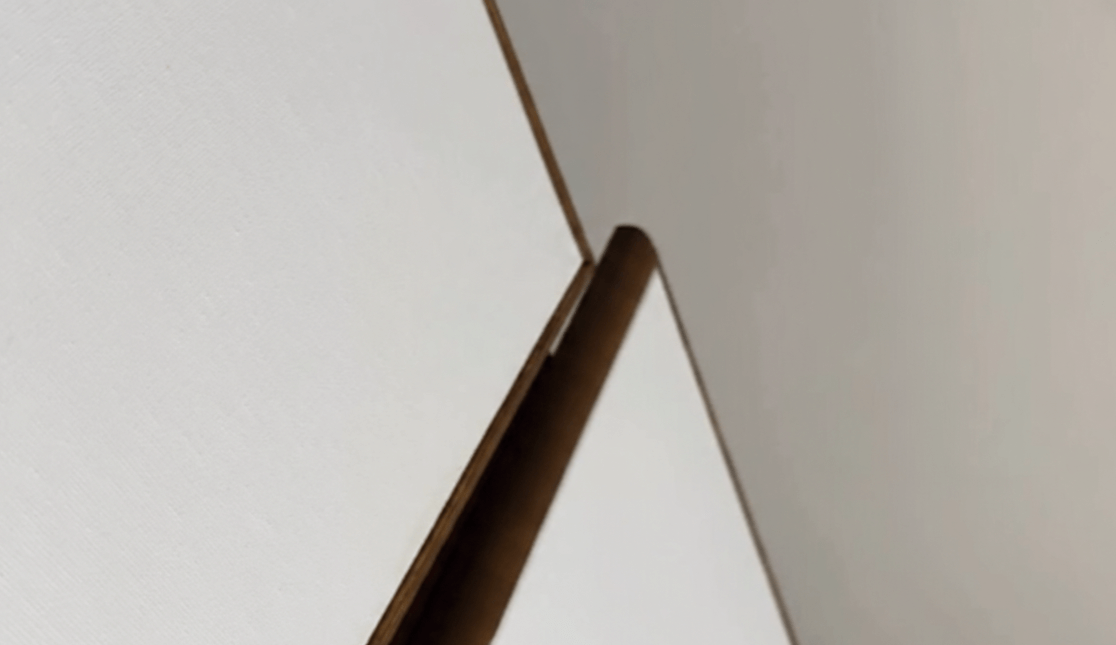
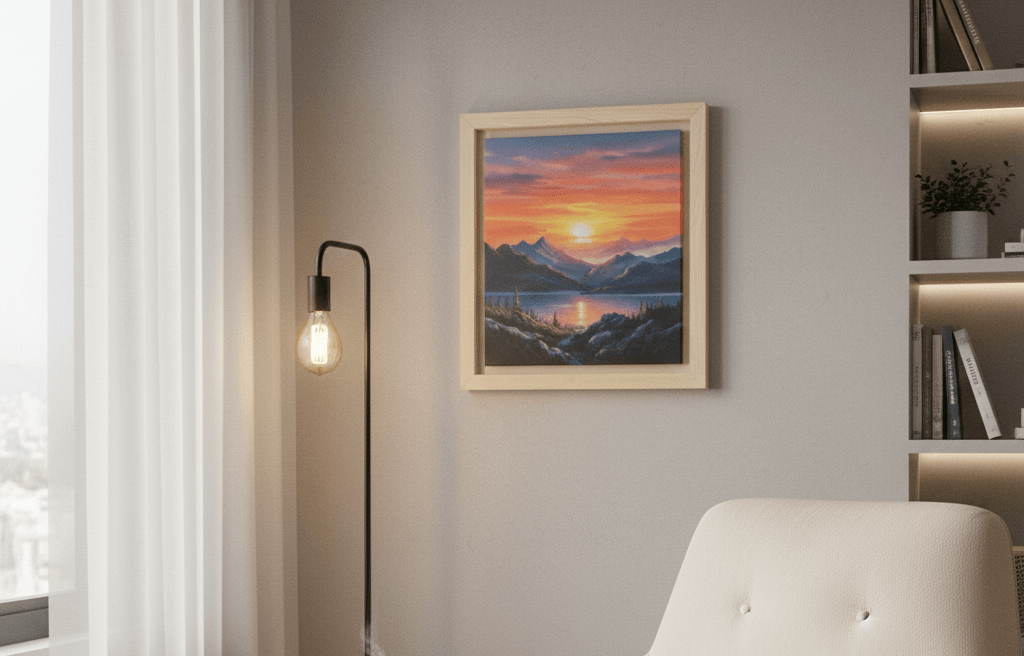
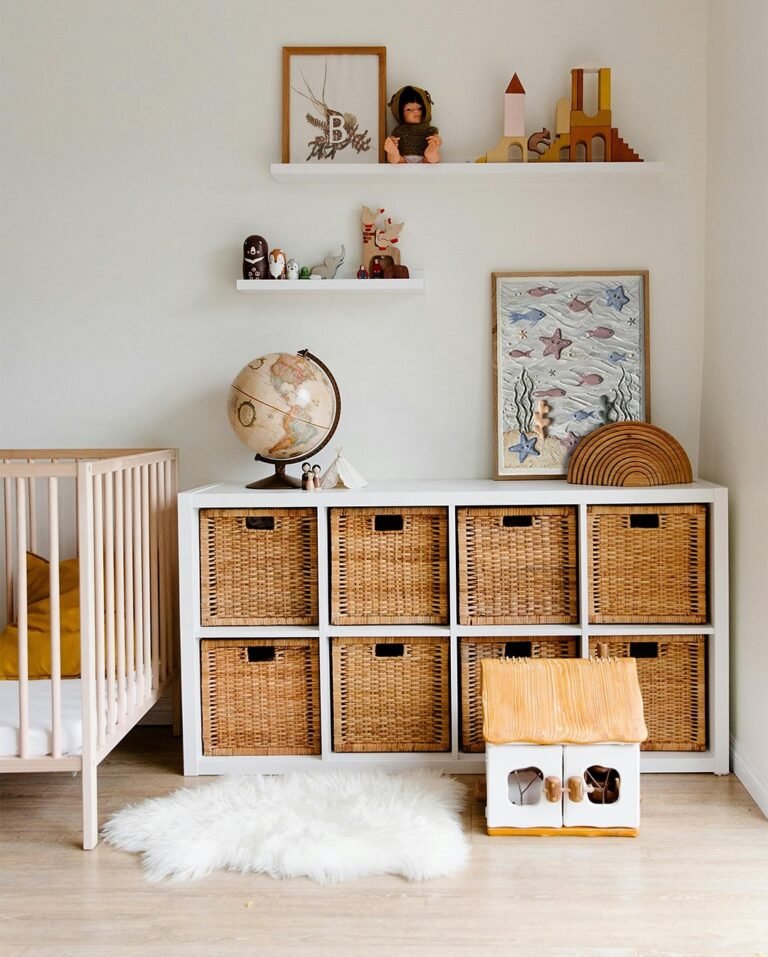
The canvas appears to “float” inside the frame, with a visible gap between the edge of the canvas and the frame lip. This adds depth and a gallery feel.
If you want subtle depth and shadow, choose floating. If you prefer minimal lines and a light wood feel, flush could feel softer and more natural.
Here’s a breakdown:
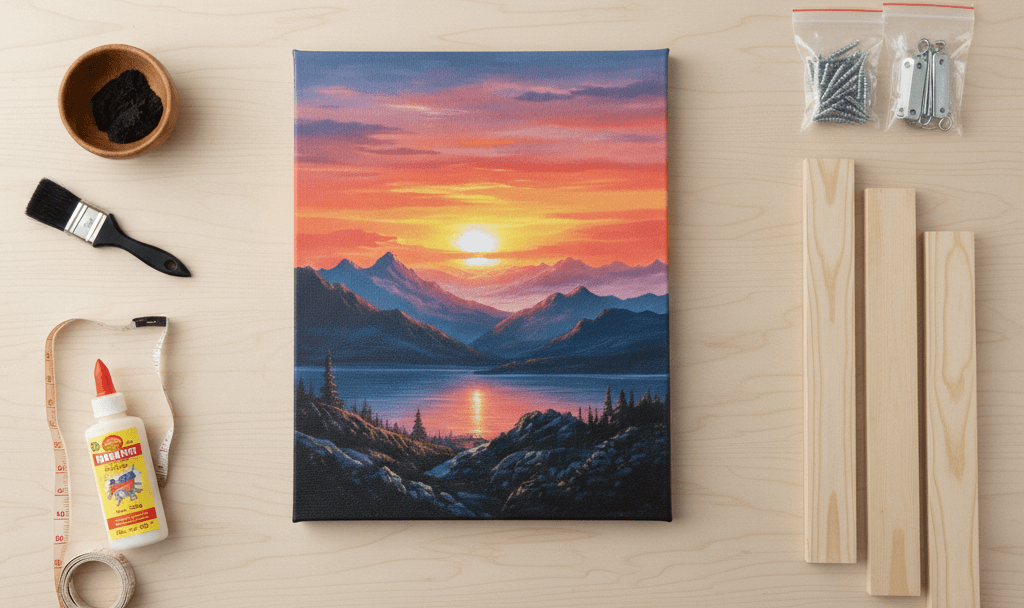
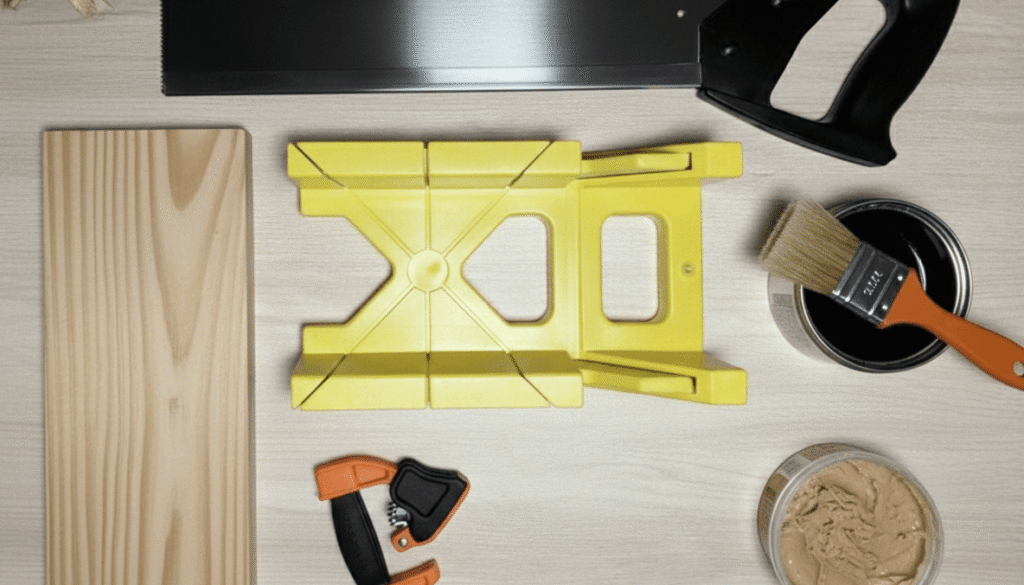
Materials:
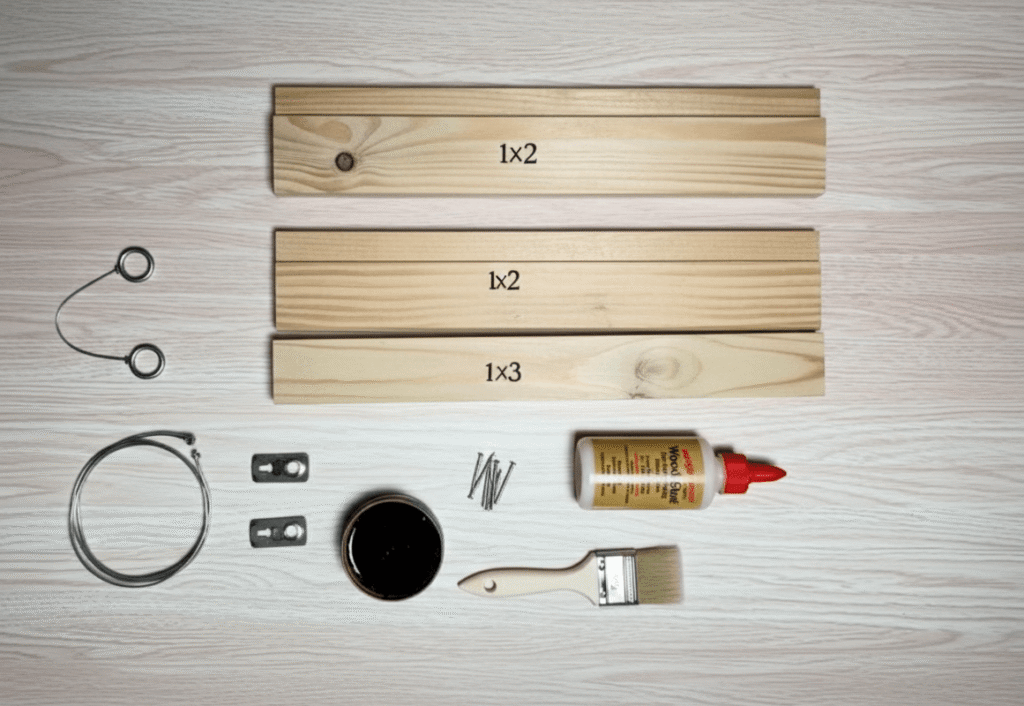
Tools:
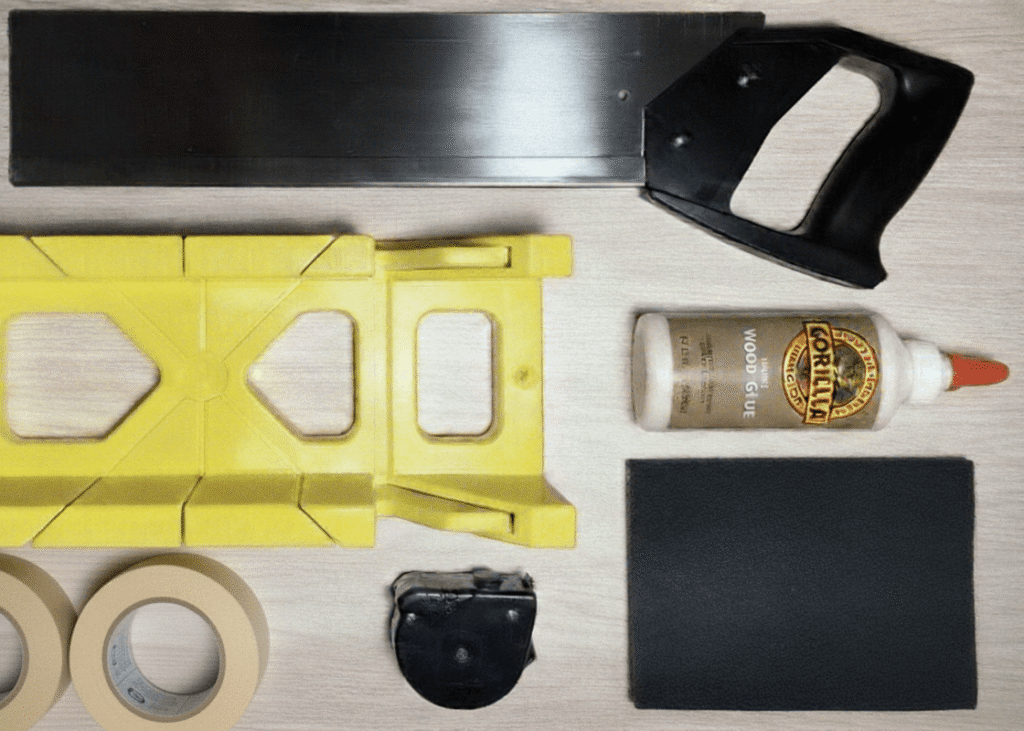
Budget tip: You can skip power tools if you use a miter box and hand saw. Some DIYers built frames without a table saw.
Step 2: Cut the wood for the frame
Step 3: Assemble the frame
Step 4: Finish the wood
Step 5: Attach the canvas
Step 6: Hang and style
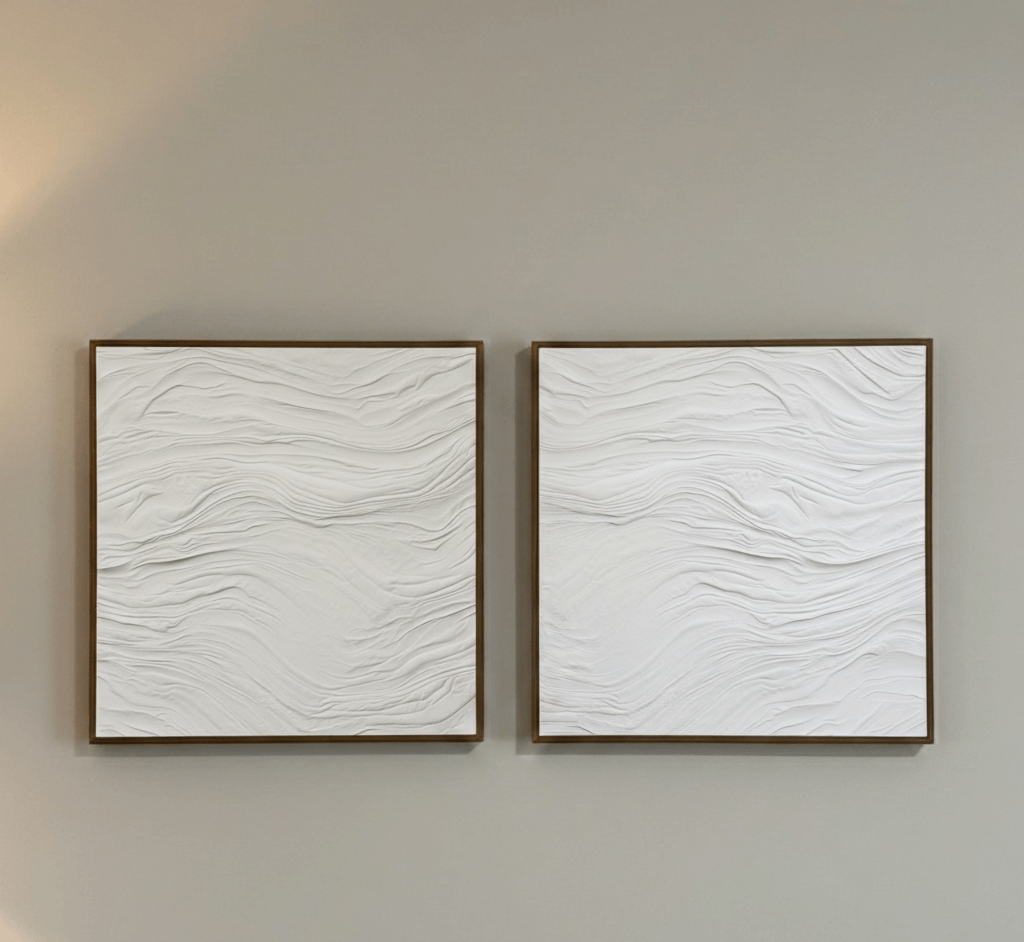
Many of our textured wall art pieces use simple natural frames like this.
Click here to make your own textured canvas first!
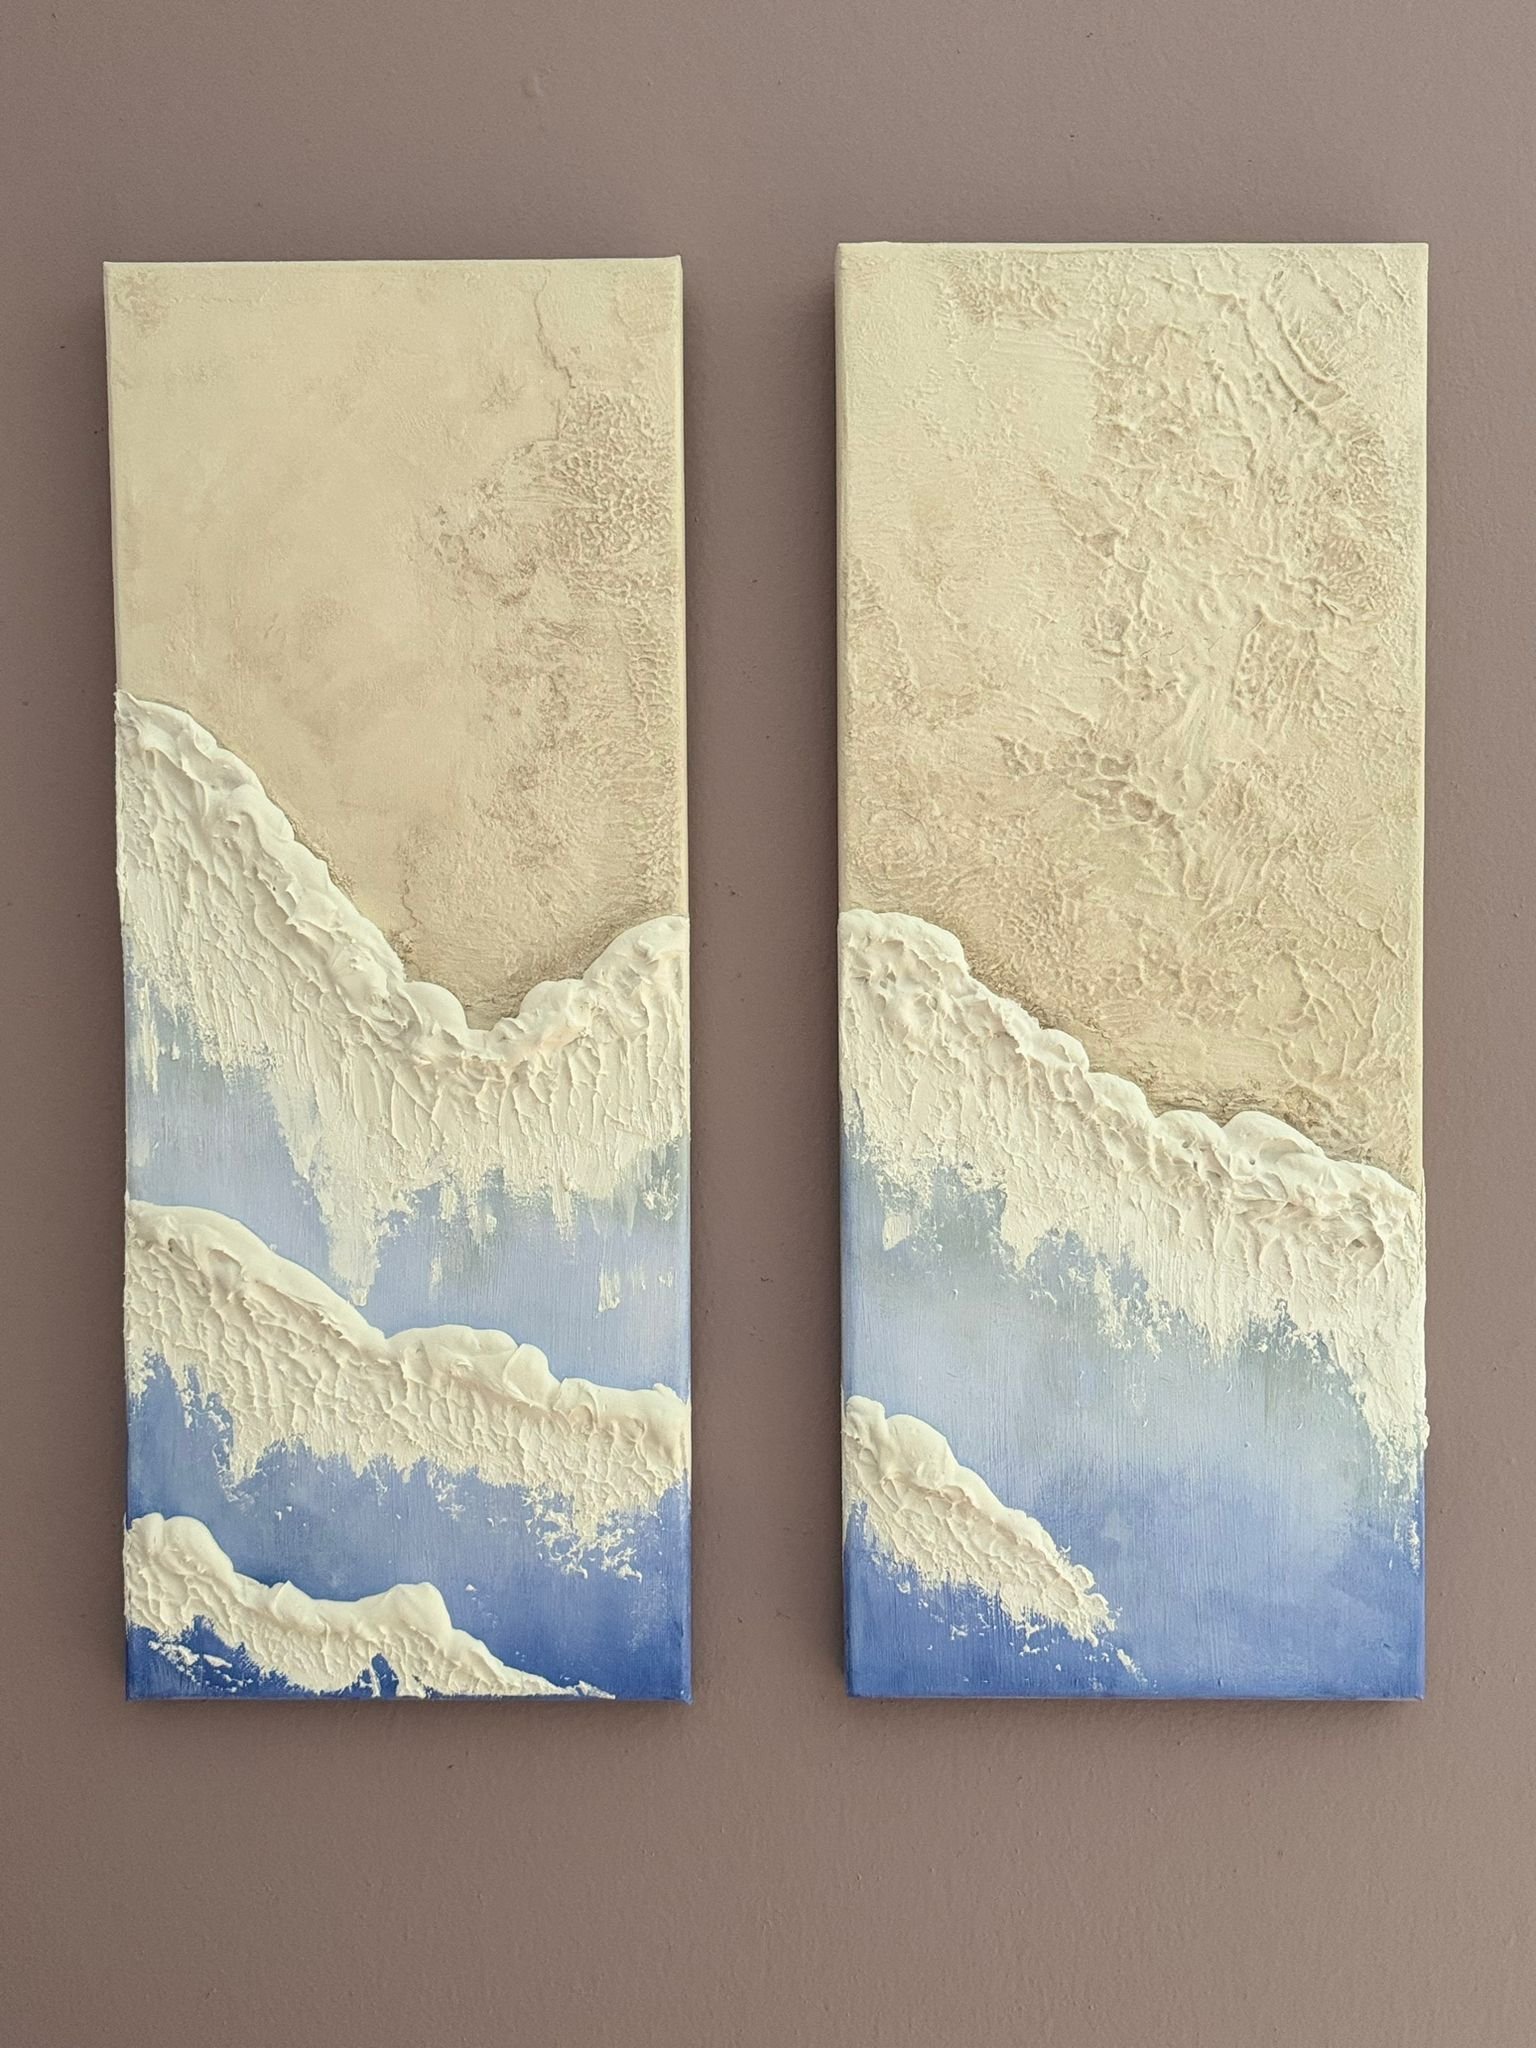
A floating canvas frame is a beautiful way to give your artwork a modern, elevated look without overwhelming the piece itself. Instead of sitting flush against the frame, the canvas is mounted with a small gap all the surrounding way, creating the illusion that the artwork is “floating” inside the frame. This subtle shadow space adds dimension, depth, and a clean gallery-style finish that instantly upgrades even the simplest canvas.
What makes floating frames especially popular is how they highlight the edges and texture of the art while still keeping everything minimal and sleek. And just like a traditional frame, you can easily build a floating frame at home using wood strips and basic tools. It’s an affordable, stylish way to make your canvas look professionally displayed without the cost of a custom frame.
I recently created a floating canvas frame, and it was a simple DIY project that really elevated my canvas art. I followed my own tutorial to learn how to frame a canvas using basic materials.
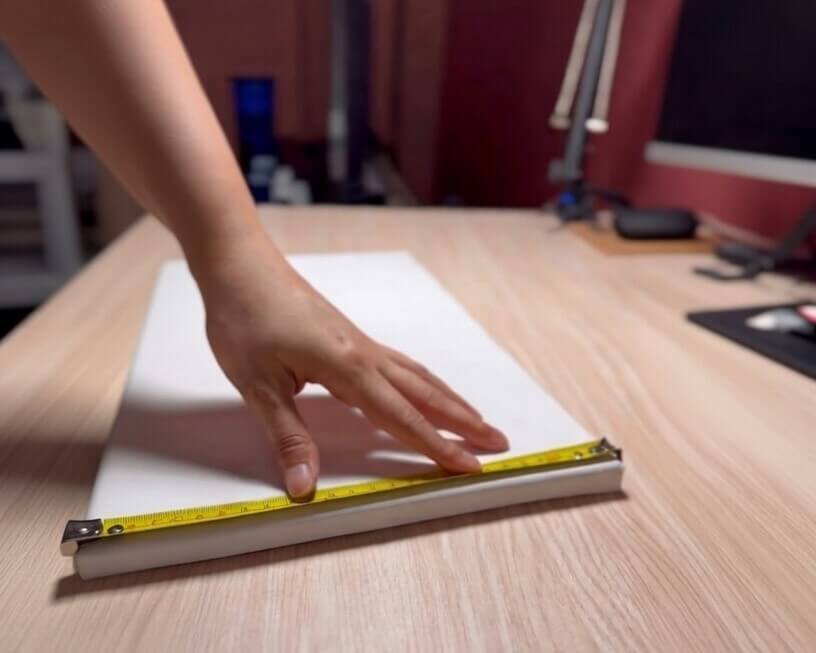
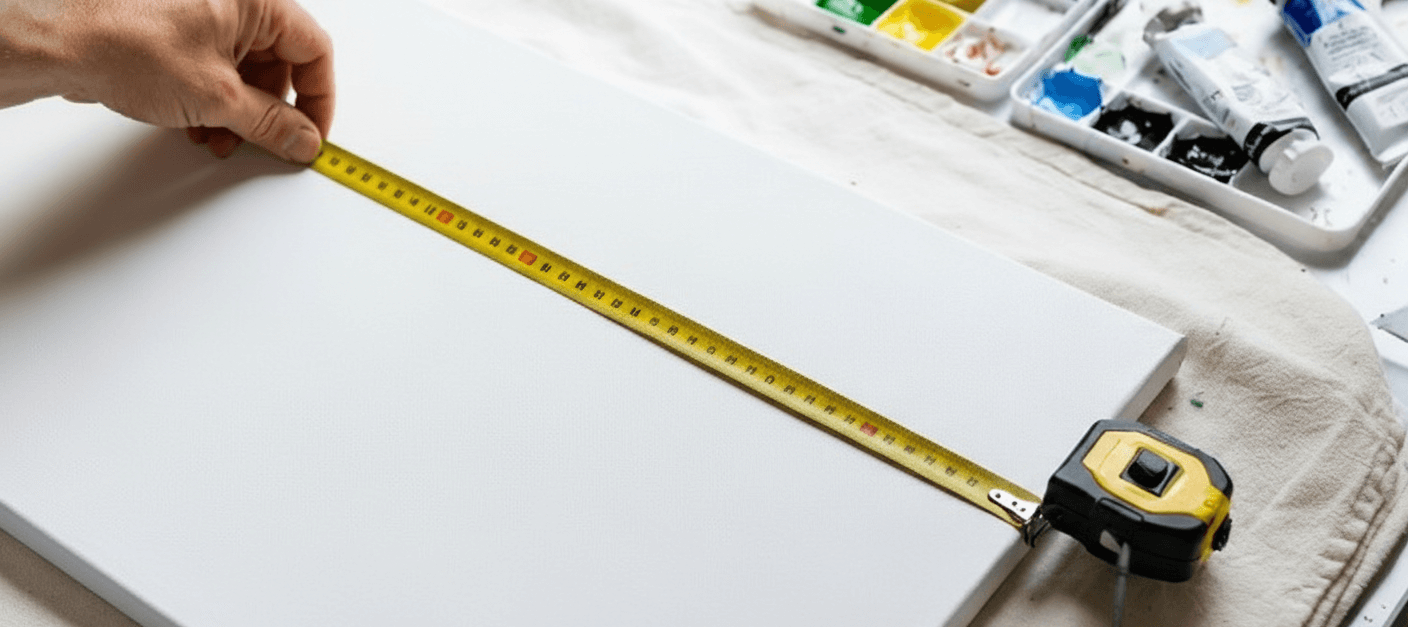
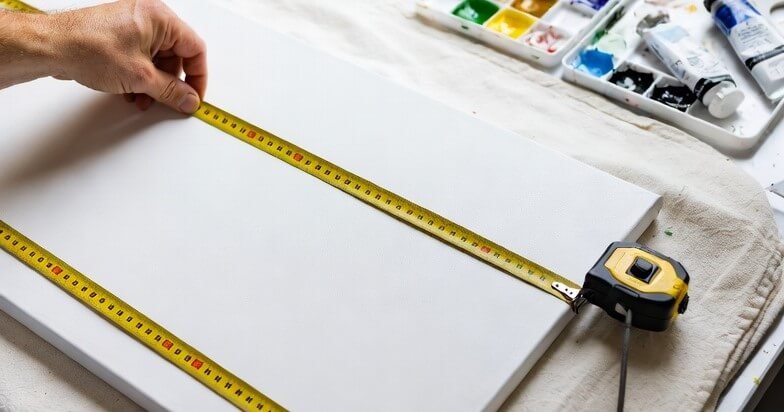
Measure the canvas
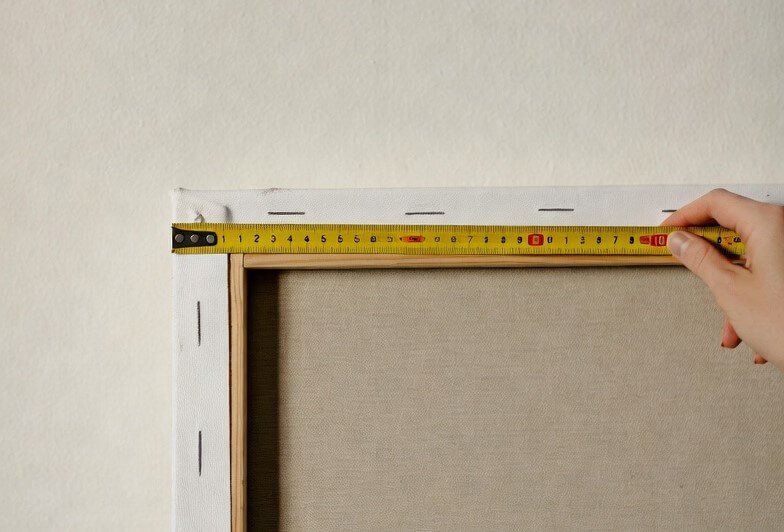
Measure width, height, and depth of the stretched canvas. Decide the gap you want between the canvas edge and the frame face. A typical gap is 1/8″ to 1/4″.
Decide frame profile and wood
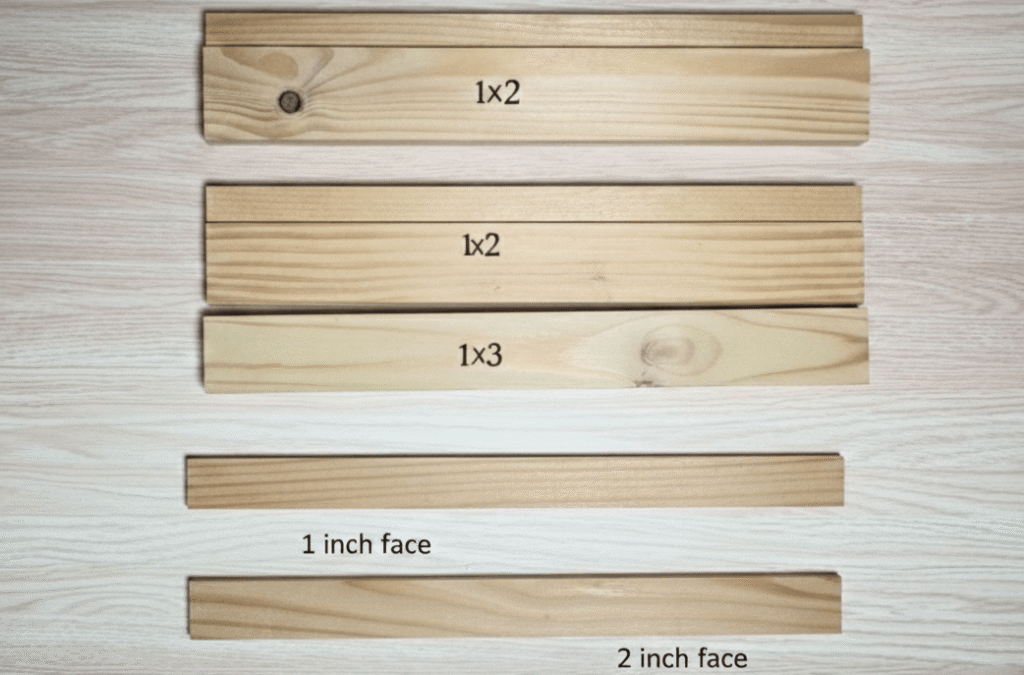
Pick a board width that gives the look you want. For a subtle frame use 1″ to 1.5″ face. For more presence choose 2″ or wider.
Calculate cut lengths
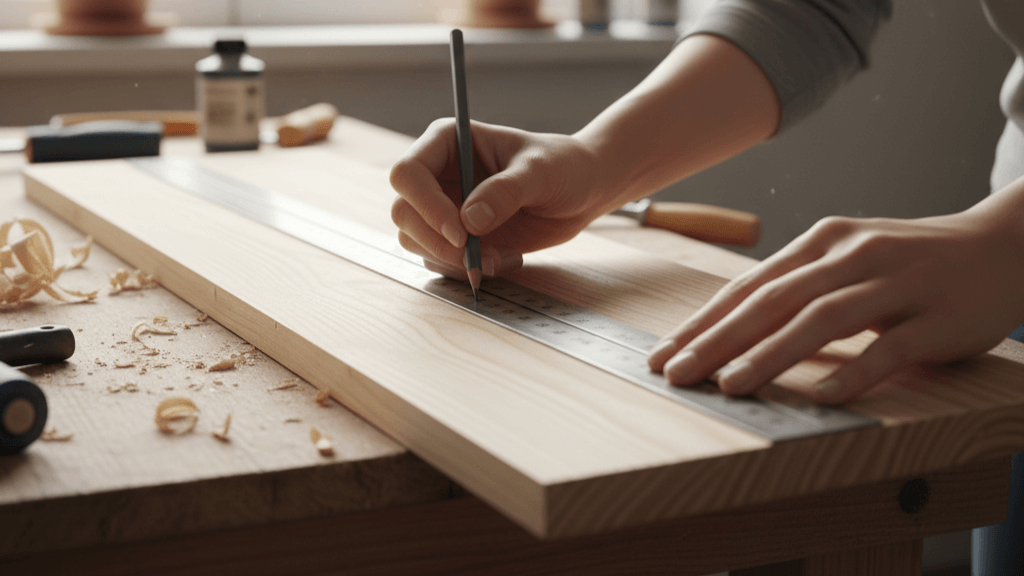
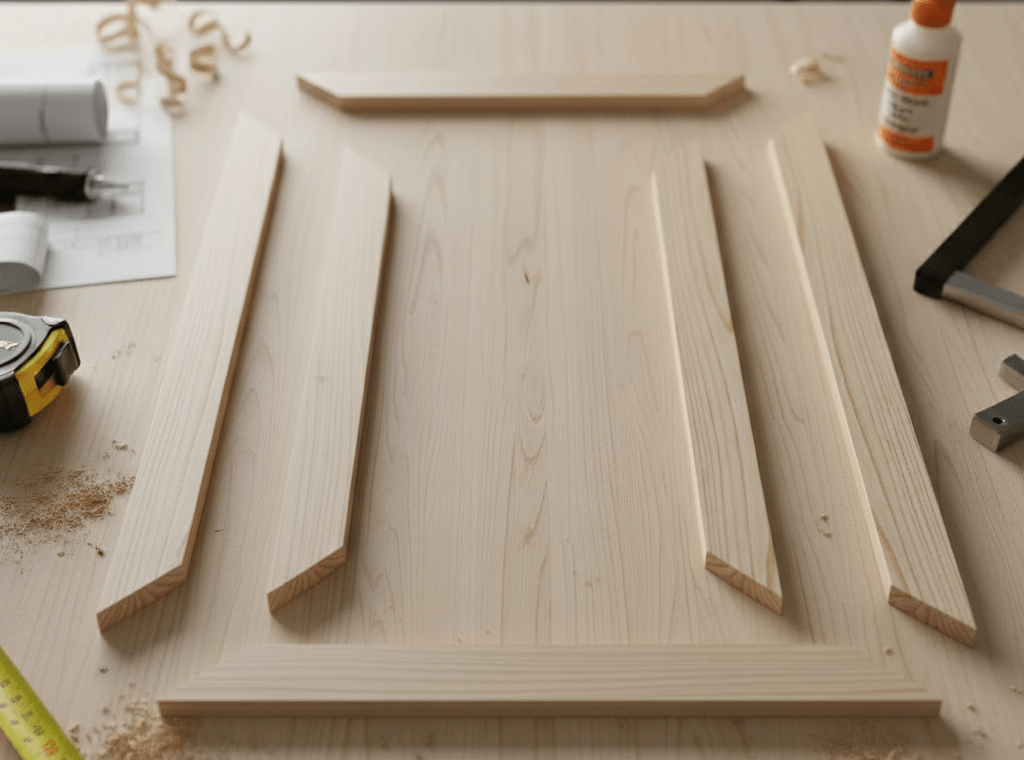
For mitred corners, cut four pieces at 45 degrees. Each piece length equals the final outside length you want for that side. Measure carefully and double check before cutting.
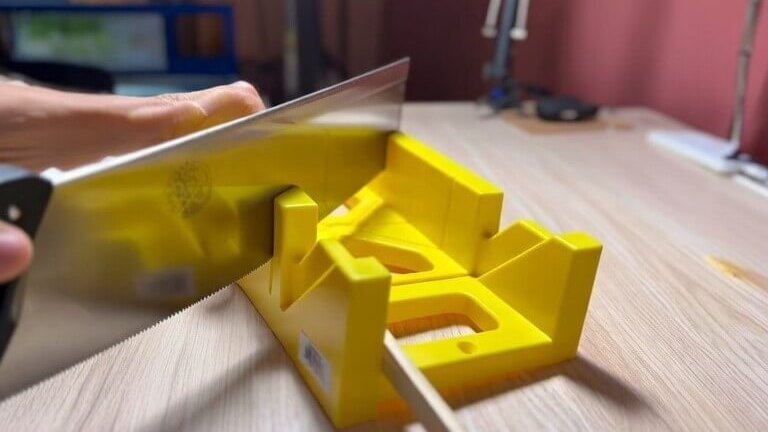
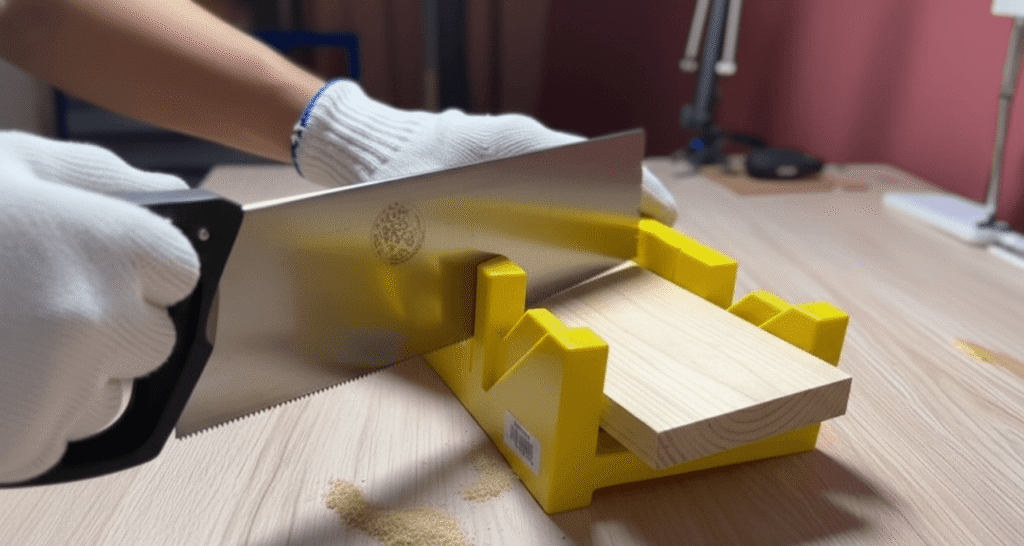
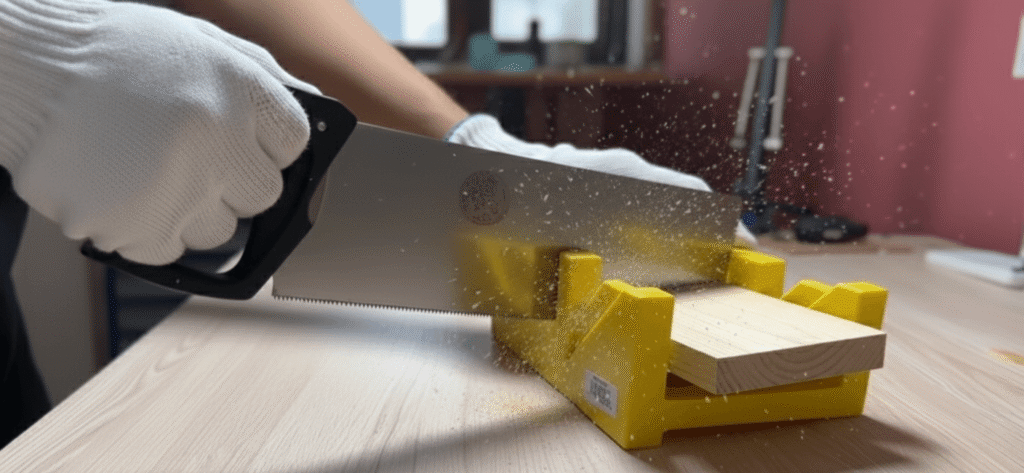
Cut the mitres
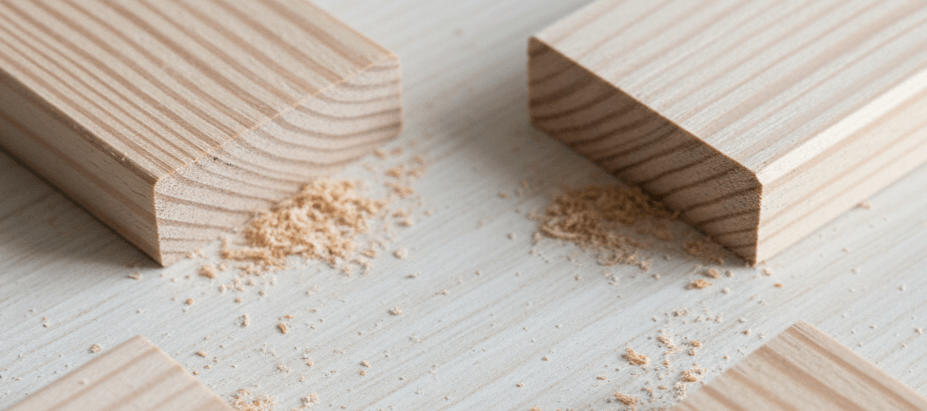
Use a miter saw or miter box to make 45° cuts. Keep the blade/table steady, so corners sit tight when dry-fitted.
I began by cutting the frame pieces to size with the miter saw. I made sure to miter the corners of the frame to achieve a professional look. Once I had everything cut, I assembled the frame together, ensuring the sides were secure.
Dry fit and mark placement
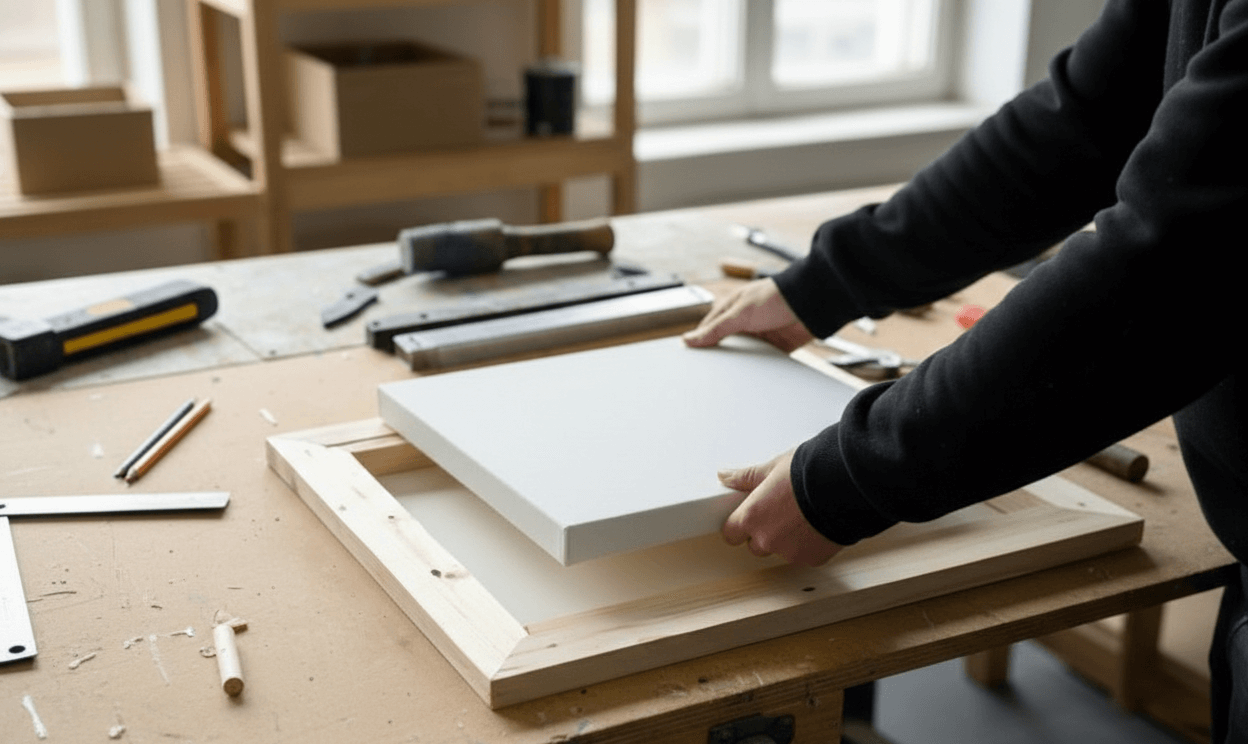
Fit the four pieces together around the canvas without glue. Check the gap you planned. Mark where the canvas will sit inside the frame so you can align later.
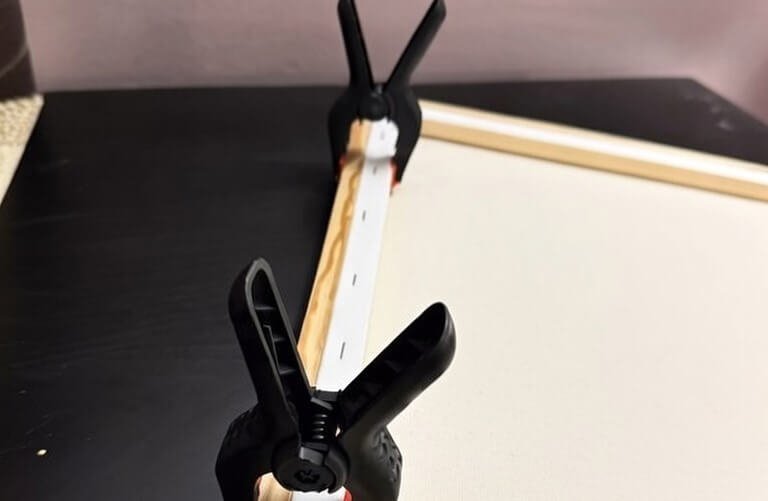
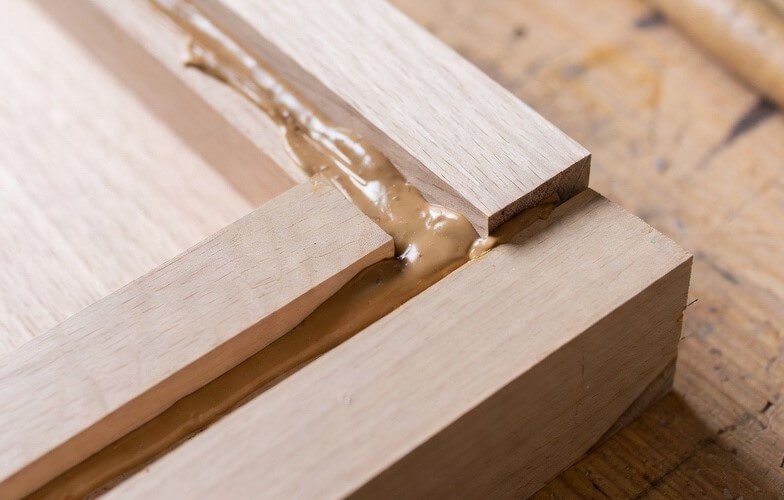
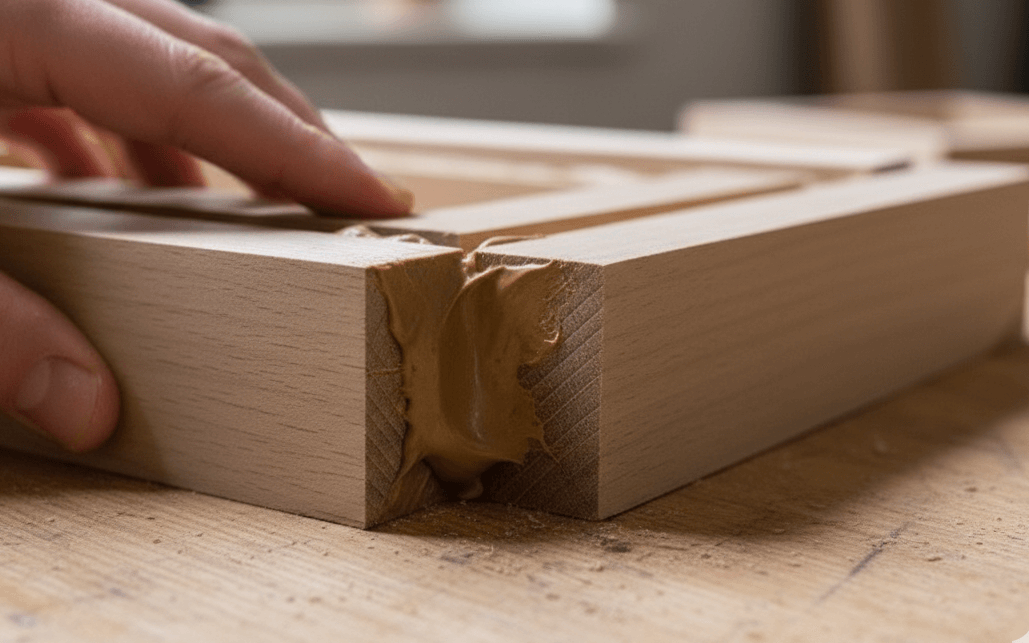
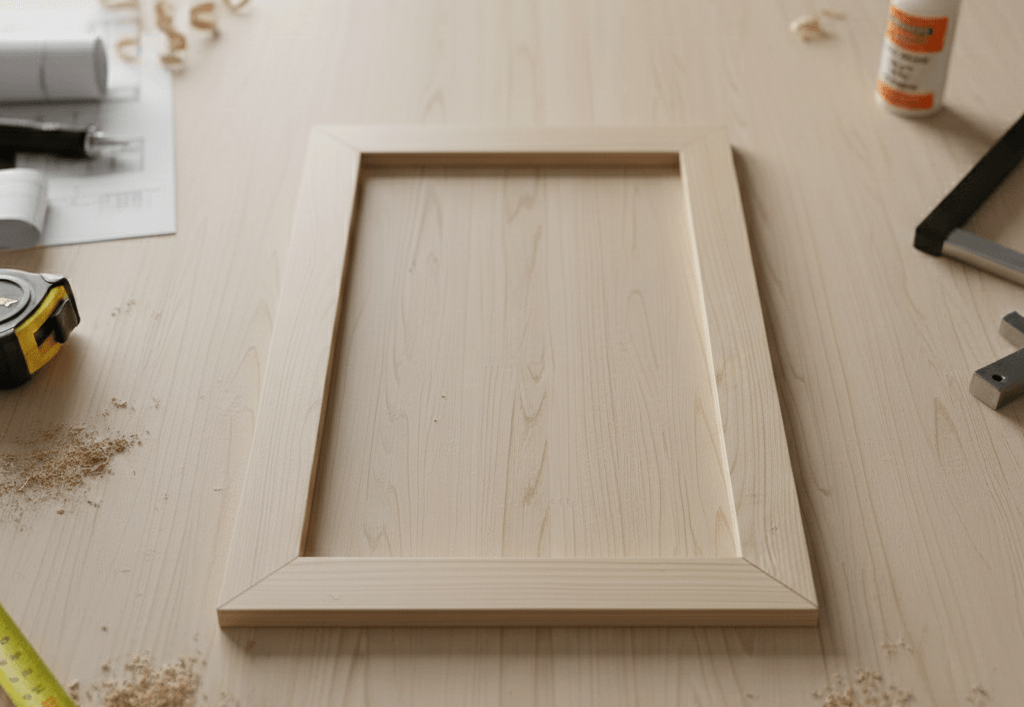
Glue and clamp corners
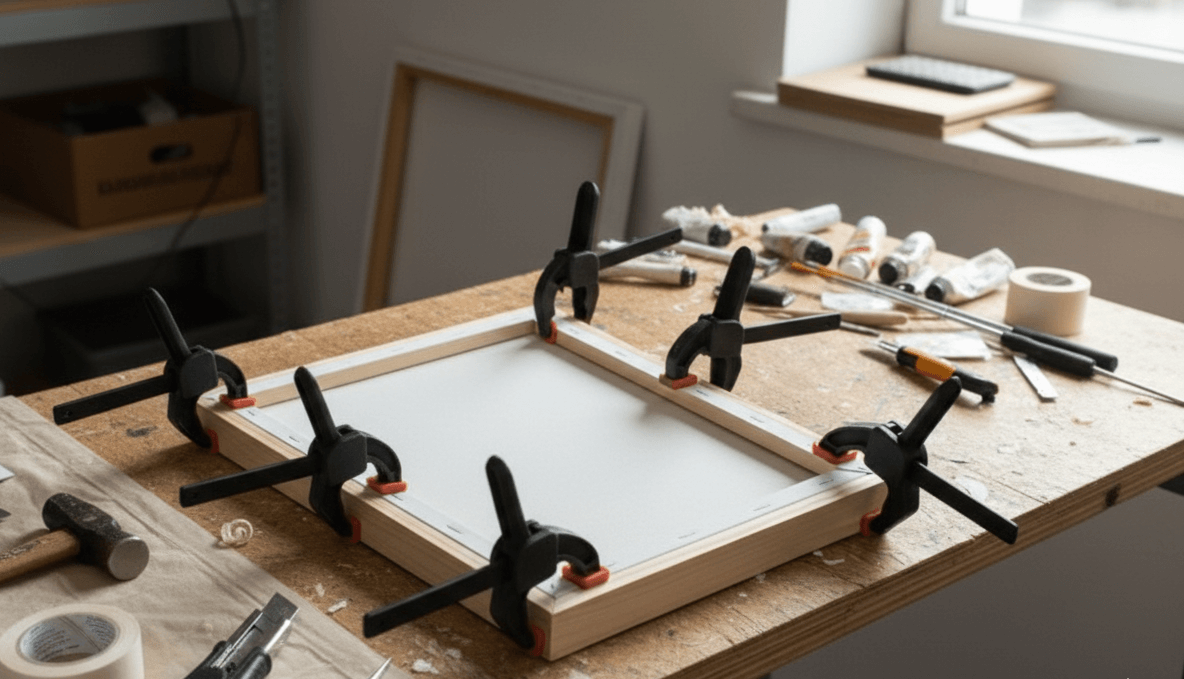
Put wood glue on the mitre faces, assemble the frame, and clamp. Use small brad nails for extra strength if needed. Wipe off squeeze-out with a damp cloth.
I used wood glue to hold the frame pieces in place and clamped them for added stability.
Reinforce and sand
After glue dries, add a few brad nails from the back if you want. Fill any small gaps with wood filler, sand smooth, and go over edges so the finish sits nicely. After the glue dried, do not forget to fill any nail holes with wood filler for a seamless finish.
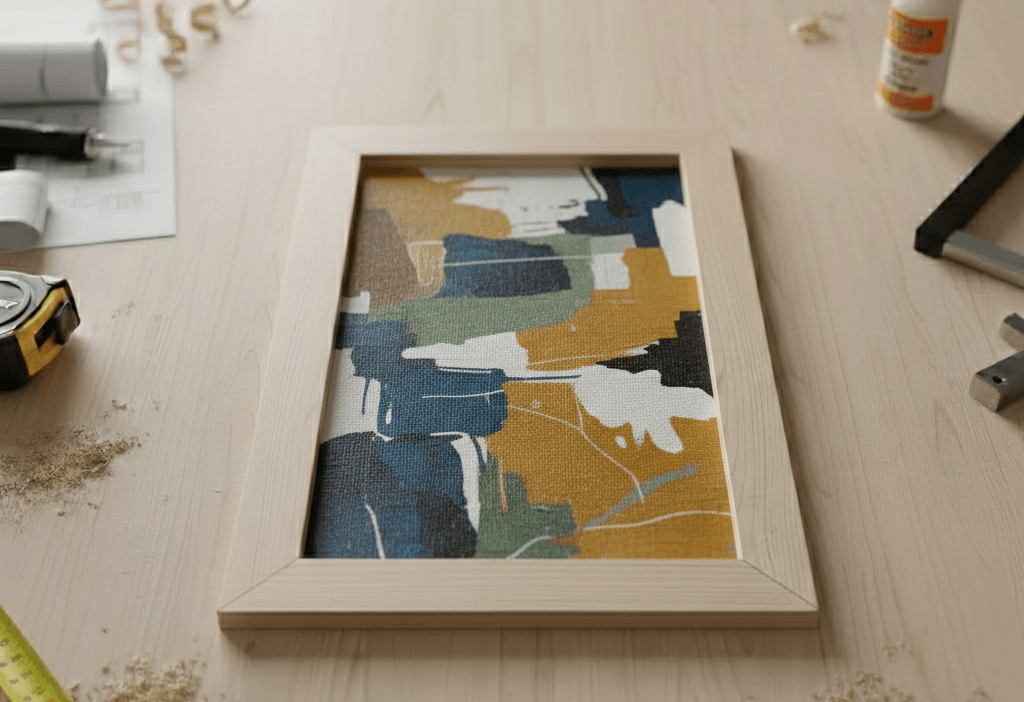
Now it was time to attach the canvas to the frame. I placed the canvas inside the frame, making sure it fit snugly to hold it in place without any gaps.
Finish the wood
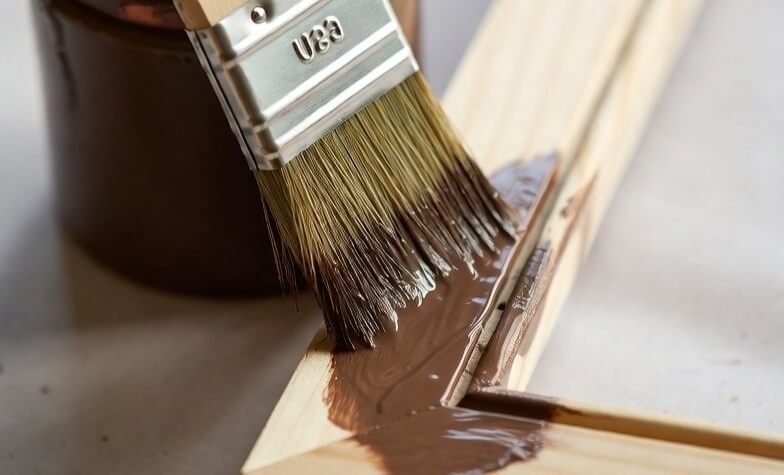
Apply stain or paint in thin coats. Let dry fully between coats. For a natural look use a light stain or clear matte finish.
Mount the canvas into the frame
Position the canvas so the planned gap shows. From the back, secure the frame to the canvas stretcher bars with screws into small wood blocks or by nailing the frame’s rear lip into the stretcher bars. Make sure the canvas sits centered and level.
Add hanging hardware and hang
Attach D-rings or keyhole hangers so the wire or hanger hides behind the floating lip. Hang on appropriate hooks or anchors and check level.
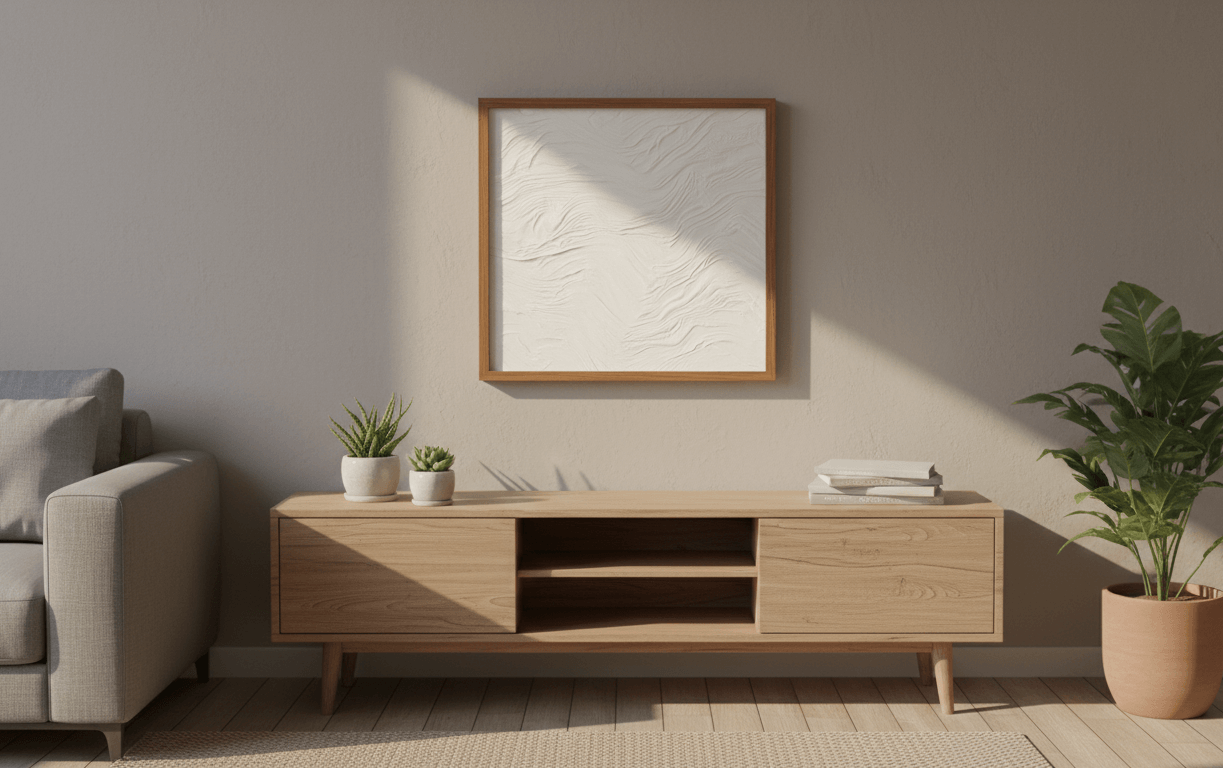
To finish, I secured the back of the frame, giving my piece of art a clean look. My DIY canvas art frame was now ready to display, transforming my unframed canvas into a stunning framed piece that enhances the art in my space
Yes, you can absolutely frame a canvas print-and it’s one of the easiest ways to make it look more polished and intentional. Canvas prints come already stretched over a wooden frame, which means you can place them directly into a traditional frame or a floating frame without needing glass or a mat. The lack of glass actually works in your favor, keeping the texture and depth of the canvas visible. Whether you prefer a sleek modern frame, something rustic, or a minimal floating style, framing a canvas print instantly elevates it and makes it feel custom, even if it’s a simple or affordable piece. It’s a quick upgrade that adds presence and helps your artwork blend beautifully into your space.
Framing a canvas print can enhance its appearance and protect it from damage. Here’s a step-by-step guide on how to make a frame for canvas:
Measure the dimensions of your canvas print to determine the size of the frame you need to create.
Using the measurements, cut four pieces of wood for the frame. Make sure to account for the thickness of the canvas.
Join the cut pieces of wood together at the corners using wood glue, wood screws, and corner brackets for added stability.
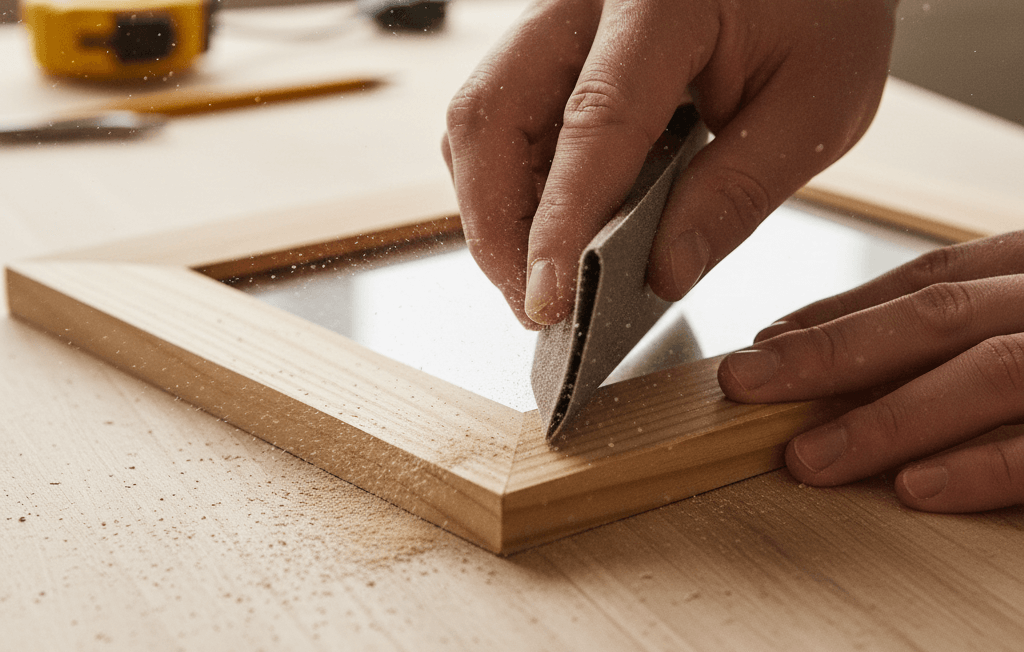
Sand the frame to smooth any rough edges. You can paint or stain the wood to match your decor.
Place the canvas into the frame and secure it with small brackets or staples to hold it in place.
Attach hanging hardware to the back of the frame so you can easily hang it on the wall.
Framing your canvas print is a simple process that can dramatically improve its presentation. Follow these steps to create a beautiful frame that complements your artwork.
If you have a crooked picture frame or need to make a frame for canvas, follow this simple DIY tutorial to fix it and ensure your canvas art looks perfect.
First, gather your materials and tools. You’ll want a miter saw to cut the frame pieces at a mitered angle for a snug fit.
Measure the dimensions of your canvas. Allow the canvas to fit inside the frame perfectly.
Cut the wood pieces for the frame. Remember to cut pieces for the top and bottom as well as the sides of the frame.
Assemble the frame together by using wood glue at the corners of the frame. Use a clamp to hold the corners of the frame together while the glue dries.
If there are any gaps between the frame pieces, use wood filler to fill in the gaps. This will give your frame a polished look.
Once the glue and filler are dry, it’s time to stain the wood to match your decor.
Now, attach the canvas to the frame. You can nail the canvas to the back of the frame or use a float mount for a recessed look.
Finally, check that the frame is straight and make any adjustments as needed. Your canvas artwork should now be securely framed and ready to display!
With this simple DIY project, you can fix any crooked frame and create a beautiful canvas frame for your art pieces. Don’t let an unframed canvas stay unfinished; frame it to enhance its beauty!
Read: DIY Large Wall Art: Easy Canvas Artwork & Large Scale Ideas
Creating a diy canvas frame is not only an enjoyable diy project but also a practical way to showcase your canvas art. By using simple materials like a piece of wood, you can assemble a custom frame that fits your unique piece of art. Learning how to frame a canvas can enhance the visual appeal of your canvas paintings and transform unframed canvas art into stunning displays.
To start, gather your materials: wood glue, a miter saw, and a clamp for holding the frame together. Cut your wood into frame pieces with mitered corners for a polished look. Once cut, stain the wood to match your decor. When assembling the frame, apply wood glue to the corners of the frame and securely clamp them until the glue dries.
Next, attach the canvas to the frame. This step is essential for ensuring that your canvas fits inside the frame perfectly. You may want the canvas to be recessed slightly for a floating effect, which can be achieved by measuring the gap between the canvas and the edge of the frame. After positioning your canvas art, use nail holes or glue to secure the canvas into the frame.
Remember, the front of the frame is just as important as the back of the frame. Make sure the frame looks polished from all angles. Once you’ve finished, you’ll be proud to display your diy canvas art frame showcasing your artwork. Your art pieces will no longer feel unfinished without a frame, and you’ll have created a beautiful canvas art frame that enhances your home decor.
In conclusion, framing a canvas can be a rewarding experience. Whether you’re framing a single canvas artwork or multiple pieces, remember that diy canvas frames are not only affordable but also allow for creativity and personalization.


Sign up to grab 10% off your first order and be the first to hear about new drops and exclusive deals!