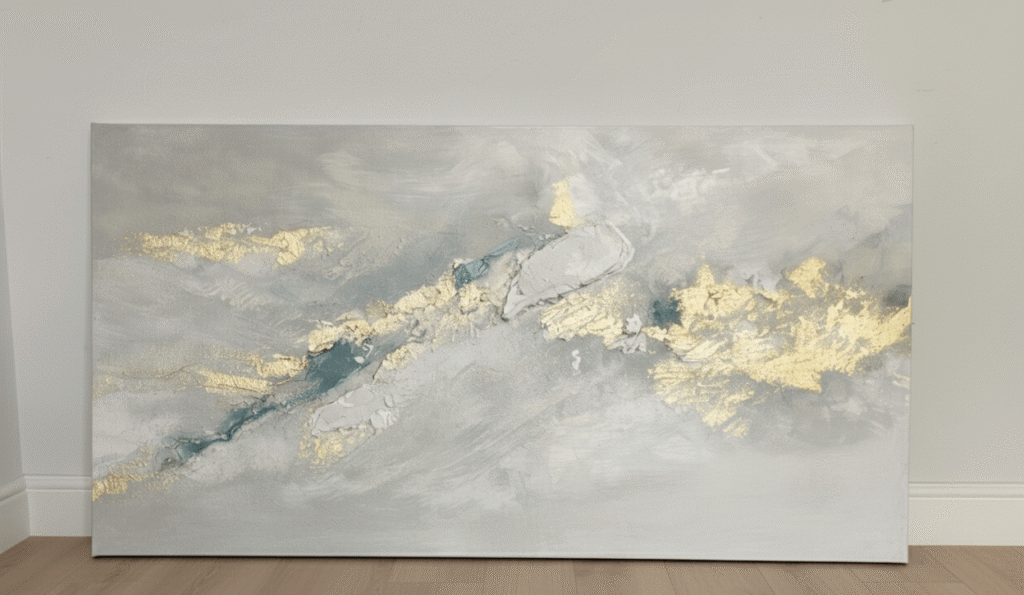
When I decided to create a piece of large DIY wall art, I wasn’t trying to be perfect – I just wanted something with scale, texture and soul. Instead of starting from a blank canvas, I picked up a large mass-produced canvas from one of those discount home decor stores (the kind that are affordable and everywhere). What started as a generic, ready-made piece became something completely unique and personalized through layers of texture and custom painting. If you’re wondering how to make a big piece of your own, I’ve got you.
Key Takeaways
This is approachable: you don’t have to be a master painter. You just have to start – and a pre-made canvas makes it even easier and more budget-friendly.
– Building a large-scale piece gives your space a true anchor and makes an impact.
– With simple materials (a discount store canvas, paint, texture medium) you can transform a mass-produced item into your own unique large wall art DIY project.
– Texture and layering make the piece feel rich and organic – this isn’t about flat prints.
– Working big means thinking about how you’ll hang the piece, display lighting and how it fits your decor.
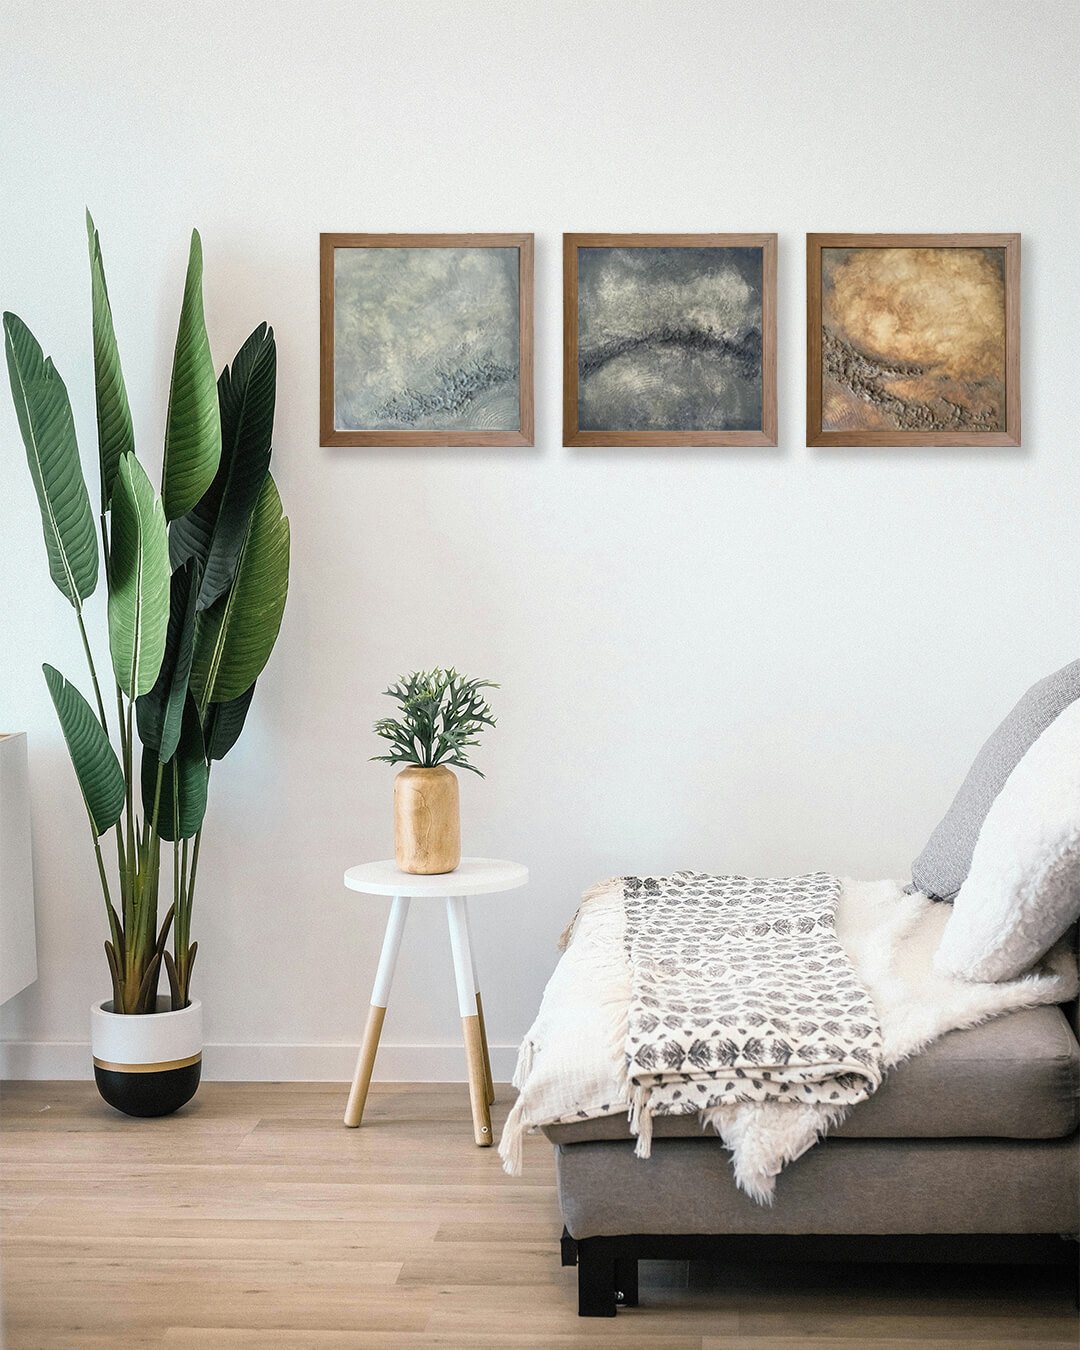
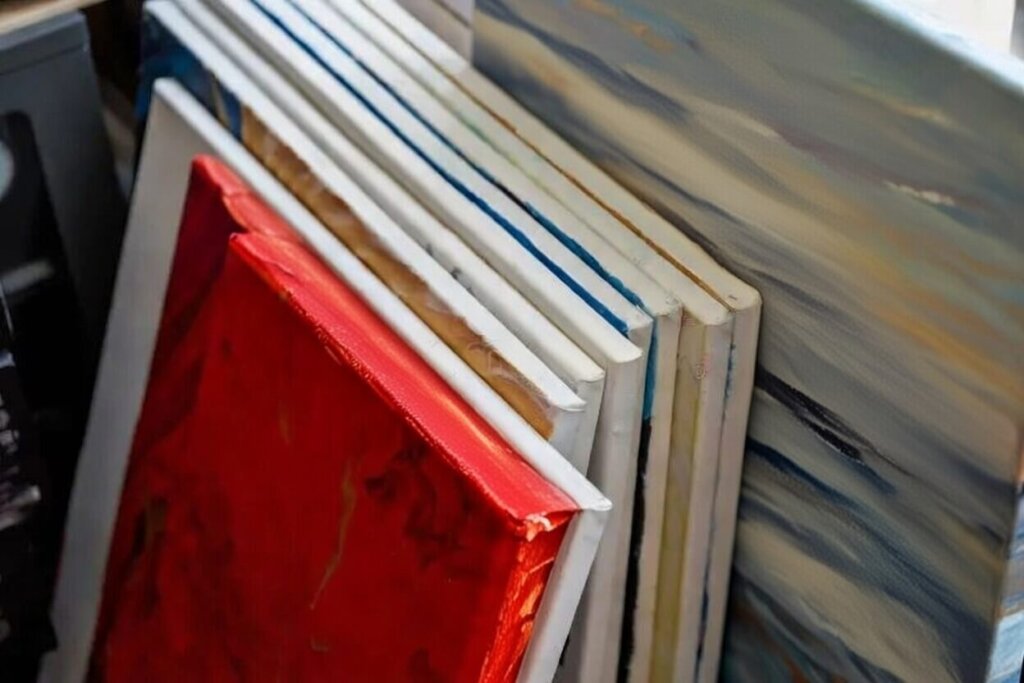
If you prefer to buy instead of DIY, our large textured wall art pieces are designed to anchor living rooms and bedrooms.
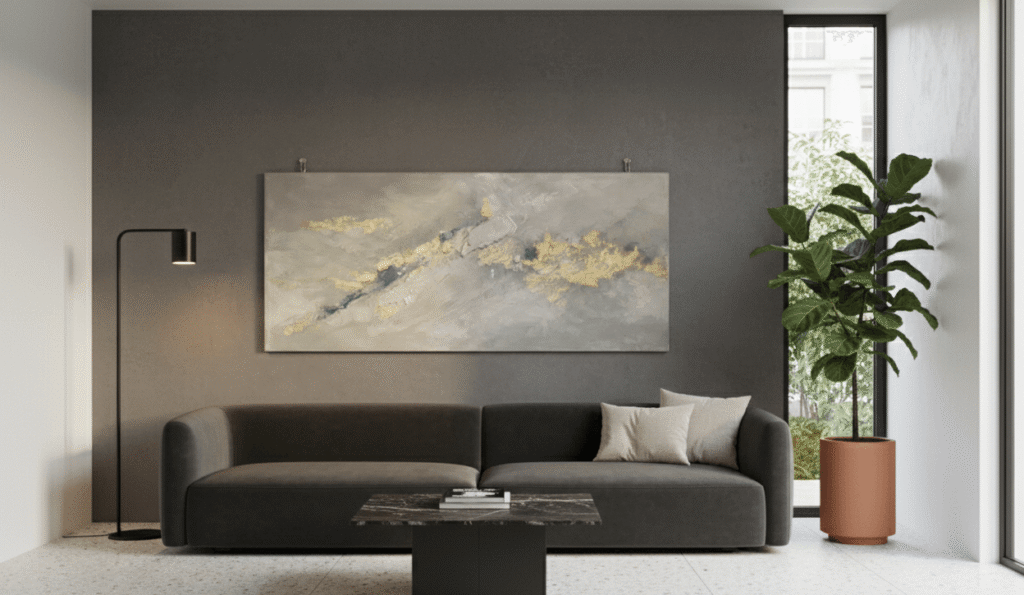
In interior design, a large canvas says “this is the art”, not “this is the leftover print I found.” When you walk into a room and your eye immediately goes to that piece, you know it’s working. And when you craft it yourself – especially starting from something ordinary and mass-produced – it reflects your palette, your taste and your soul even more powerfully. My background in architecture and design made me especially conscious of scale, proportion and material. A big piece lets you blur those boundaries between art and decor. You can learn more here.
Budget-Friendly DIY Artwork Ideas: Creative Ways to Decorate Your Home
Here’s the list I pulled together (you can modify it to your budget or space).
Materials & Tools
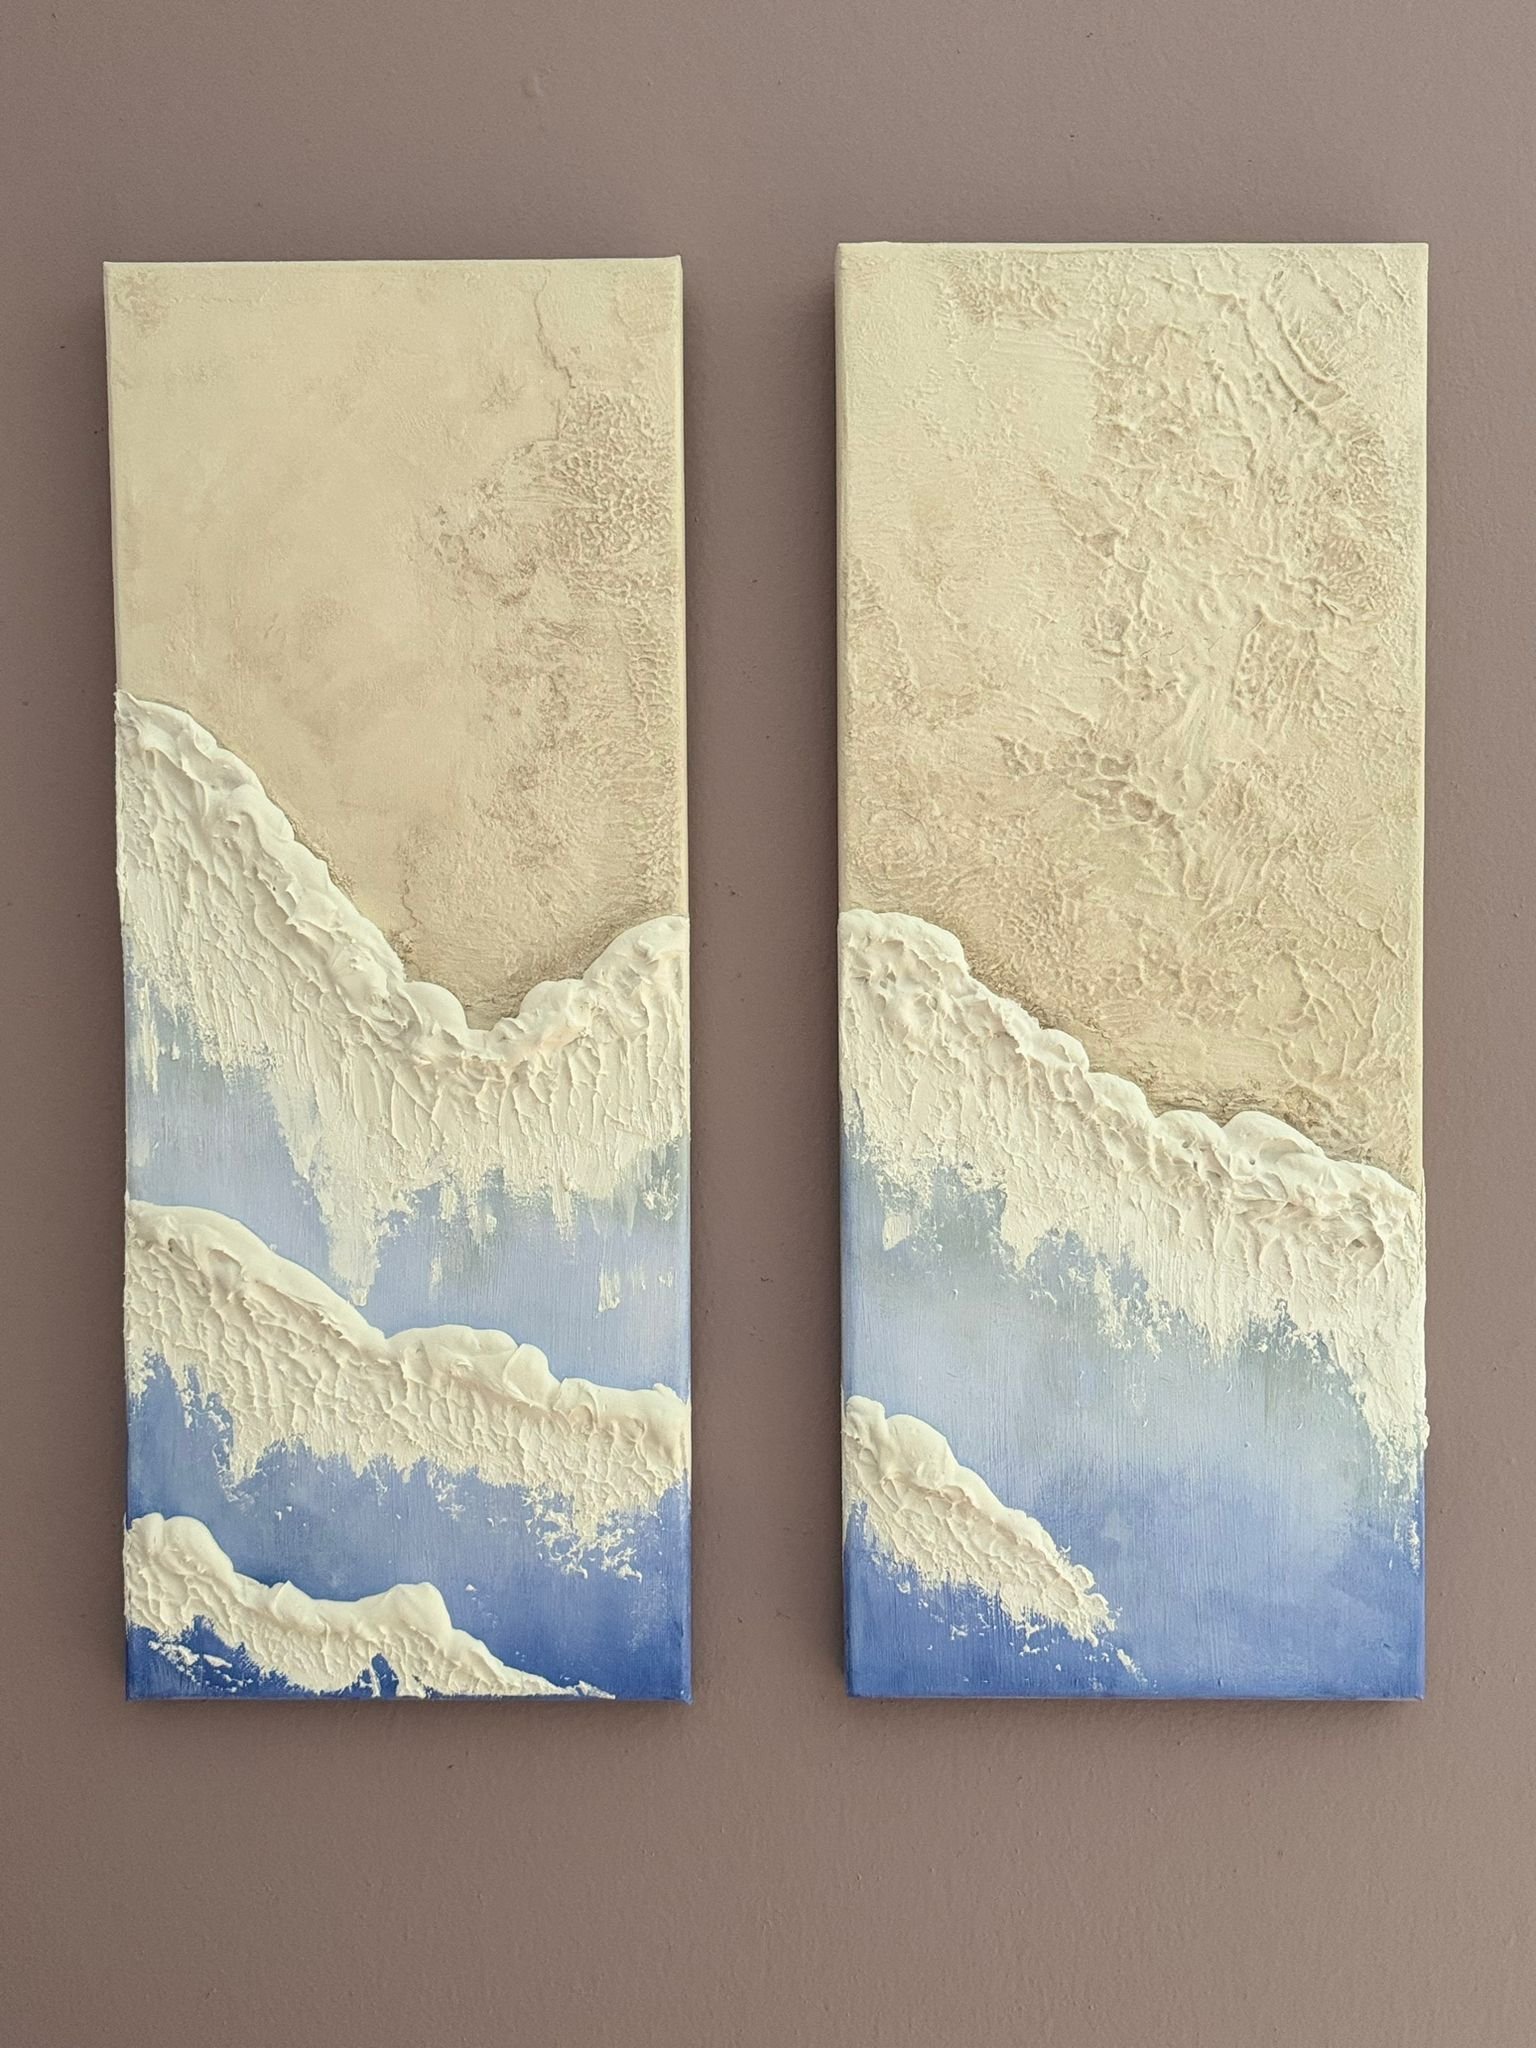
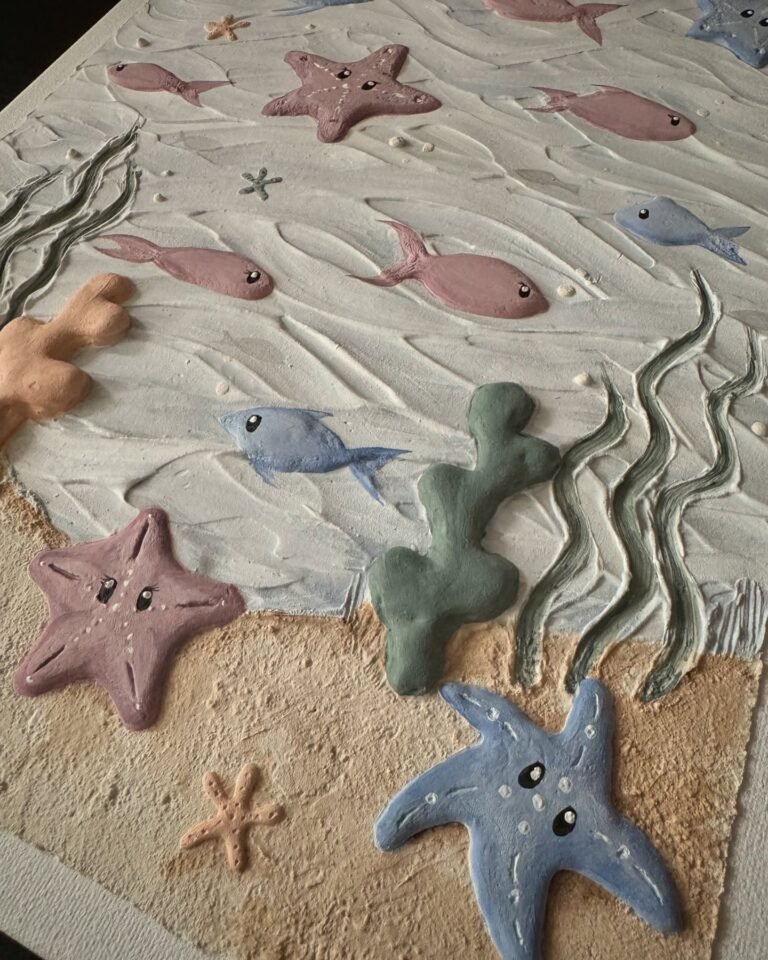
When I chose these, my priority was texture and an organic, calming palette: Something like nature-inspired canvas wall art that feels soft and serene. I didn’t want flashy colors; I wanted the texture to do the talking, turning that generic discount store piece into something truly one-of-a-kind.
This is a project that doesn’t need to be perfect – in fact, imperfection is what gives large DIY wall art its charm, especially when you’re transforming something mass-produced.
Step 1: Surface prep & under-structure
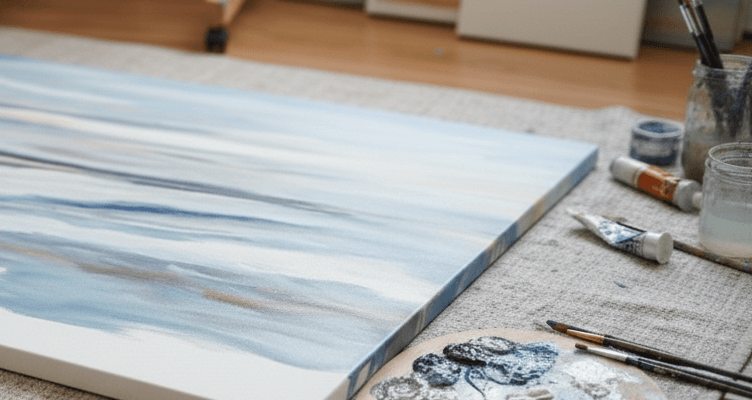
I laid the canvas flat on the floor (another reason size matters: comfortable to work on). Starting with the pre-made surface, I used a heavy gel medium in spots to build ridges and self-levelled curves. Using a palette knife, I dragged the medium in sweeping arcs, then left it to set slightly.
Step 2: Base color & layering
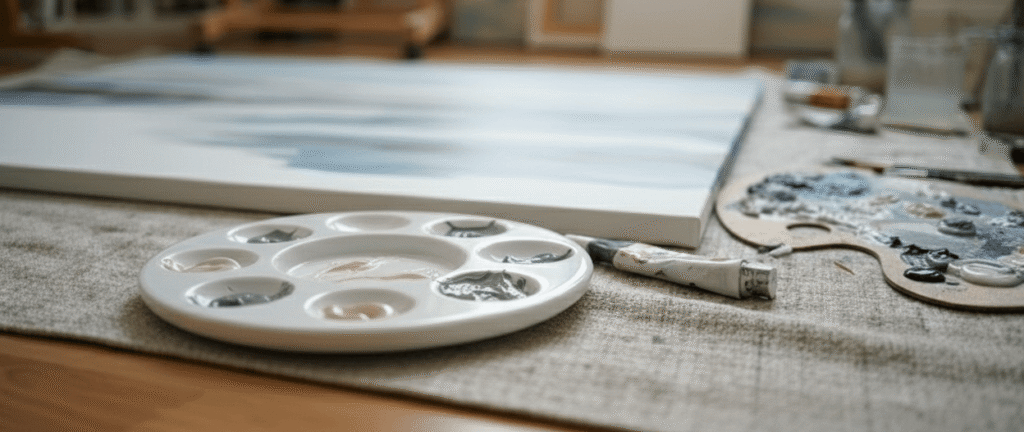
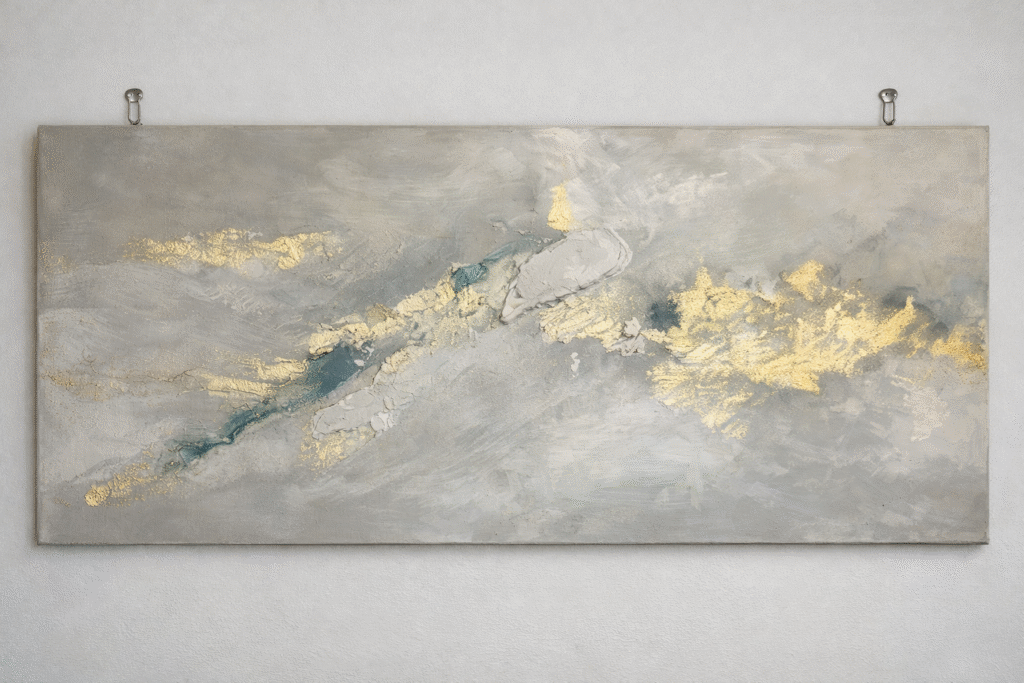
Once the texture base was firm (but still workable), I applied the first wash of paint: soft grays mixed with warm white and greige tones. I let the brush lightly catch on the raised parts, so the ridges naturally showed shadows. Then I added the muted sage and subtle blue accents in a few zones – but muted, not dominating, keeping the main feel in those beautiful gray tones.
Step 3: Texture refinement & highlights
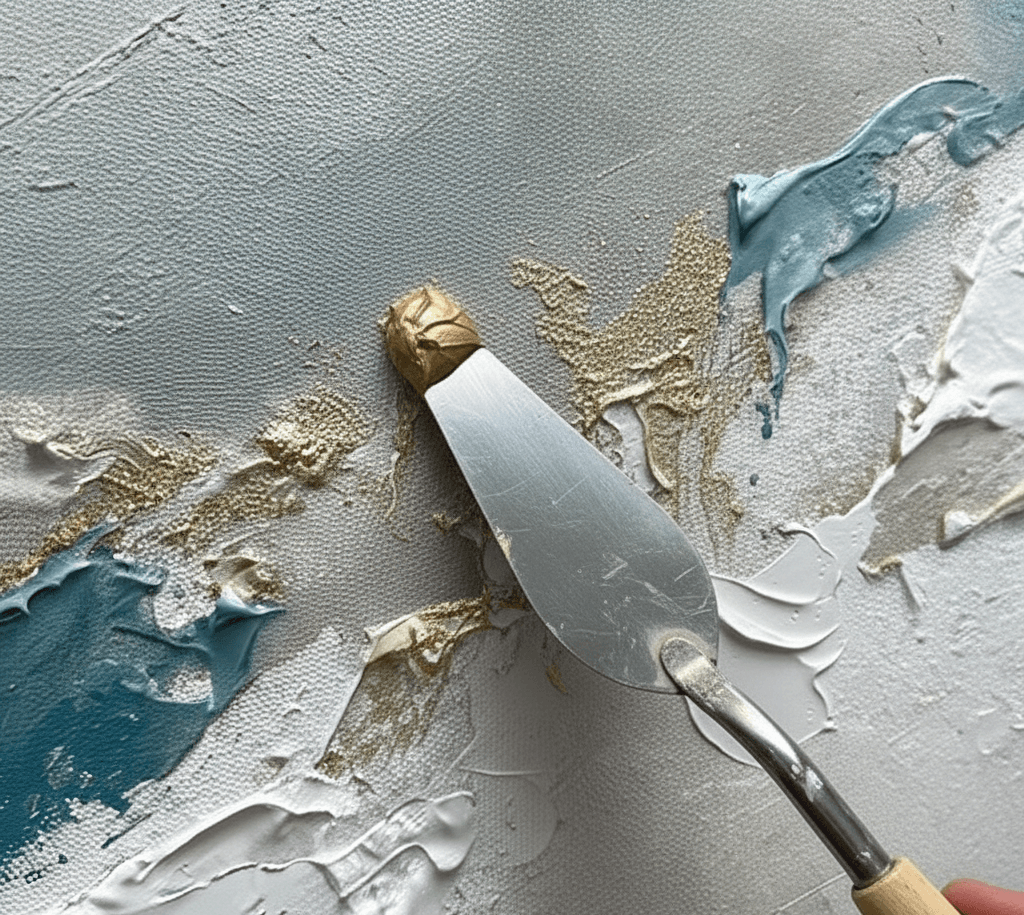
I came back with the putty knife to pick up some of the raised areas and apply a tiny amount of soft gold metallic in very low amounts, just catching the ridges, so light would bounce in a subtle way. I sanded lightly on the edges to soften transitions.
Step 4: Dry-time & stopping
I left it overnight on a flat surface. The next morning, I viewed it in the daylight and came up close to see how the texture read from different distances. I decided to stop when I felt the plateaus and valleys of the texture were doing their work – not fully smooth, not too aggressive.
Step 5: Hanging & display
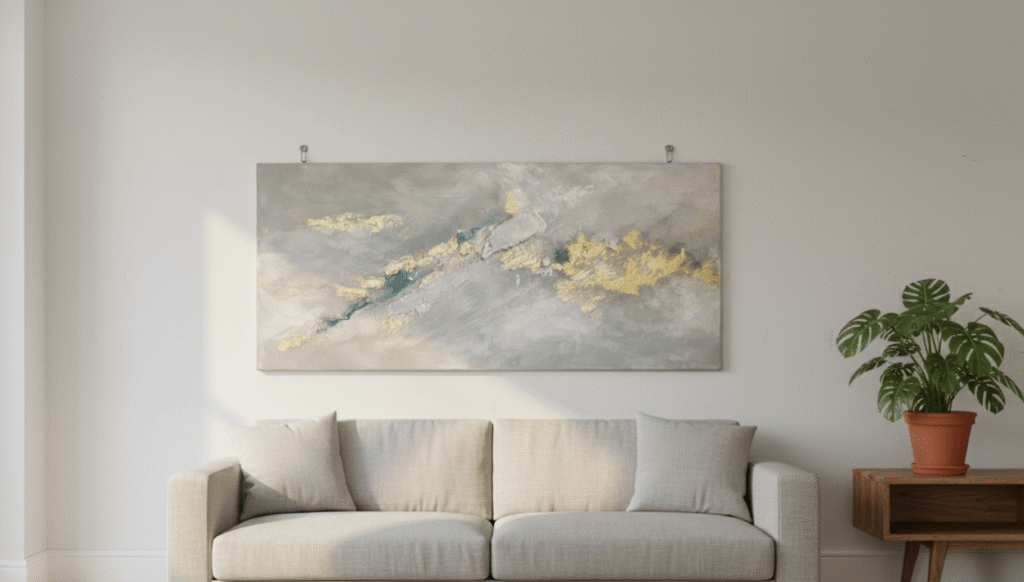
Using two wall anchors spaced for the piece’s width, I hung it, so the center was at eye level. I used warm ambient lighting (2700K) positioned slightly off-center to cast gentle shadows across the texture. I balanced the room around it with neutral furnishings and a plant to echo the organic style I love.
Read: DIY Canvas Art Frame: Easy & Affordable Canvas Frame
Working large means you have to step back, move around, think about viewing distance. Texture shows differently when you’re closer. I walked around the room often and changed my paint direction, watching how light caught the ridges.
What texturing techniques did I employ?
These gave the piece a sense of natural flow and organic surface rather than linear or mechanical texture.
How does this tie into canvas painting ideas DIY?
Many canvas painting tutorials focus on color or pattern. But here I focused on surface and scale – and the magic of taking a mass-produced discount canvas and turning it into something completely custom and unique. In your DIY version, treat textured painting as a primary element – it’s what changes your artwork from flat (and generic) to dimensional and personal.
How can you adapt this to your own home and style?
How did I tailor mine to my aesthetic?
Because I love design, nature, and soft color, I limited my palette to mainly grays with sage, subtle blue and gold details, used organic texture, and chose to start with a discount store canvas: large enough to make impact, but soft enough to not overpower the room. The textured surface echoes natural stone, driftwood ridges and organic forms – but now 100% personalized.
What choices can you make for your piece?
Your canvas painting ideas DIY version should reflect the space and reflect you – especially when you start with something ordinary and make it extraordinary.
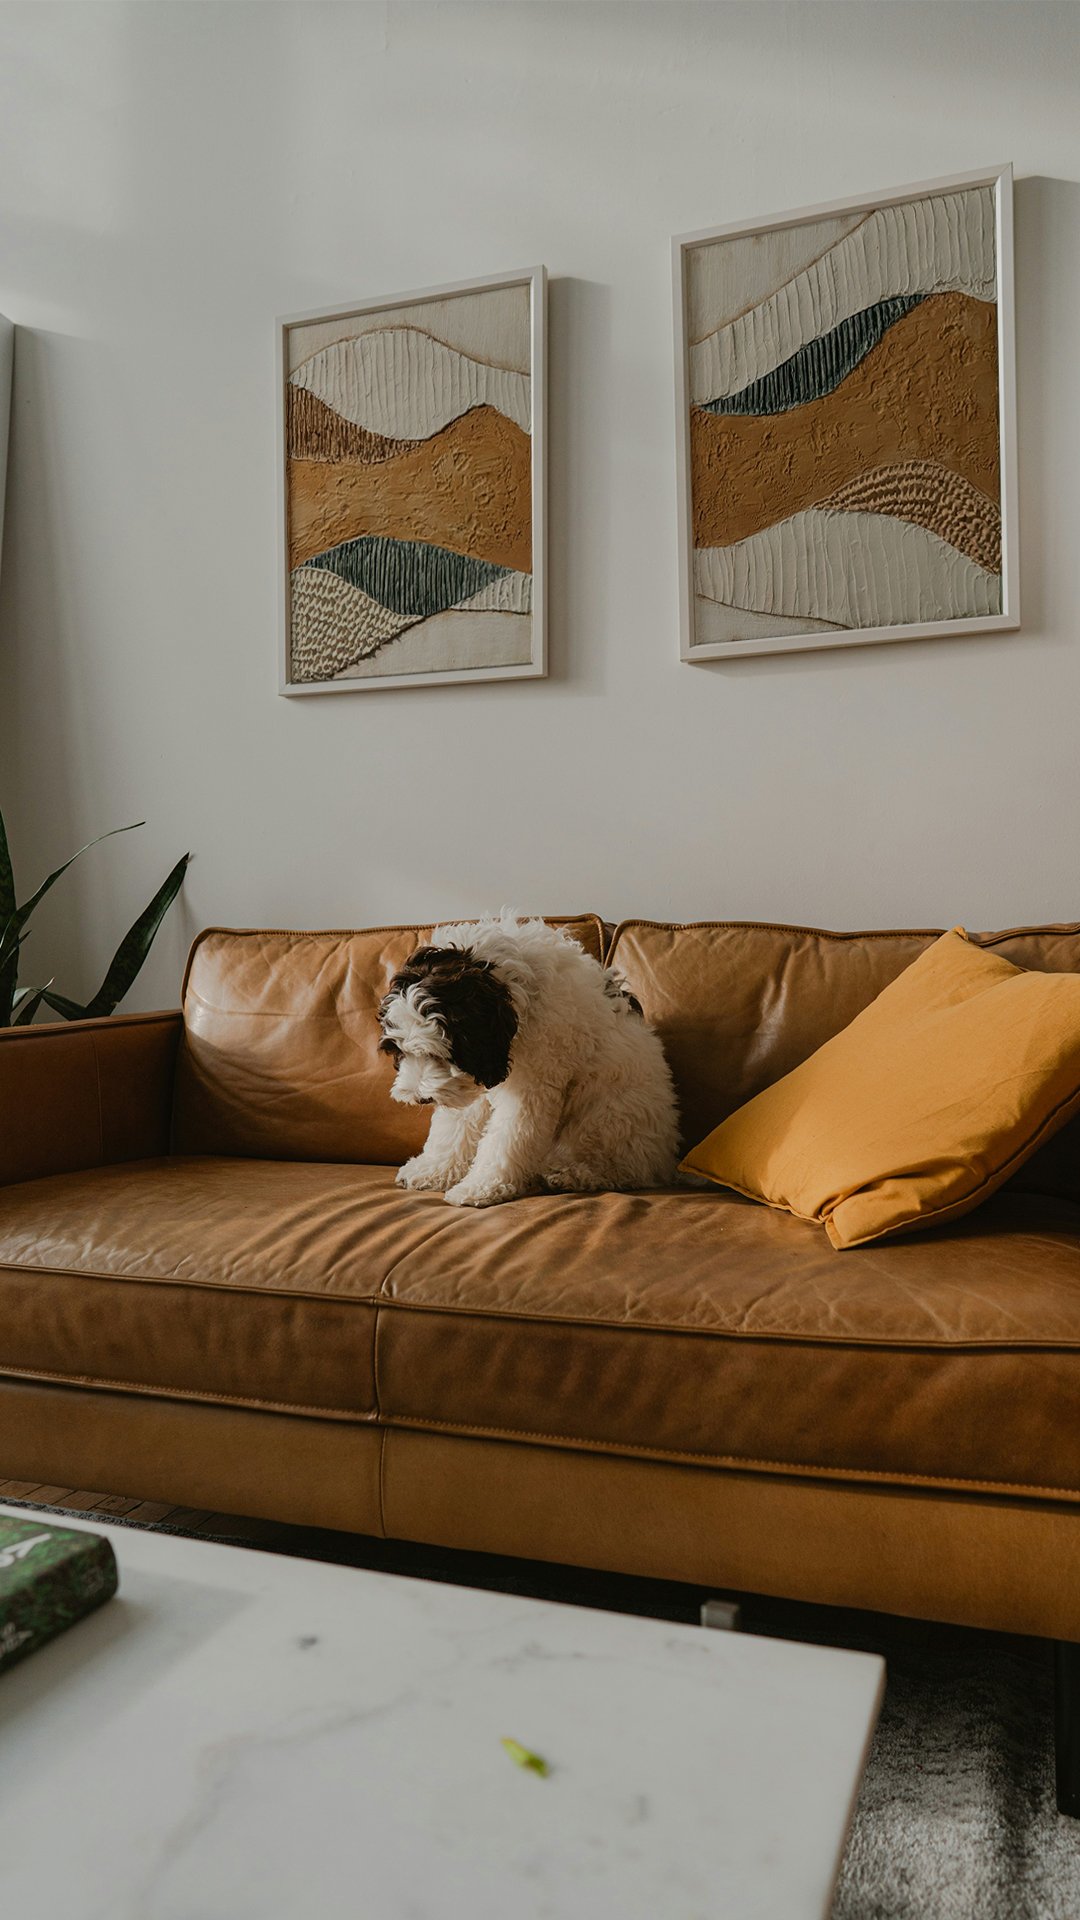
Decorating large walls can transform a space, especially when using large DIY wall art like textured neutral canvas pieces or organic-inspired designs. Start by using a discount store canvas as your base and turning it into a custom focal point in your living room or dining room. Experiment with texture and subtle accents to make it feel high-end and personal.
For a softer, beachy vibe, our coastal wall art collection works beautifully above sofas and beds.
What went wrong (and how did I fix it)?
By learning these, your large wall art DIY piece will feel considered rather than accidental – and the transformation from mass-produced to uniquely yours will shine even more.
Final Thoughts
If you’ve been thinking about making your own large DIY wall art, take this as your sign to go for it. Grab an affordable canvas from a discount store, add your personal touch with texture and layers, and watch it become something completely unique. You don’t need to be a professional artist or have fancy tools – just curiosity and the willingness to get a little messy.
Art doesn’t have to be complicated to be beautiful. Sometimes all it takes is a mass-produced canvas, a few paints, and an afternoon with good music.
So clear some space, trust your instincts, and make something that feels like you. When you see it hanging on your wall – textured, layered, and completely your own – you’ll realize that your home didn’t just gain a piece of art… it gained a story.
Click here to read about DIY Canvas Art Ideas: Acrylic Painting for Wall Decor


Sign up to grab 10% off your first order and be the first to hear about new drops and exclusive deals!