Texture painting on canvas for beginners means using materials like modeling paste, gesso and acrylics to build raised surfaces and then painting over them, so your artwork has real depth and structure.
Let’s break it down step by step, so you know the tools, the techniques, the mindset and how to finish it-all the pieces you need to create textured canvas art you’ll love.
– You’ll need fabrics/tools: canvas, acrylic paint, gesso, modeling paste or joint compound, palette knife, flat brush, putty knife, optional spray paint or gel medium.
– Prime your canvas first with gesso, so paint adheres well and your texture stands out.
– Create the texture layer with modeling paste, joint compound or heavy gel, using a palette knife, sponge or other household item.
– Once the texture is dry, paint over it with acrylics. You can use palette knife, brush, sponging, glazing and spray effects.
– Let it dry thoroughly and then seal it with a matte or glossy varnish to protect your creation.
– Try techniques like impasto (thick paint), sponging, dry brushing, layering mixed media and scraping to add visual interest.
– Experiment, revise, enjoy-your texture doesn’t have to be perfect to be beautiful.

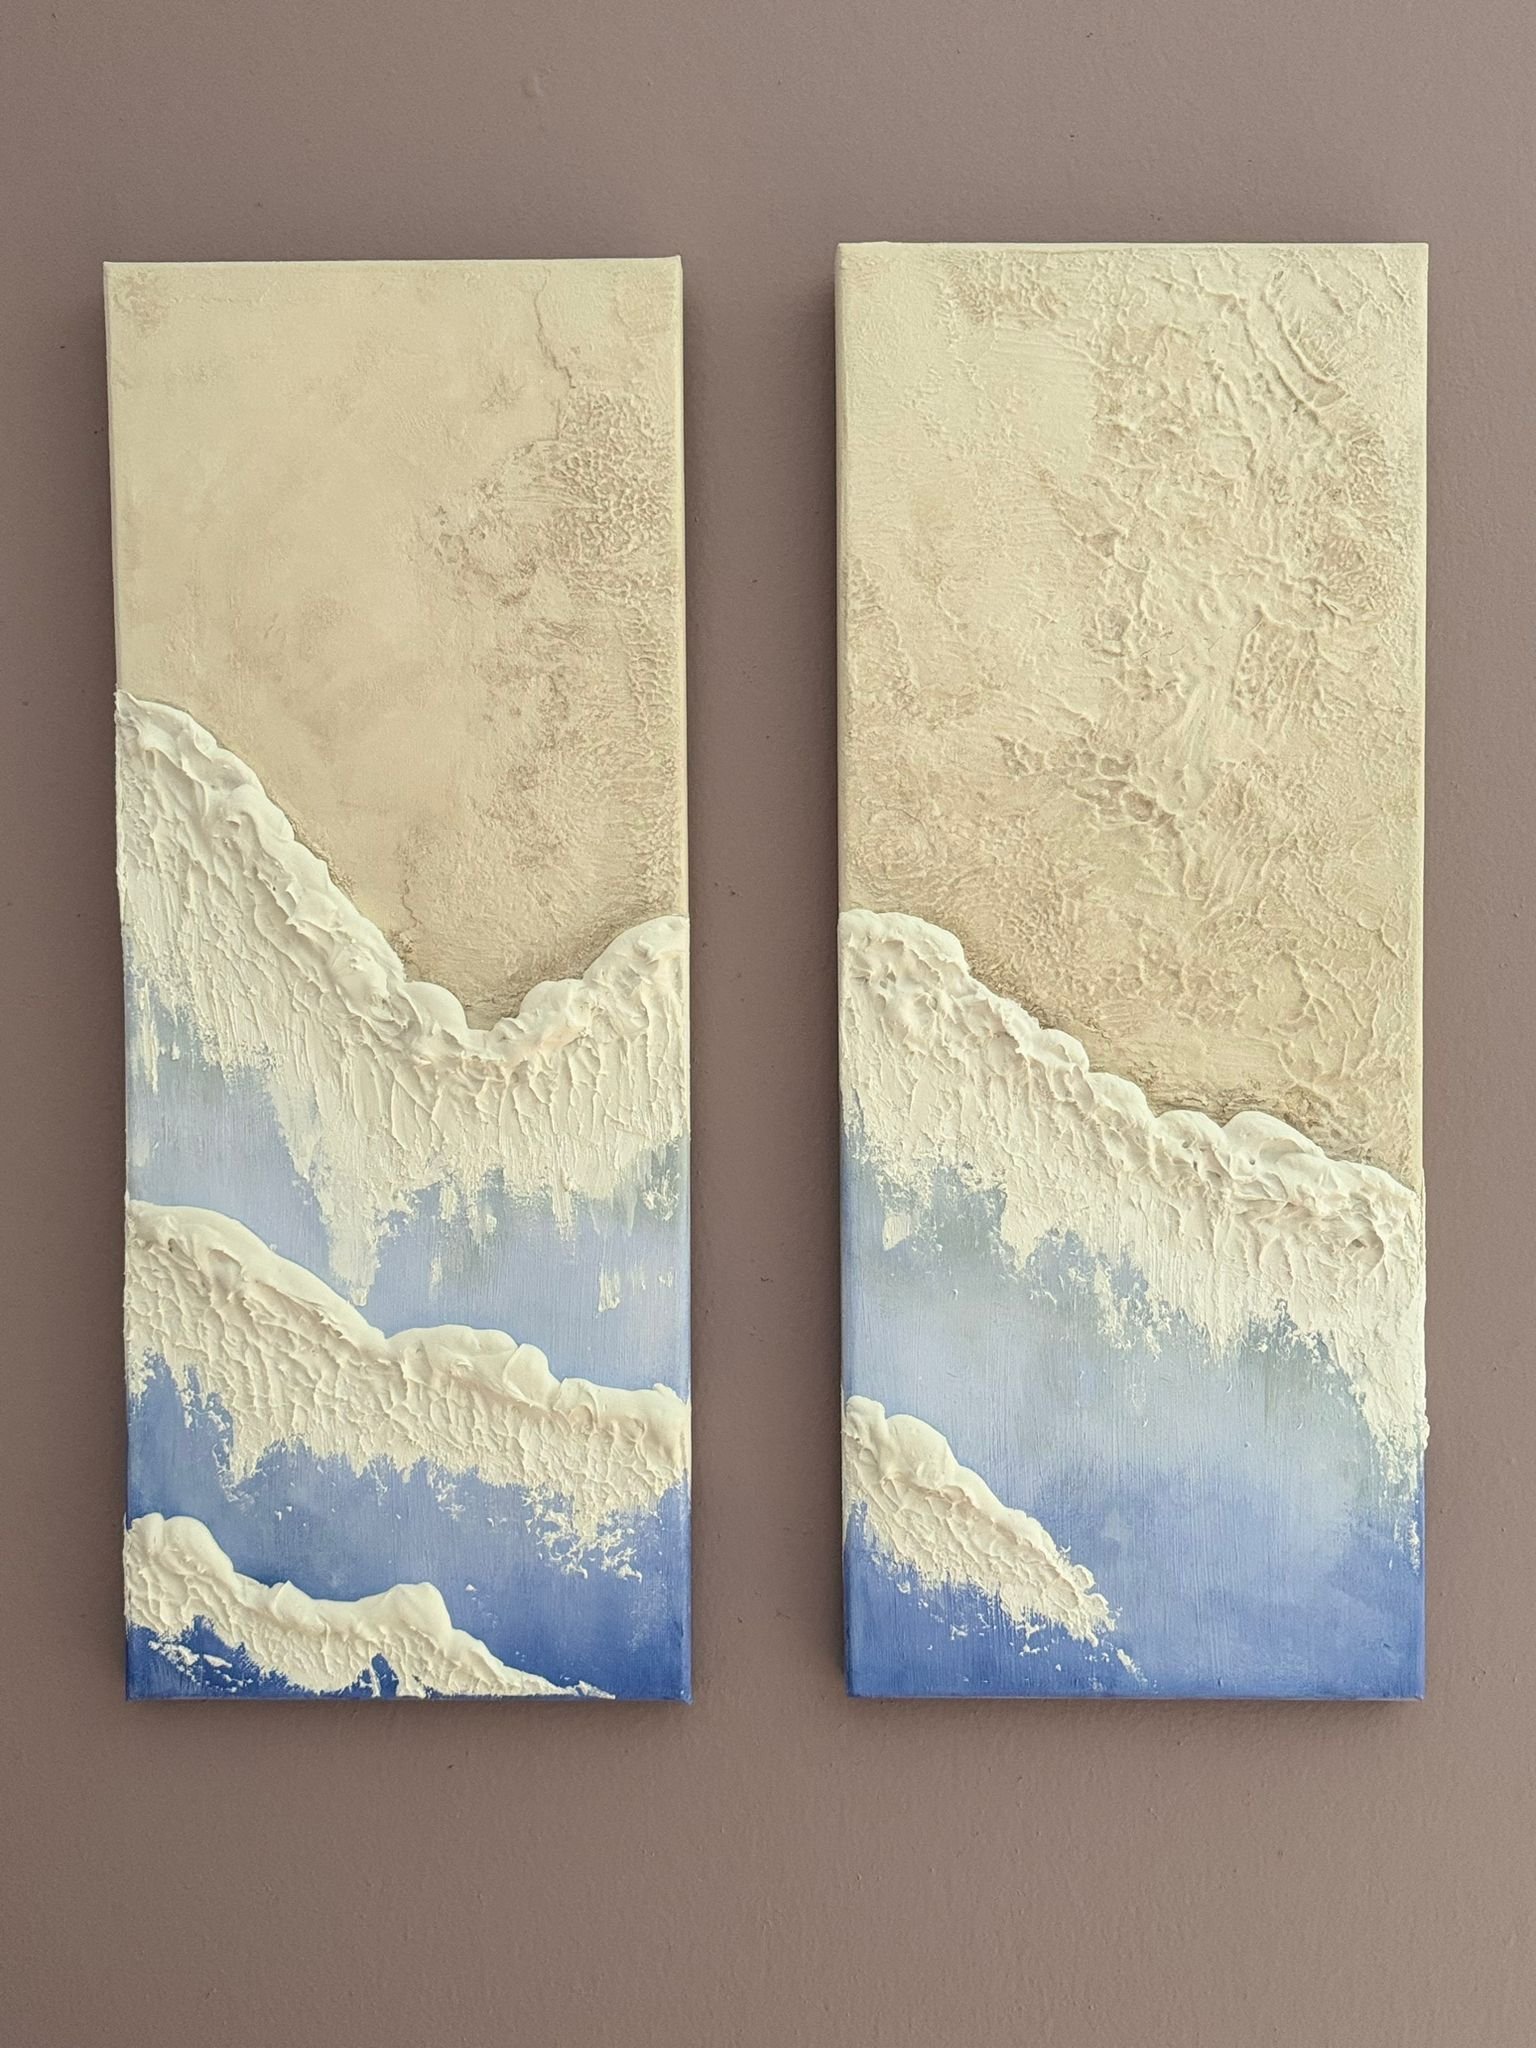
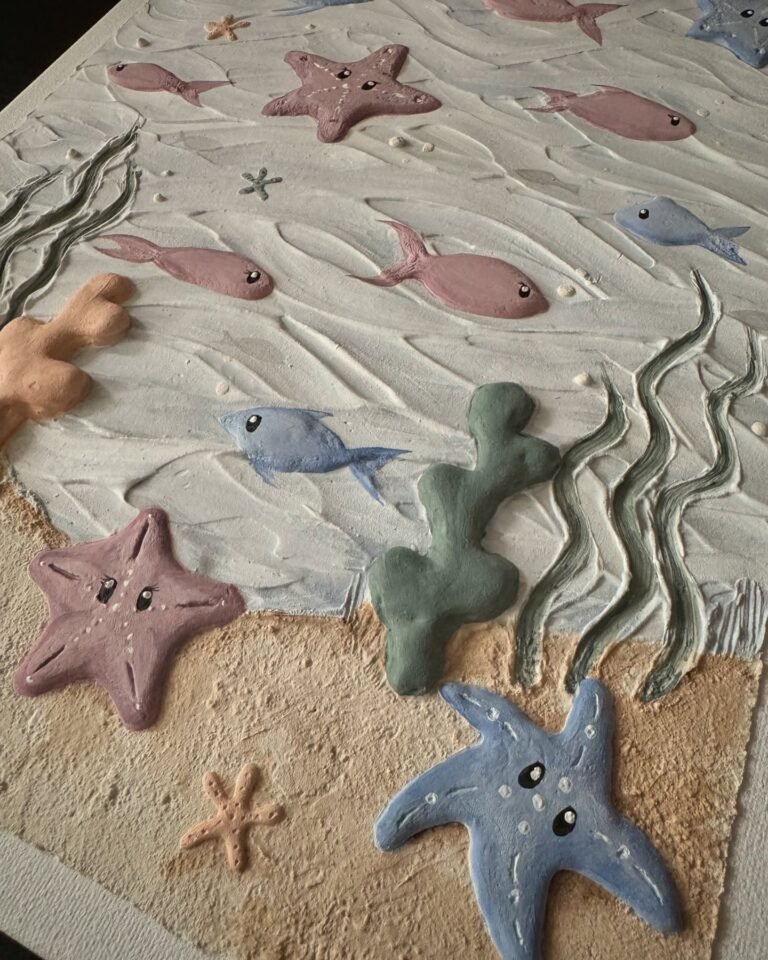
Textured canvas art means you build physical texture on the surface of a canvas, so the painting isn’t flat. You create peaks, ridges, grooves. The technique invites light, shadow and touch to become part of the piece.
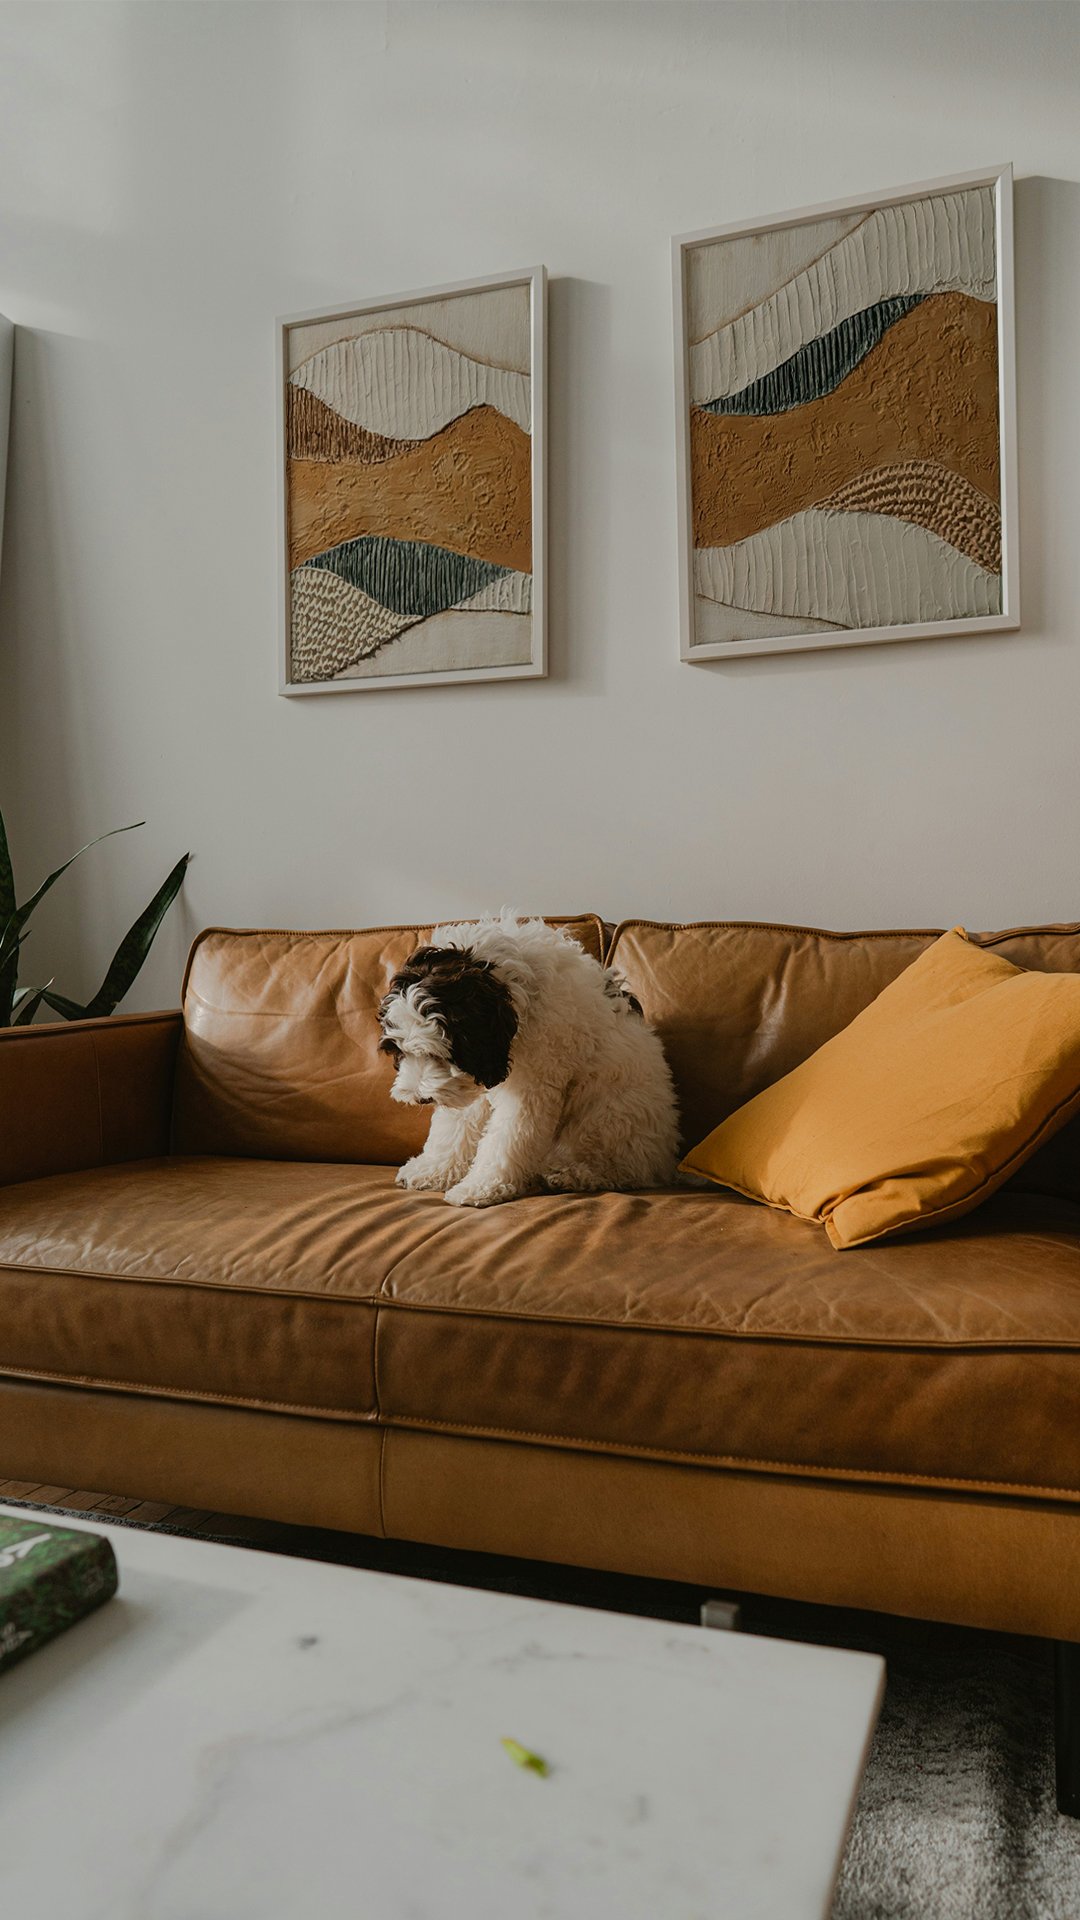
Why try it? If you love organic shapes, nature-inspired finishes, unique wall art-this method suits you. Instead of just a flat print, you get a piece of art that offers subtle dimension and movement in the room.
The classic term here is Impasto: applying very thick paint, so strokes remain visible and catch light.
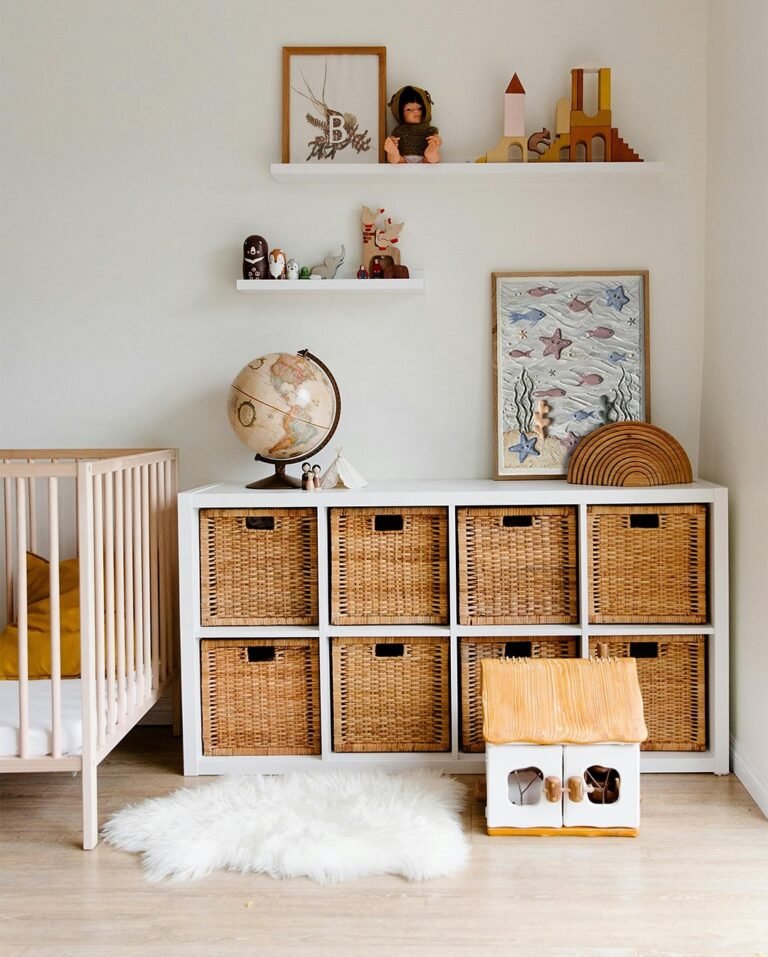
Texturing is also used in DIY decor projects to give buffer-store art a “custom gallery” look. For example, using joint compound on canvas then painting over it.
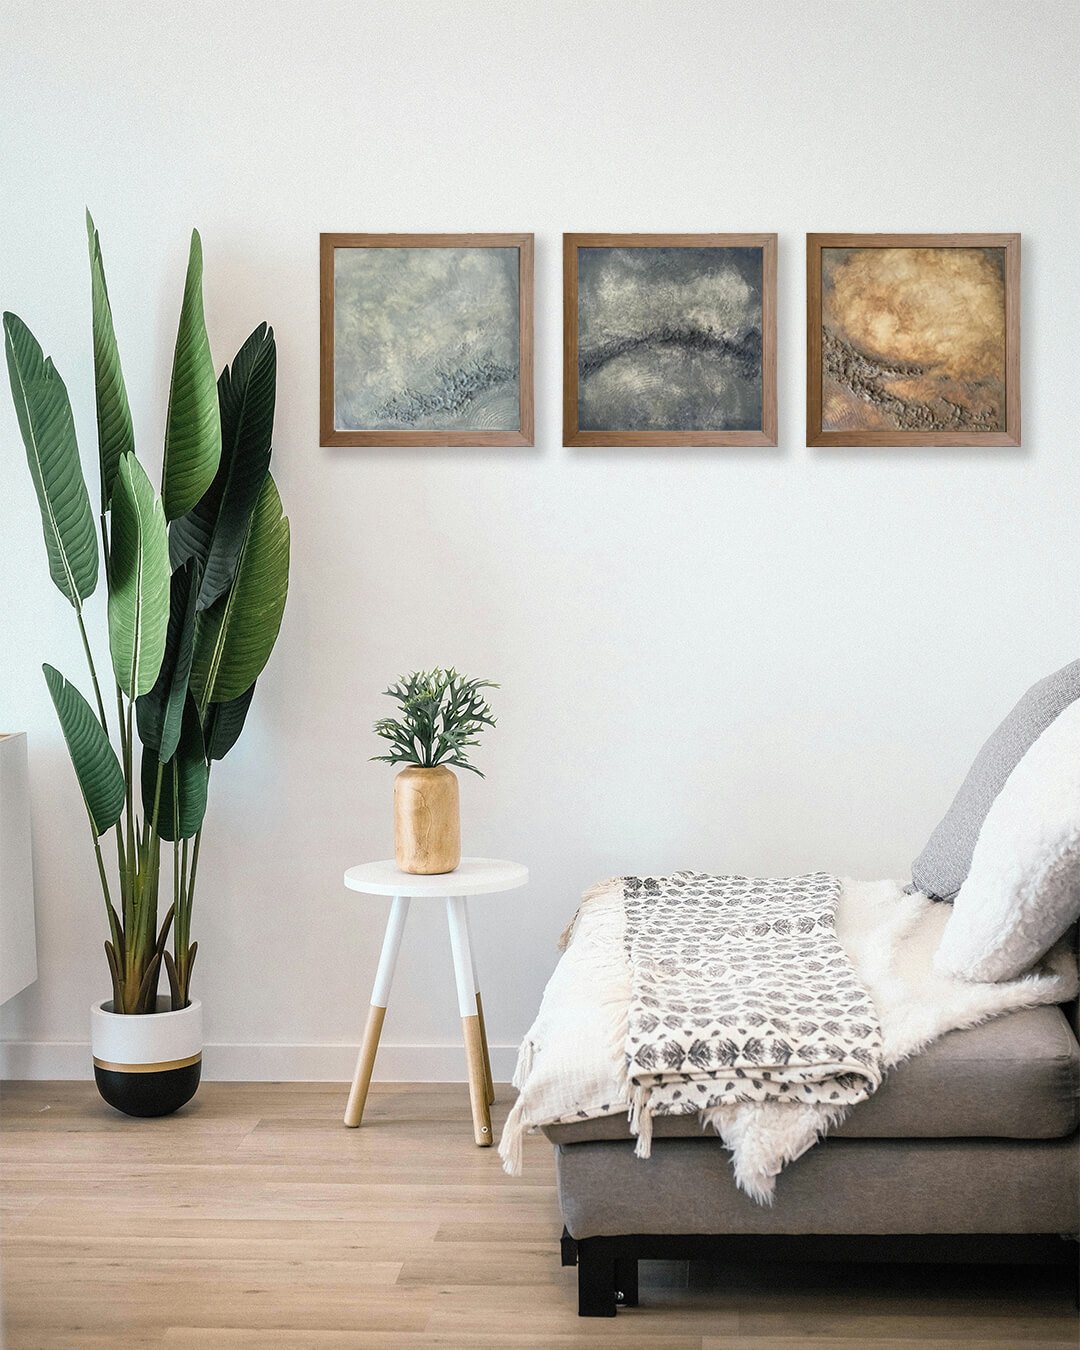
If you’re coming from an interior-design mindset (like I do), consider this: wall art with texture can create a subtle tactile element that pairs beautifully with soft, neutral palettes or nature-inspired rooms.
If you’d rather buy a finished piece, explore our textured canvas wall art designed for neutral, nature‑inspired interiors.

– Choose a stretched canvas or canvas board. If it’s raw, a coat or two of gesso helps. Gesso primes the surface and prevents paint from soaking into the fabric.
– Yes, you can paint on canvas without gesso-but you may lose vibrancy and adhesion.
– If you plan thick textures, consider a heavier canvas weight or a board support to reduce flexing and cracking.

1 – Modeling paste or a joint compound: This creates buildable relief on your canvas. For example, some tutorials use DIY joint compound on canvas joint compound with a putty knife.
2 – Heavy-body acrylic gels: If you are working with acrylic paint and want to add thickness without non-paint materials.
3 – Putty knife or palette knife: A palette knife is ideal for spreading modeling paste or heavy paint to build texture.
4 – Additional tools: flat brushes for broad strokes, sponges, rags, household items (forks, plastic bags) to press or dab texture.
5 – Acrylic paint (select your colors). Because you’re working with texture, you’ll want paints that cover well and don’t get lost in the relief.
6 – Spray paint or glazing medium (optional) for added effects.
7 – Varnish/sealer: To finish the piece and protect raised surfaces.
Since most people love nature-inspired, soft and organic tones: consider neutral base layers (warm whites, pale greys, soft beiges) and accents in muted greens, dusty blues, soft terracotta. Use the texture to cast subtle shadows rather than loud contrasts. The choice of tools and materials remains the same; the color palette is your design signature. See how these palettes look in real spaces in our textured neutral wall art collection.
Quick tip: If you’re curious about how to create textured paint for canvas, most modeling pastes and gels blend seamlessly with acrylics. These mixtures stick well to canvas and set into durable, textured layers. Explore the stunning collection of textured artworks that use similar techniques.
Here’s how I’d walk you through it-feel free to adapt, play, change as you go.

Start with a clean stretched canvas. Apply one coat of gesso (or two, if canvas is raw). Let it dry fully. This gives you a solid base for texture.
If skipping gesso, you can still apply texture-but adhesion and durability may suffer.
While it dries, you can decide on your texture area (whole canvas, a section, or layered shapes).

– Mix your modeling paste (or joint compound) if needed.
– Use a palette knife or putty knife to apply it to the canvas. You could spread, build peaks, press shapes, or leave ridged strokes. E.g., using a putty knife to smear the compound and create volume.
– Experiment with tools: press a sponge into the wet paste, drag a comb or fork, press fabric or plastic to imprint textures.
– Once you’re satisfied with your texture, let it dry completely. Thick layers may take many hours or even overnight.
Tip: If building very high relief, consider multiple thinner layers rather than one very massive load (this helps avoid cracking). Reddit users report cracking when layers are too thick on canvas.

– Choose your paint palette. Since you have raised surfaces, think about how light and shadow will play.
– Use a palette knife to apply thick paint layers or a brush for smoother areas. Impasto style (thick strokes) is entirely valid.
– For subtler texture, try sponging: dab paint with a sponge to emphasize the high points.
– Or use dry-brush: with minimal paint and a dry stiff brush skim across texture to reveal ridges.
– You can use spray paint or glazing medium to add soft color washes over high texture layers.
– Let the paint dry. If you want, you can come back and add highlights or shadows into the ridges to deepen the effect.

– Once your painting is fully dry (texture + paint), choose a varnish finish. Matte gives a softer, organic look. Gloss gives more depth and shine.
– Apply with a clean brush or spray (depending on your varnish). Make sure you cover the textured surface evenly.
– If your texture is very raised, give extra time for drying and ensure the varnish doesn’t pool in grooves.
– Frame or mount your piece. For very thick texture, you might want a shadow-box frame or ensure there’s depth, so your texture isn’t pressed against glass.

Here are some approachable methods you can try. Pick one or two and mix them in your project.

What it is: applying thick paint so it stands out from the canvas.
How to do it: Use a palette knife or stiff brush and heavy paint/medium to build peaks and ridges.
Best for: Bold strokes, expressive work, adding sculptural relief to your wall art.

What it is: Using a sponge to dab paint (or texture medium) onto your surface.
How to do it: Load a sponge with paint and press lightly onto the texture. You can leave the sponge dry and rub paint across high points.
Best for: Natural, soft textures-cloudy effects, foliage, subtle backgrounds.

What it is: Using a dry brush (very little paint) to skim the raised surfaces, emphasizing texture.
How to do it: Once your texture layer is dry and painted, use a stiff brush with minimal paint and lightly drag it across ridges, so only the highest points pick up color. Best for: Finishing touches, bringing out texture details, and adding subtle emphasis.

What it is: Using non-traditional items (plastic bags, fabric scraps, sponges, etc.) to press texture into wet medium.
How to do it: While your modeling paste or joint compound is still wet, press in pattern tools (scraps of fabric, crumpled plastic, forks) and then remove them or leave their imprint.
Best for: Unique surface marks, organic texture, inexpensive tools.

What it is: Combining modeling paste, acrylic gels, sand, beads, fabric or other materials into the texture layer, then painting over.
How to do it: Mix sand or beads into the modeling paste or lay them on top while still wet, then paint once dry.
Best for: Dramatic texture, organic raw finish, pieces that become sculptural wall art.
Acrylic paints are highly recommended for beginners due to their quick drying time and versatility.
Yes, using plaster or modeling paste can create stunning textures on your canvas.
Layering different materials and colors will add depth and visual interest to your work
After you’ve built up your textured canvas art, let it dry completely. Once dry, you can paint over the textured surface to enhance the details or add a final coat of paint for a polished look. Remember, the key to successful texture painting is to learn new techniques and practice!
Learning how to make textured painting is easier when you’re guided by expert styles, and who knows, your next piece might just steal the spotlight!
Texture painting on canvas is a rewarding experience that allows you to express your creativity. By mastering these basic techniques, you’ll be well on your way to creating stunning textured artwork. Gather your art supplies, prepare your canvas, and start making textured canvas art today!


Sign up to grab 10% off your first order and be the first to hear about new drops and exclusive deals!